Unlocking the Secrets of Tussock Grass: A Guide to Propagating Poa chambersii
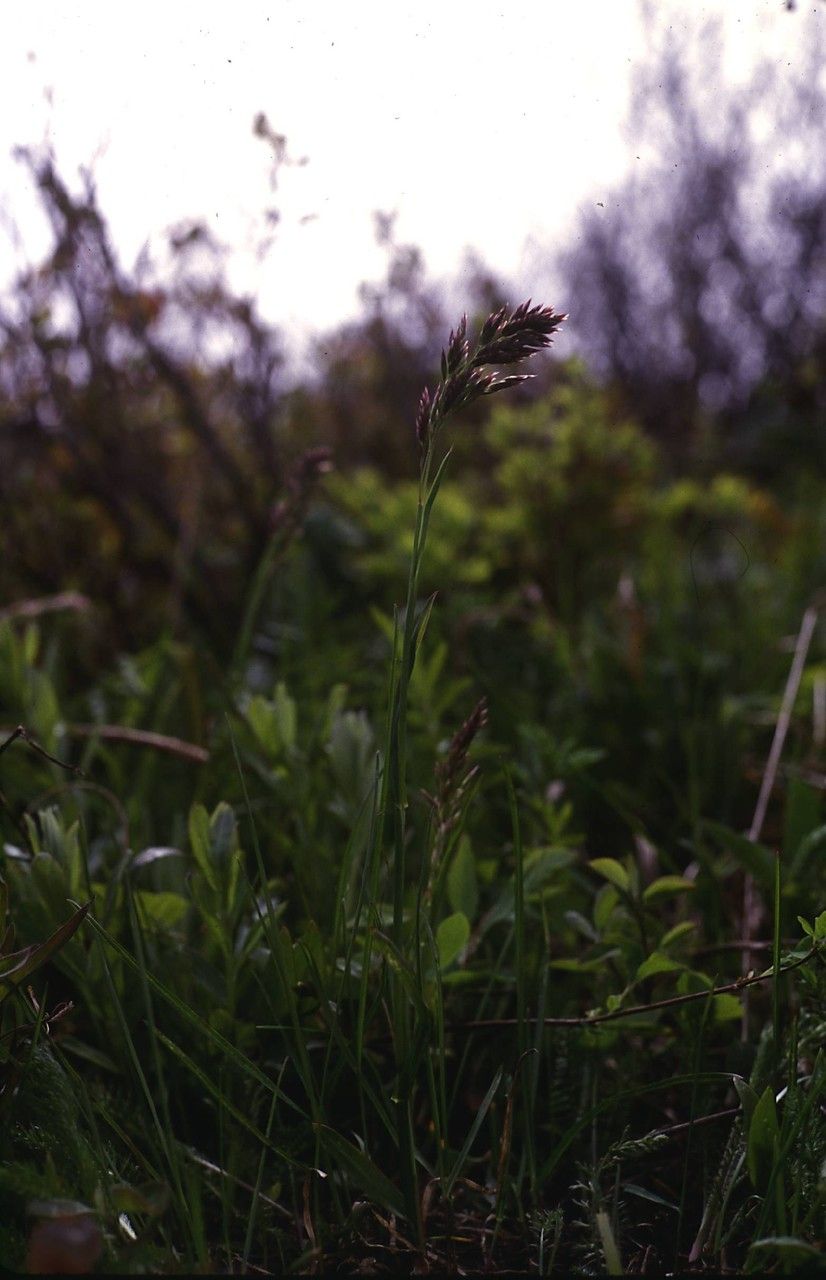
Poa chambersii, more commonly known as tussock grass, is a hardy and versatile native grass of Australia and New Zealand. With its attractive tufted form and ability to thrive in a variety of conditions, it’s no wonder that tussock grass is becoming increasingly popular for landscaping and restoration projects.
Interested in adding this beautiful and resilient grass to your garden? While you can purchase established plants from specialized nurseries, propagating your own Poa chambersii can be a rewarding and economical way to expand your collection. Let’s explore the two primary methods of propagating this wonderful grass:
Method 1: Division – Separating Success
Division is the most straightforward method for propagating Poa chambersii and yields quick results. The best time to divide is during the cooler months, ideally in spring or early autumn, when the plant is actively growing.
Here’s how it’s done:
- Choose a Healthy Tussock: Select a mature and vigorous tussock grass plant that is at least 3 years old.
- Prepare Your Tools: You will need a sharp spade or knife, gloves, and a bucket of water to keep the roots moist.
- Divide the Tussock: Carefully dig around the base of the plant, loosening the soil. Gently lift the entire clump from the ground and using your hands or the spade, divide the plant into smaller sections, ensuring each section has a good root system.
- Replant the Divisions: Choose a sunny or partially shaded location with well-drained soil. Plant the divisions at the same depth they were originally growing, water thoroughly, and mulch around the base to retain moisture.
Method 2: Seed – Patience for New Beginnings
Propagating Poa chambersii from seed requires a bit more patience, but it offers the advantage of producing a larger number of plants.
Follow these steps to sow tussock grass seeds:
- Collect Seeds: Poa chambersii seeds ripen in late summer or autumn. You can collect seed heads directly from the plant or purchase them from a reputable supplier.
- Prepare the Seed Bed: Use a well-draining seed raising mix and fill small pots or seed trays.
- Sow the Seeds: Scatter the seeds thinly over the surface of the soil, pressing them lightly into the mix.
- Water Gently: Mist the seeds with water, being careful not to dislodge them.
- Provide Warmth and Light: Place the pots or trays in a warm, bright location but out of direct sunlight.
- Be Patient: Germination can take anywhere from a few weeks to a couple of months. Keep the soil consistently moist but not waterlogged during this time.
- Transplanting: Once the seedlings have developed a few true leaves and are strong enough to handle, transplant them into individual pots or into their permanent positions in the garden.
Tips for Success:
- Soil: Poa chambersii adapts to a range of soil types but prefers well-drained soil.
- Sunlight: Tussock grass thrives in full sun to partial shade.
- Watering: While drought-tolerant once established, water regularly during the first year to encourage strong root development.
- Maintenance: Remove any dead or diseased foliage to maintain the plant’s appearance and health.
Propagating your own Poa chambersii is a fulfilling endeavor that allows you to cultivate more of this beautiful and adaptable grass. By following these tips, you can enjoy the unique texture and year-round interest of tussock grass in your own landscape.