
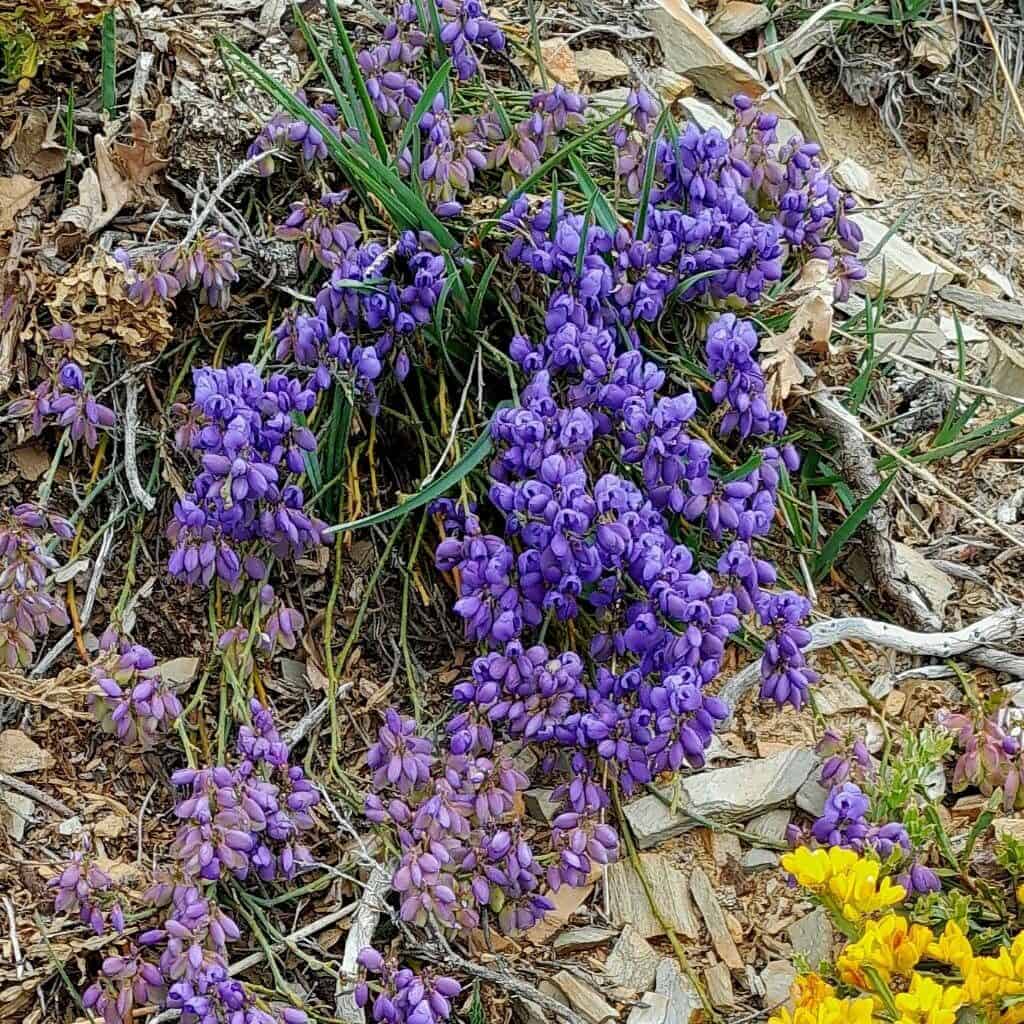
Tiny Leaves, Big Rewards: Propagating the Delicate Charm of Polygala microphylla
The world of gardening is brimming with unique and beautiful species, each with its own charm and quirks. One such charmer is Polygala microphylla, a dainty, flowering shrub native to South Africa. With its delicate, needle-like foliage and vibrant, pea-like blooms that range from pink to purple, it’s a sight to behold. But don’t let its fragile appearance fool you – this little plant is surprisingly resilient, and even better, relatively easy to propagate.
There are two primary methods for multiplying your Polygala microphylla collection:
1. Seed Propagation: A Game of Patience and Reward
For the truly green-thumbed and patient gardener, propagating Polygala microphylla from seed can be a rewarding experience. Here’s how:
- Collecting Seeds: After your Polygala flowers fade, look for small seed pods to develop. Allow these pods to dry completely on the plant before collecting them. Once dry, carefully crack open the pods to reveal tiny, black seeds.
- Sowing the Seeds: Prepare a seed tray or small pots filled with a well-draining seed starting mix. Sprinkle the seeds over the surface and lightly press them in, but don’t bury them deeply.
- Creating the Ideal Environment: Polygala microphylla seeds prefer lightly moist soil and a warm, sunny location. Mist the soil regularly, ensuring it doesn’t become waterlogged. A humidity dome or placing the tray inside a plastic bag can help maintain moisture.
- Germination Time: Be patient – seed germination can take anywhere from a few weeks to a couple of months.
- Transplanting: Once the seedlings have developed a couple of sets of true leaves, they can be carefully transplanted into individual pots filled with a well-draining potting mix.
2. Cutting Propagation: A Faster Track to Floral Abundance
If you’re looking for a quicker method with almost guaranteed success, propagating Polygala microphylla from cuttings is the way to go. Here’s what you need to do:
- Timing is Key: The best time to take cuttings is during the active growing season, ideally in spring or early summer.
- Selecting the Right Cuttings: Choose healthy, non-flowering stems that are around 3-4 inches long. Make a clean cut just below a node (where the leaves are attached) using a sharp, sterilized knife or pruners.
- Preparing the Cuttings: Remove the lower leaves from the cutting, leaving a few at the top. Dip the base of the cutting in rooting hormone (optional, but recommended for faster root development).
- Planting the Cuttings: Insert the cuttings into a pot filled with a well-draining potting mix, ensuring the bottom node is buried.
- Providing the Right Conditions: Keep the cuttings in a warm, brightly lit location, out of direct sunlight. Maintain consistent moisture by misting the soil regularly or covering the pot with a plastic bag to create a humid environment.
- Rooting Time: Roots typically develop within 4-6 weeks. You can test for root development by gently tugging on the cutting – resistance indicates roots have formed.
- Transplanting: Once the cuttings have a well-established root system, they can be transplanted into individual pots or directly into your garden.
Enjoy the Rewards:
Whether you choose seed or cutting propagation, the reward of successfully multiplying your Polygala microphylla is a garden brimming with its delicate, floral beauty. With a little patience and care, you can cultivate a stunning display of this charming and unique South African gem.