
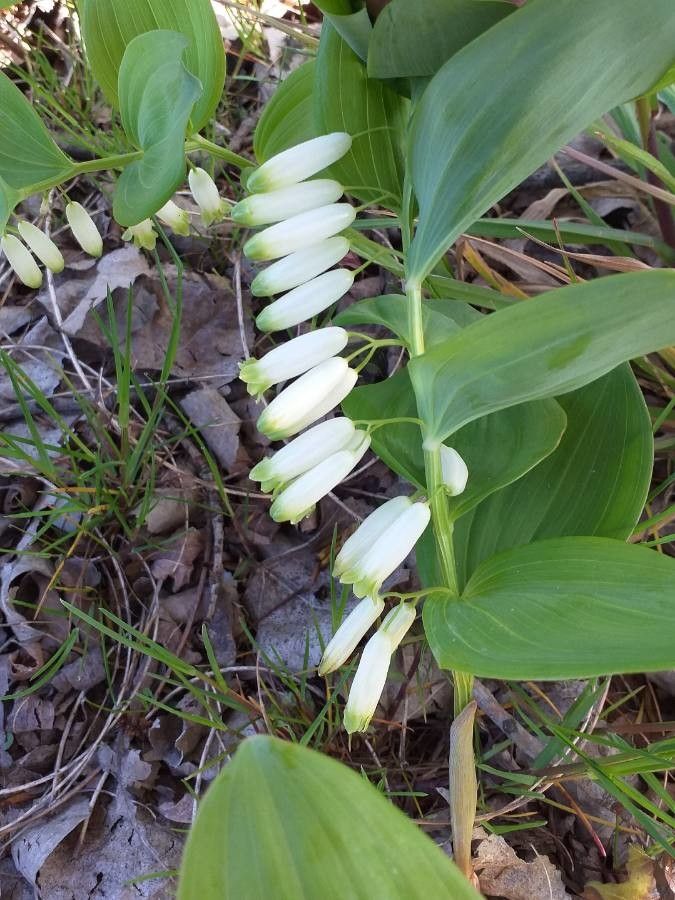
Unlock the Secrets of Solomon’s Seal: A Propagation Primer
Solomon’s Seal (Polygonatum odoratum), with its graceful, arching stems and delicate, bell-shaped flowers, is a woodland treasure coveted by many gardeners. While acquiring this elegant perennial from nurseries is an option, propagating your own is incredibly rewarding and surprisingly easy. This comprehensive guide will equip you with the knowledge to multiply your Solomon’s Seal through division and seed, allowing you to share its beauty throughout your garden and beyond.
Division: The Simplest Path to Propagation
Division reigns supreme as the most straightforward and effective way to propagate Solomon’s Seal. This method takes advantage of the plant’s natural tendency to spread via rhizomes – underground stems that produce new shoots.
Here’s how it’s done:
- Timing is Key: Early spring, just as new growth emerges, or late summer after the foliage begins to fade, are the optimal times for dividing Solomon’s Seal.
- Gentle Excavation: Using a garden fork, carefully lift a mature clump of Solomon’s Seal from the ground.
- Division Decisions: Examine the rhizome structure. Each section with a healthy shoot and roots can be separated into a new plant. You can divide the clumps into larger sections for a fuller look sooner, or smaller sections for a greater number of plants.
- Replanting: Prepare planting holes similar in depth and width to the original clump. Ensure the rhizomes are positioned horizontally with the buds facing upwards. Water thoroughly.
Seed Propagation: A Test of Patience
While slightly more challenging and time-consuming, growing Solomon’s Seal from seed offers a distinct sense of accomplishment and the potential for unique variations in your plants.
Follow these steps for seed propagation:
- Seed Collection and Preparation: Collect ripe berries in late summer or early fall when they turn a deep blue-black. Extract the seeds and rinse them thoroughly. To break their dormancy, cold stratify the seeds by placing them in a damp paper towel within a sealed bag in the refrigerator for approximately 3 months.
- Sowing: In spring, sow the seeds in a seed tray filled with a well-draining seed compost, covering them lightly with soil.
- Patience is Vital: Germination can be erratic and may take several weeks to a few months. Maintain consistent moisture and a temperature of around 70°F (21°C).
- Transplanting Triumph: Once the seedlings are large enough to handle, carefully transplant them into individual pots. Allow them to grow for at least a year before transferring them to their permanent positions in the garden.
Essential Tips for Propagation Success:
- Choose the Right Location: Solomon’s Seal thrives in partial to full shade and moist, well-drained soil enriched with organic matter.
- Water Wisely: While established plants are relatively drought-tolerant, regular watering is crucial after division or transplanting to ensure successful establishment.
- Pest and Disease Prevention: This hardy perennial has few pest or disease issues. However, be on the lookout for slugs and snails, particularly in humid climates.
By following these simple guidelines, you can unlock the secrets of propagating Solomon’s Seal and enjoy the captivating beauty of this woodland gem for years to come. Whether you choose division or embark on the journey of seed propagation, the rewards of multiplying these elegant plants are well worth the effort. So go forth, propagate with confidence, and let your garden be graced with the enchanting presence of Solomon’s Seal.