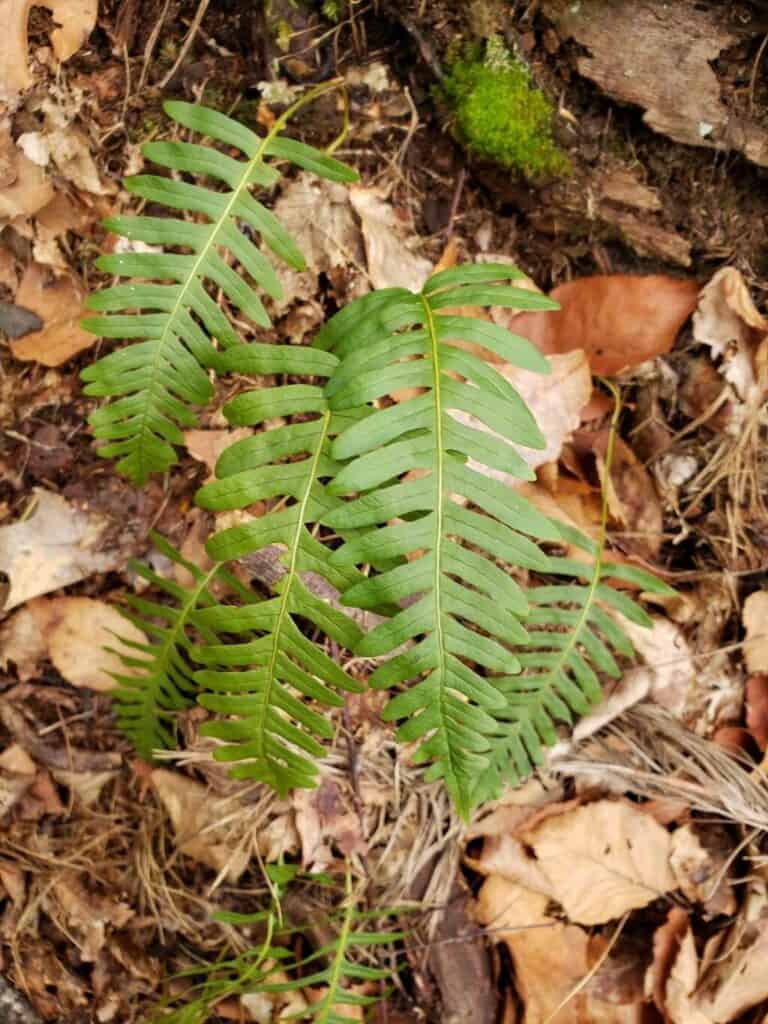
Unveiling the Secrets: How to Propagate the Resilient Rock Cap Fern (Polypodium virginianum)
The Rock Cap Fern, also known by its scientific name Polypodium virginianum, is a sight to behold. This evergreen fern, with its leathery, fringed fronds clinging to rocky outcrops, evokes a sense of wild, untamed beauty. If you’ve ever dreamt of welcoming this tenacious plant into your own garden, you’ll be pleased to know that propagating it is a rewarding endeavor, accessible even to novice gardeners. Let’s delve into the secrets of multiplying this fascinating fern.
Two Paths to Propagation:
The Rock Cap Fern offers two primary methods of propagation: spores and division. Each technique comes with its own set of advantages and considerations.
1. Spore Propagation: A Journey of Patience and Wonder
For the true enthusiast, propagating ferns from spores offers a unique glimpse into the plant’s life cycle. Here’s how to embark on this rewarding journey:
- Spore Collection: Mature fronds will develop small brown structures on their undersides called sori. These contain the spores. Snip a frond with mature sori and place it in a paper bag to dry. After a few days, gently tap the bag to release the spores.
- Spore Sowing: Prepare a seed-starting mix or a blend of peat moss and vermiculite. Moisten the mixture and spread a thin layer in a shallow tray. Sprinkle the spores evenly on the surface, avoiding overcrowding.
- Creating a Humid Environment: Cover the tray with a clear lid or plastic wrap to create a humid, greenhouse-like environment. Place the tray in a warm, bright location out of direct sunlight.
- Patience is Key: Germination can take anywhere from a few weeks to a couple of months. Once the spores germinate, they will resemble a thin layer of green moss.
- Transplanting: When the fernlets (baby ferns) develop several fronds, carefully transplant them into individual pots filled with well-draining potting mix.
2. Division: The Quick and Reliable Method
Division is the most straightforward and efficient method for propagating the Rock Cap Fern, especially for beginners:
- Timing is Everything: The best time for division is in early spring, just before new growth emerges.
- Dividing the Rhizome: Gently unearth the fern, taking care not to damage the roots. Using a sharp, clean knife or pair of shears, divide the rhizome (the underground stem) into sections. Ensure each section has a good portion of roots and at least one healthy frond.
- Potting the Divisions: Plant the divisions in individual pots filled with well-draining potting mix. Water thoroughly and place in a shaded location.
Nurturing Your New Fern Progeny:
Regardless of the propagation method you choose, providing the right growing conditions is crucial for your Rock Cap Fern’s success:
- Light: These ferns thrive in shade to partial shade. Avoid exposing them to direct sunlight, which can scorch their delicate fronds.
- Water: Keep the soil consistently moist but not waterlogged. Allow the top inch of soil to dry out between waterings.
- Humidity: Rock Cap Ferns appreciate humidity, especially during dry periods. Misting their fronds regularly or placing them on a tray filled with pebbles and water can help increase humidity.
Propagating the Rock Cap Fern is a journey of patience, observation, and ultimately, immense satisfaction. By following these guidelines and nurturing your fern with care, you can enjoy the beauty of this resilient and enchanting plant for years to come.