Unlocking the Secrets of Polystachya camaridioides Propagation: A Guide to Multiplying Your Orchid Beauty
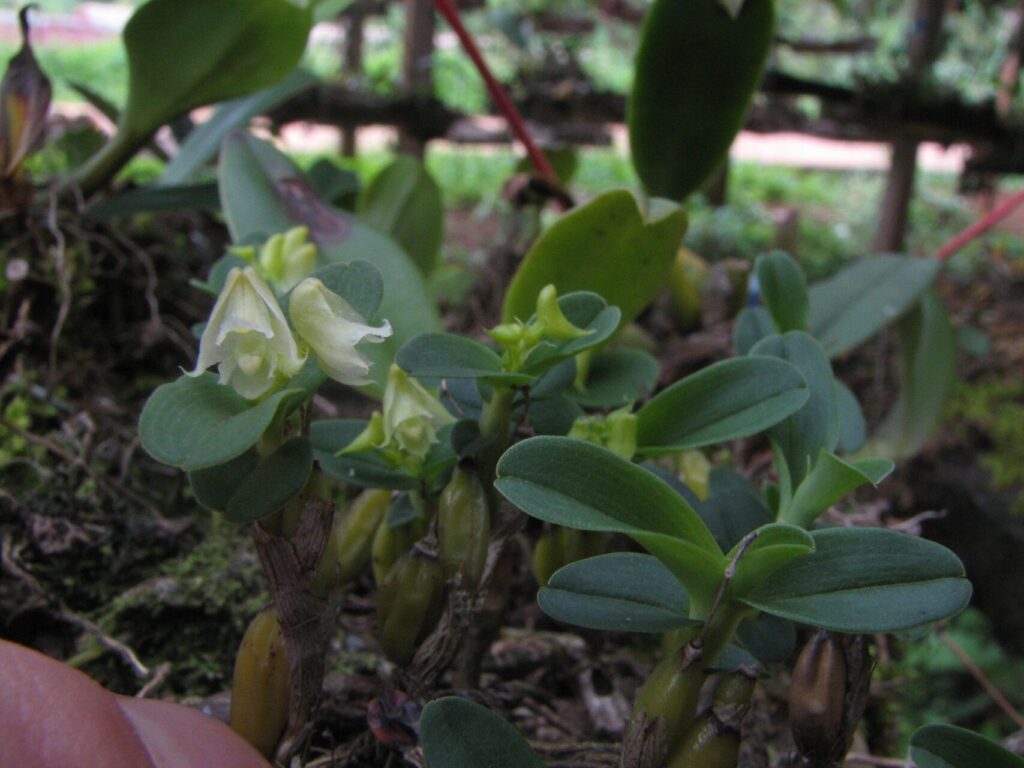
The Polystachya camaridioides, with its delicate blooms and intriguing growth habit, is a truly captivating orchid species. Whether you’re an experienced orchid enthusiast or a curious beginner, the prospect of propagating this stunning plant can be both exciting and daunting. This guide will demystify the process, equipping you with the knowledge to multiply your Polystachya camaridioides and share its unique beauty.
Understanding the Basics
Before we delve into the specifics, it’s important to understand the natural propagation methods of orchids. Unlike many plants that reproduce readily from seeds or cuttings, orchids present a unique challenge. In their natural habitat, orchids rely on symbiotic relationships with specific fungi for germination, making seed propagation a complex process best left to experts.
The Propagation Powerhouse: Keikis
Fortunately, Polystachya camaridioides possesses a remarkable ability to produce plantlets, aptly named “keikis” (meaning “little one” in Hawaiian), directly on their flower spikes. These miniature replicas of the parent plant are nature’s way of ensuring survival and are our ticket to successful propagation.
Spotting the Signs: Identifying Keikis
Keikis appear as small growths emerging from nodes on the flower spike. Initially resembling tiny bumps, they gradually develop leaves and roots. Once a keiki has developed at least three roots, each about an inch long, it’s ready to embark on its independent journey.
Separation Anxiety? A Step-by-Step Guide to Keiki Removal:
-
Gather Your Tools: You’ll need a sterilized sharp knife or pruning shears, a small pot filled with a well-draining orchid potting mix, and some cinnamon powder (a natural antifungal agent).
-
Prepare the Keiki: Carefully cut the flower spike about an inch above and below the keiki, ensuring you don’t damage the developing roots.
-
Dust and Dry: Gently dust the cut ends of both the keiki and parent plant with cinnamon powder to prevent infection. Allow the keiki to air dry for a few hours.
-
Potting Time: Plant the keiki in the prepared pot, ensuring the roots are comfortably nestled in the potting mix but the base of the plant remains above the surface.
- TLC Time: Place the newly potted keiki in a warm, humid environment with indirect light. Water sparingly until you see signs of new growth, indicating the roots have established themselves.
Beyond Keikis: Alternative Propagation Methods
While keiki formation is the most common and straightforward method for propagating Polystachya camaridioides, experienced growers may explore more advanced techniques like division. However, this method is best attempted on mature, healthy plants and requires careful execution to avoid damage.
Patience is Key:
Propagating orchids is a test of patience and observation. Don’t be discouraged if you don’t see immediate results. With proper care and attention, your Polystachya camaridioides will reward you with beautiful, healthy offspring, allowing you to expand your orchid family and share these botanical gems with fellow enthusiasts.