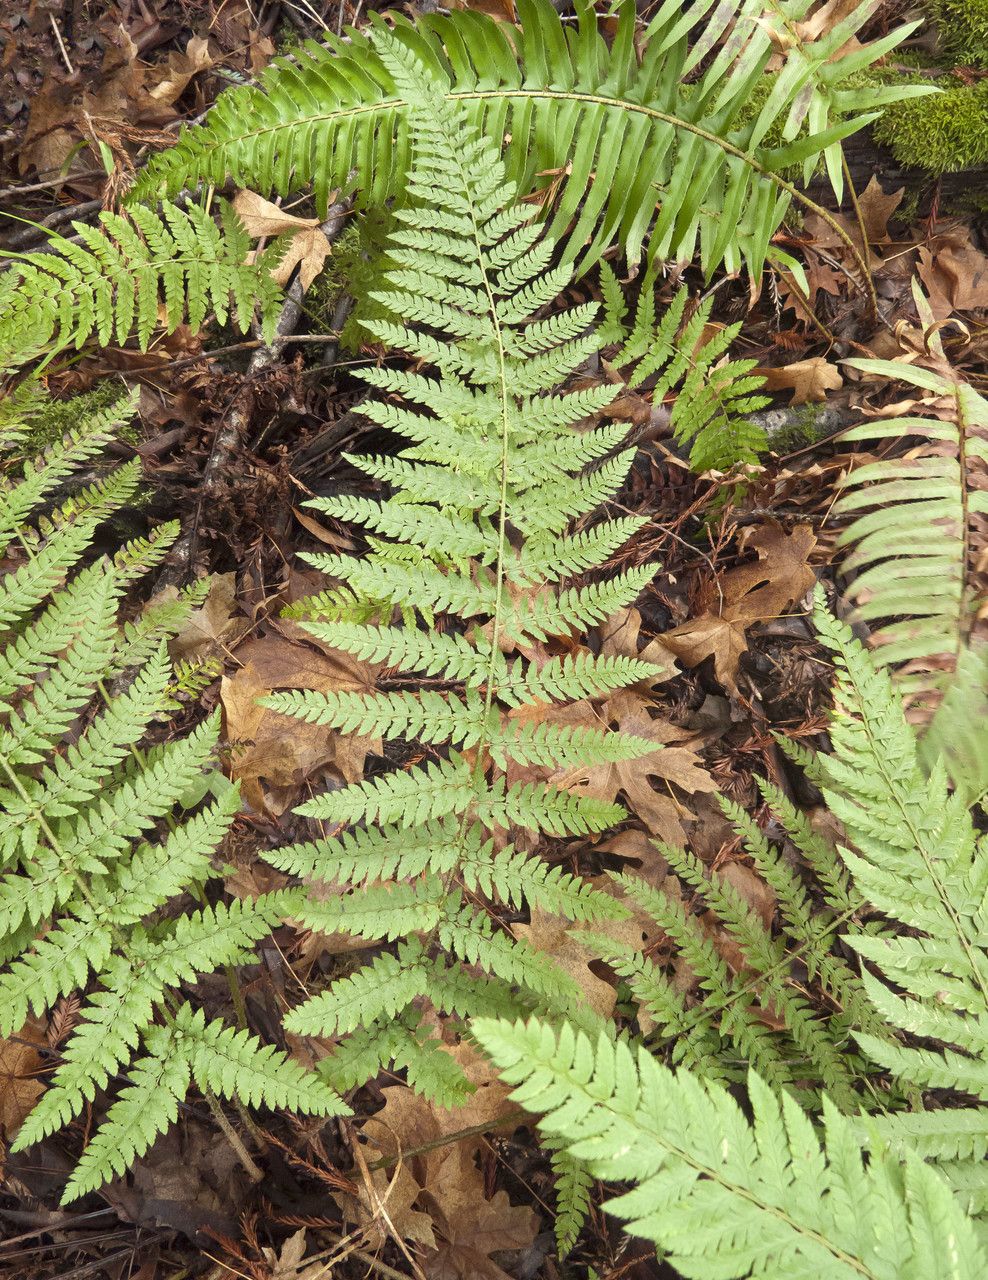
Unveiling the Secrets of Dudley’s Fern: A Guide to Propagating Polystichum dudleyi
Dudley’s fern (Polystichum dudleyi), with its elegant, arching fronds, adds a touch of prehistoric charm to any shady garden. This evergreen fern, native to the western United States, is surprisingly resilient and low-maintenance once established. But what about propagating this beautiful species? While getting your hands on a mature Dudley’s fern from a nursery is an option, there’s a certain satisfaction that comes from propagating it yourself. Let’s delve into the fascinating world of fern propagation and unlock the secrets of successfully multiplying your Dudley’s fern collection.
Understanding Fern Reproduction: Spores vs. Divisions
Unlike many plants that reproduce through seeds, ferns have a unique two-stage life cycle involving spores. You might see small, brown structures on the underside of mature fronds – those are spore cases called sori. However, propagating ferns from spores, while entirely possible, is more suited for experienced enthusiasts. It requires sterile conditions, specific humidity levels, and a considerable amount of patience.
For most home gardeners, dividing established clumps is the easiest and most effective way to propagate Dudley’s fern. This method utilizes the fern’s natural ability to produce offshoots, resulting in healthier and faster-growing plants compared to those started from spores.
Propagating Dudley’s Fern by Division: A Step-by-Step Guide
1. Timing is Key: Early spring, before new growth emerges, is the ideal time to divide Dudley’s ferns. This gives the divisions ample time to establish themselves throughout the growing season.
2. Prepare for Success: Gather your tools: a sharp, clean knife or garden spade, gloves (fern spores can sometimes irritate the skin), a watering can, and pots or a prepared planting site with well-draining soil rich in organic matter.
3. Divide and Conquer: Gently lift the entire clump of the fern from the ground or pot. Using your knife or spade, carefully divide the fern into sections, ensuring each section has a healthy portion of roots and fronds.
4. Potting Your Divisions: Plant each division in a pot slightly larger than its root ball or directly into the ground at the same depth it was previously growing. Water thoroughly to settle the roots.
5. Post-Division Care: Keep the newly potted divisions in a shady location and ensure the soil remains consistently moist but not waterlogged. Avoid fertilizing for the first couple of months as the roots establish themselves.
Enjoy the Fruits (or Ferns) of Your Labor
Within a few weeks, you should start seeing signs of new growth, indicating successful propagation. As the divisions mature, continue providing them with the same care as your established Dudley’s fern: shade to partial shade, regular watering, and occasional fertilization.
Propagating your own Dudley’s fern is a rewarding experience that connects you with the ancient lineage of these fascinating plants. With a little patience and care, you can easily multiply your collection and create a lush, prehistoric haven in your own backyard.