Unfurling the Secrets: Propagating the Orbicular Shield Fern (Polystichum orbiculatum)
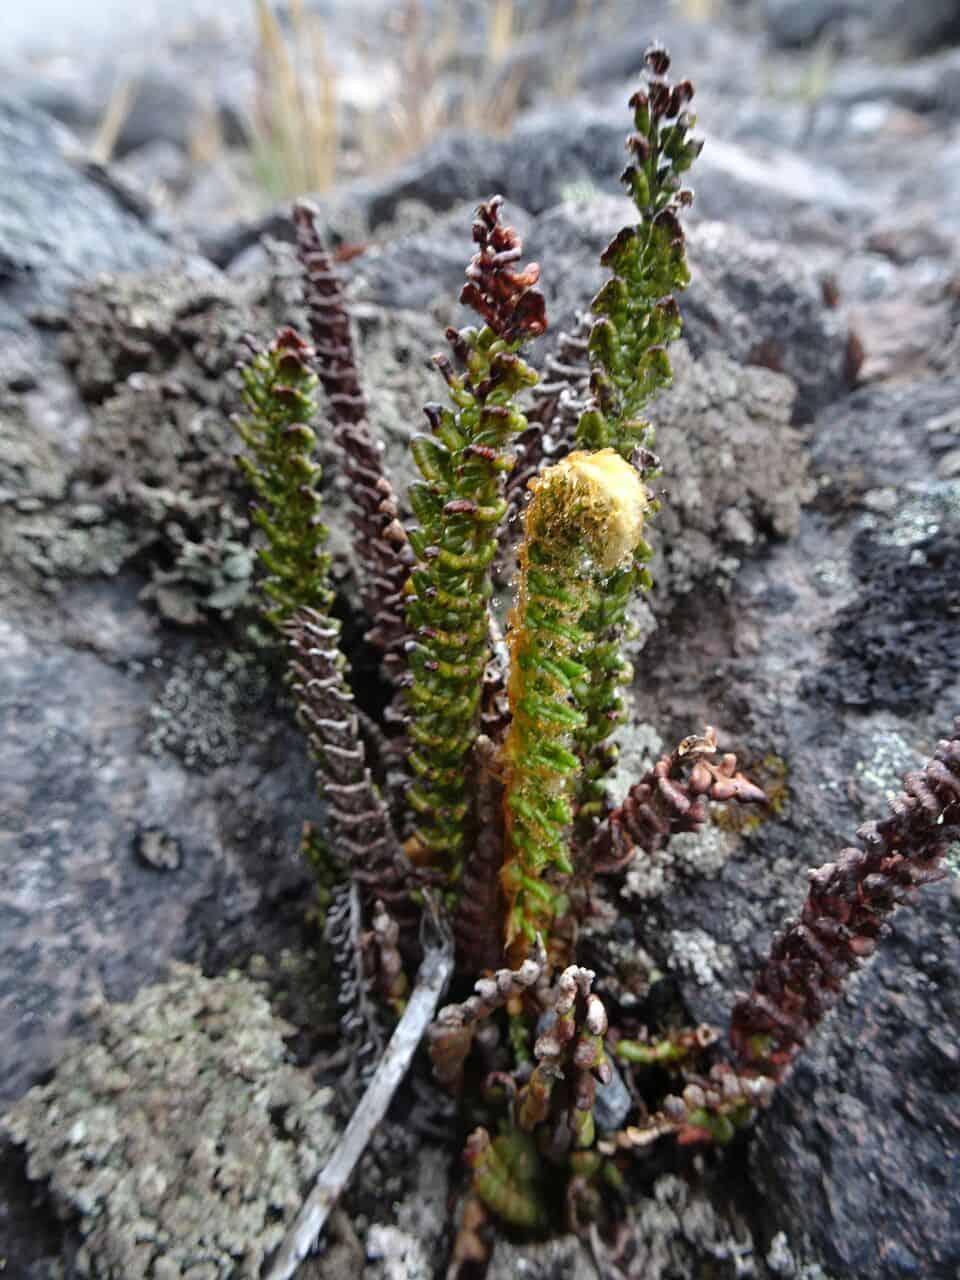
The Orbicular Shield Fern, scientifically known as Polystichum orbiculatum, is an enchanting evergreen fern prized for its unique charm. Native to the mystical forests of East Asia, this fern boasts leathery, dark green fronds with a captivating, almost symmetrical growth habit. If you’ve fallen for the captivating allure of the Orbicular Shield Fern and wish to multiply your emerald treasures, you’ve come to the right place. This guide dives deep into the art of propagating this beautiful fern, empowering you to expand your fern family.
Understanding the Fundamentals
Unlike many plants that readily reproduce from seeds or cuttings, ferns utilize a different mechanism: spores. Found on the undersides of mature fronds, these tiny, dust-like structures hold the genetic blueprint for new ferns. While propagating through spores requires a bit more patience and precision, it is a rewarding experience that allows you to witness the magic of fern life unfold.
Two Approaches to Propagation
1. Spore Propagation: A Journey of Patience
Timing is Key: Look for mature, dark-colored spore cases (sori) on the undersides of fronds. Gently scrape them onto a white sheet of paper.
Creating the Ideal Environment: Sow the spores on the surface of a sterile, finely-textured potting mix in a shallow tray. Mist with distilled water and enclose the tray in a clear plastic bag to create a humid environment.
Light and Warmth: Place the tray in a bright location, but out of direct sunlight. Maintaining a warm temperature (around 70-75°F) is crucial for successful germination.
From Spores to Prothallus: Be patient! Spore germination can take anywhere from a few weeks to a couple of months. Initially, a thin, green layer called the prothallus will develop. This heart-shaped structure produces both male and female organs necessary for fertilization.
- The Emergence of Fronds: Once fertilization occurs, tiny fern fronds will begin to emerge from the prothallus. Gradually acclimate these young ferns to less humid conditions before transplanting them into individual pots.
2. Division: The Quicker Route to New Ferns
For a faster propagation method, division is the way to go. This technique works best in early spring before new growth emerges.
Divide and Conquer: Carefully dig up a mature fern and gently separate the rhizome (underground stem) into sections, ensuring each division has a healthy frond and root system.
- Repotting for Success: Plant each division into a well-draining potting mix, ensuring the crown (where the fronds emerge) sits slightly above the soil line. Water thoroughly and provide indirect light.
Caring for Your New Fern Offspring
Regardless of your chosen propagation method, providing the right care is crucial for thriving ferns:
Filtered Light: Mimic their natural woodland habitats by providing bright, indirect light.
Moist but Well-Drained Soil: Consistent moisture is key, but avoid waterlogged soil. Choose a well-draining potting mix and water when the top inch of soil feels dry.
- Humidity Boost: While Orbicular Shield Ferns tolerate average humidity, they appreciate a boost, especially during dry periods. Regularly misting or placing a humidifier nearby can make a difference.
Propagating your own Orbicular Shield Fern is a rewarding experience that allows you to connect with the ancient lineage of these fascinating plants. With patience and the right knowledge, your efforts will be met with the joy of witnessing new life unfurl from spores or seeing thriving divisions grace your space with their verdant beauty.