Unveiling the Secrets of Procris Pedunculata: A Propagation Guide
Procris pedunculata, with its cascading foliage and delicate flowers, might sound like a mythical plant from a faraway land. While its name might be a mouthful, this beauty is surprisingly adaptable and can add a touch of exotic charm to your home or garden. If you’ve been lucky enough to encounter this stunning species, you’re probably wondering how to get your hands on more. Well, you’re in luck! This guide will delve into the secrets of propagating Procris pedunculata, empowering you to expand your plant family with ease.
Understanding the Basics
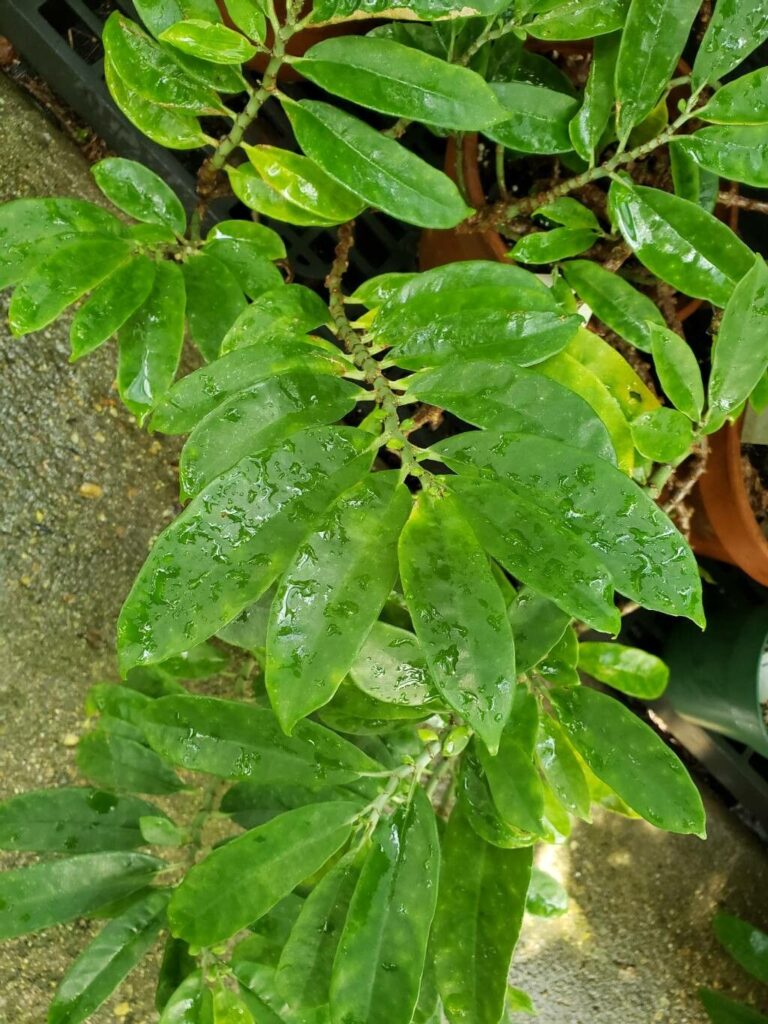
Before we delve into the techniques, it’s crucial to understand the plant itself. Procris pedunculata, sometimes known by its synonym Elatostema repens, belongs to the nettle family, Urticaceae, though fear not, it won’t sting! Native to Southeast Asia, this creeping perennial thrives in warm, humid environments, making it perfect for terrariums, hanging baskets, or as ground cover in tropical gardens.
Propagation Methods: Two Paths to Success
Procris pedunculata can be propagated through two primary methods: stem cuttings and division.
1. Stem Cuttings: A Simple and Effective Approach
Stem cuttings are the most popular and straightforward way to propagate this beauty. Here’s how:
- Timing is Key: Spring or early summer, during the plant’s active growing season, is the ideal time for taking cuttings.
- Selecting the Cuttings: Look for healthy, non-flowering stems about 3-4 inches long. Using clean, sharp shears, make a cut just below a leaf node (the point where the leaf attaches to the stem).
- Preparing the Cuttings: Remove the leaves from the lower inch of the stem to prevent rotting. You can also dip the cut end in rooting hormone powder (optional, but helpful).
- Planting the Cuttings: Plant the cuttings in a well-draining potting mix or a seed starting mix that retains moisture. Make sure the leaf nodes are below the soil surface.
- Creating a Humid Environment: Procris pedunculata thrives in humidity. Cover the pot with a clear plastic bag or humidity dome to create a warm, moist environment.
- Patiently Waiting: Place the pot in a bright location, out of direct sunlight. Within a few weeks, your cuttings should develop roots, and you’ll start seeing new growth.
2. Division: Sharing the Bounty
If your Procris pedunculata has matured and formed multiple plantlets, division is an excellent option. This method is usually done during repotting:
- Gently Removing the Plant: Carefully remove the plant from its pot and loosen the soil around the roots.
- Separating the Plantlets: Identify areas where the plant has naturally formed separate plantlets with their own roots. Gently tease them apart, ensuring each division has a healthy amount of roots and foliage.
- Potting the Divisions: Plant each division in a separate pot with the same well-draining potting mix used for cuttings.
- Providing TLC: Water the newly potted divisions thoroughly and place them in a warm, humid environment with indirect light.
Caring for Your New Propagations
Once your Procris pedunculata propagations show signs of new growth, you can gradually acclimate them to their permanent growing conditions. Remember to keep the soil consistently moist but not waterlogged. Fertilize lightly every few weeks during the growing season.
Conclusion
Propagating Procris pedunculata might seem daunting at first, but with a little patience and care, you can easily multiply your collection. Whether you choose stem cuttings or division, the satisfaction of nurturing new life from your existing plant is immensely rewarding. So, go ahead, unlock the secrets of propagation and share the beauty of Procris pedunculata with the world!