From One to Many: Unveiling the Secrets of Pteris comans Propagation
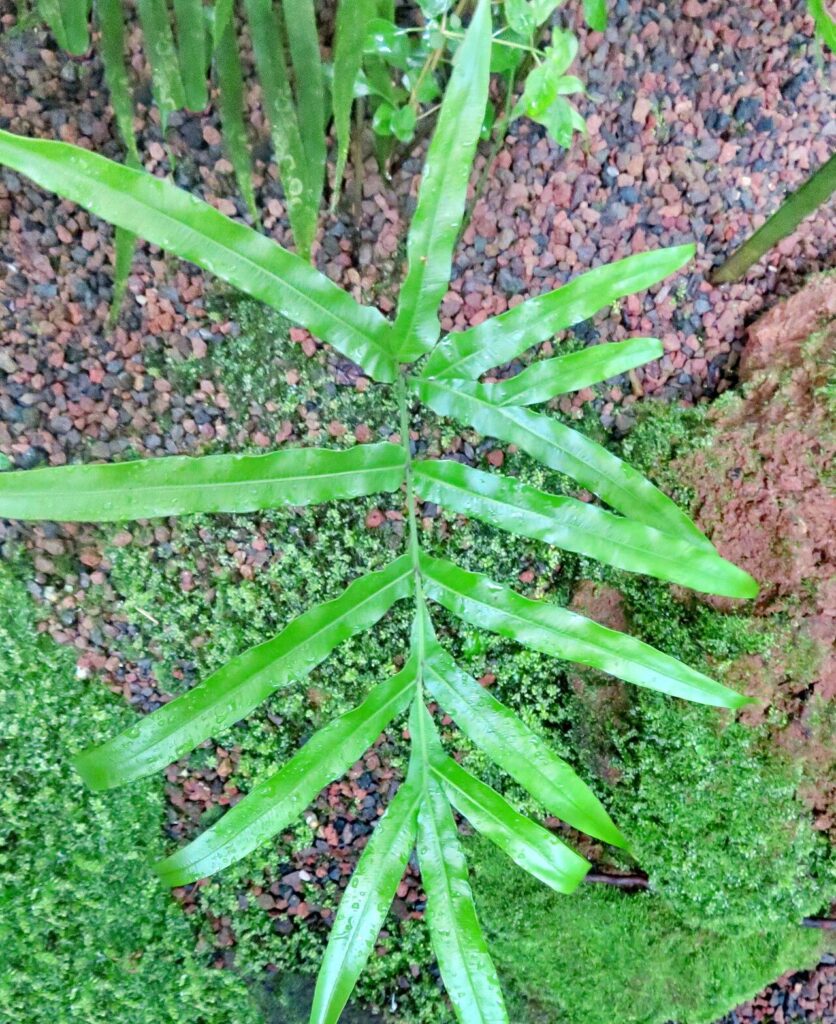
The graceful fronds of Pteris comans, commonly known as the Silver Lace Fern, are a captivating sight in any garden. Their delicate, silvery-green foliage adds a touch of elegance and a welcome dose of greenery. But did you know that you can easily create more of these stunning ferns by simply propagating them?
This article will guide you through the fascinating world of Pteris comans propagation, breaking down the process into simple, achievable steps.
Why Propagate?
The beauty of propagation lies in expanding your plant collection without spending a fortune. It’s an incredibly satisfying experience to watch a tiny cutting sprout into a thriving fern, providing a sense of accomplishment and contributing to a sustainable gardening practice.
Methods of Pteris comans Propagation
There are two primary methods you can utilize to propagate Pteris comans:
1. Spore Propagation:
This method, though slightly more intricate, captures the natural cycle of fern reproduction. Pteris comans, like most ferns, produces spores on the underside of their fronds.
- Step 1: Spore Collection: Look for mature fronds with brown, powdery patches on the underside. Gently scrape these patches onto a piece of paper.
- Step 2: Spore Preparation: Mix a sterile, fine-grained potting mix with a bit of peat moss and vermiculite. Fill a shallow tray or pot with this mixture and moisten it thoroughly.
- Step 3: Sowing the Spores: Sprinkle the collected spores thinly and evenly over the surface of the mix. Cover the tray with a clear plastic wrap to create a humid environment.
- Step 4: Patience is Key: Place the tray in a warm, shaded location and be patient. Spores may take several weeks to germinate. Keep the soil consistently moist but not waterlogged.
2. Division:
This method is faster and more straightforward, especially for seasoned gardeners. It involves separating clumps of mature ferns into individual plants.
- Step 1: Prepare the Plant: Choose a healthy, established Pteris comans plant. Gently remove it from its pot.
- Step 2: Separate Divisions: Use a clean knife or shears to carefully divide the clump into smaller sections, ensuring each division has several healthy roots and fronds.
- Step 3: Repotting: Pot each division in a good quality potting mix, ensuring proper drainage. Place the newly potted ferns in a shaded spot for a few weeks to allow them to settle.
Tips for Success:
- Use sterilized tools: Prevent fungal infections by sterilizing your knife or shears before each use.
- Maintain consistent humidity: Keep your propagation trays or pots moist by misting regularly.
- Avoid direct sunlight: Pteris comans prefer shade, so avoid exposing your newly propagated ferns to harsh sunlight.
- Observe for signs of growth: Monitor your ferns for signs of new growth, indicating successful propagation.
Conclusion:
Propagating Pteris comans is a rewarding experience, allowing you to expand your fern collection while embracing the beauty and wonder of plant reproduction. Whether you choose the spore method or the division technique, remember to be patient and persistent. With a little care and attention, you’ll soon have thriving ferns, adding verdant elegance to your home or garden.