Unfurling the Secrets: Propagating Your Pteris Dentata Fern
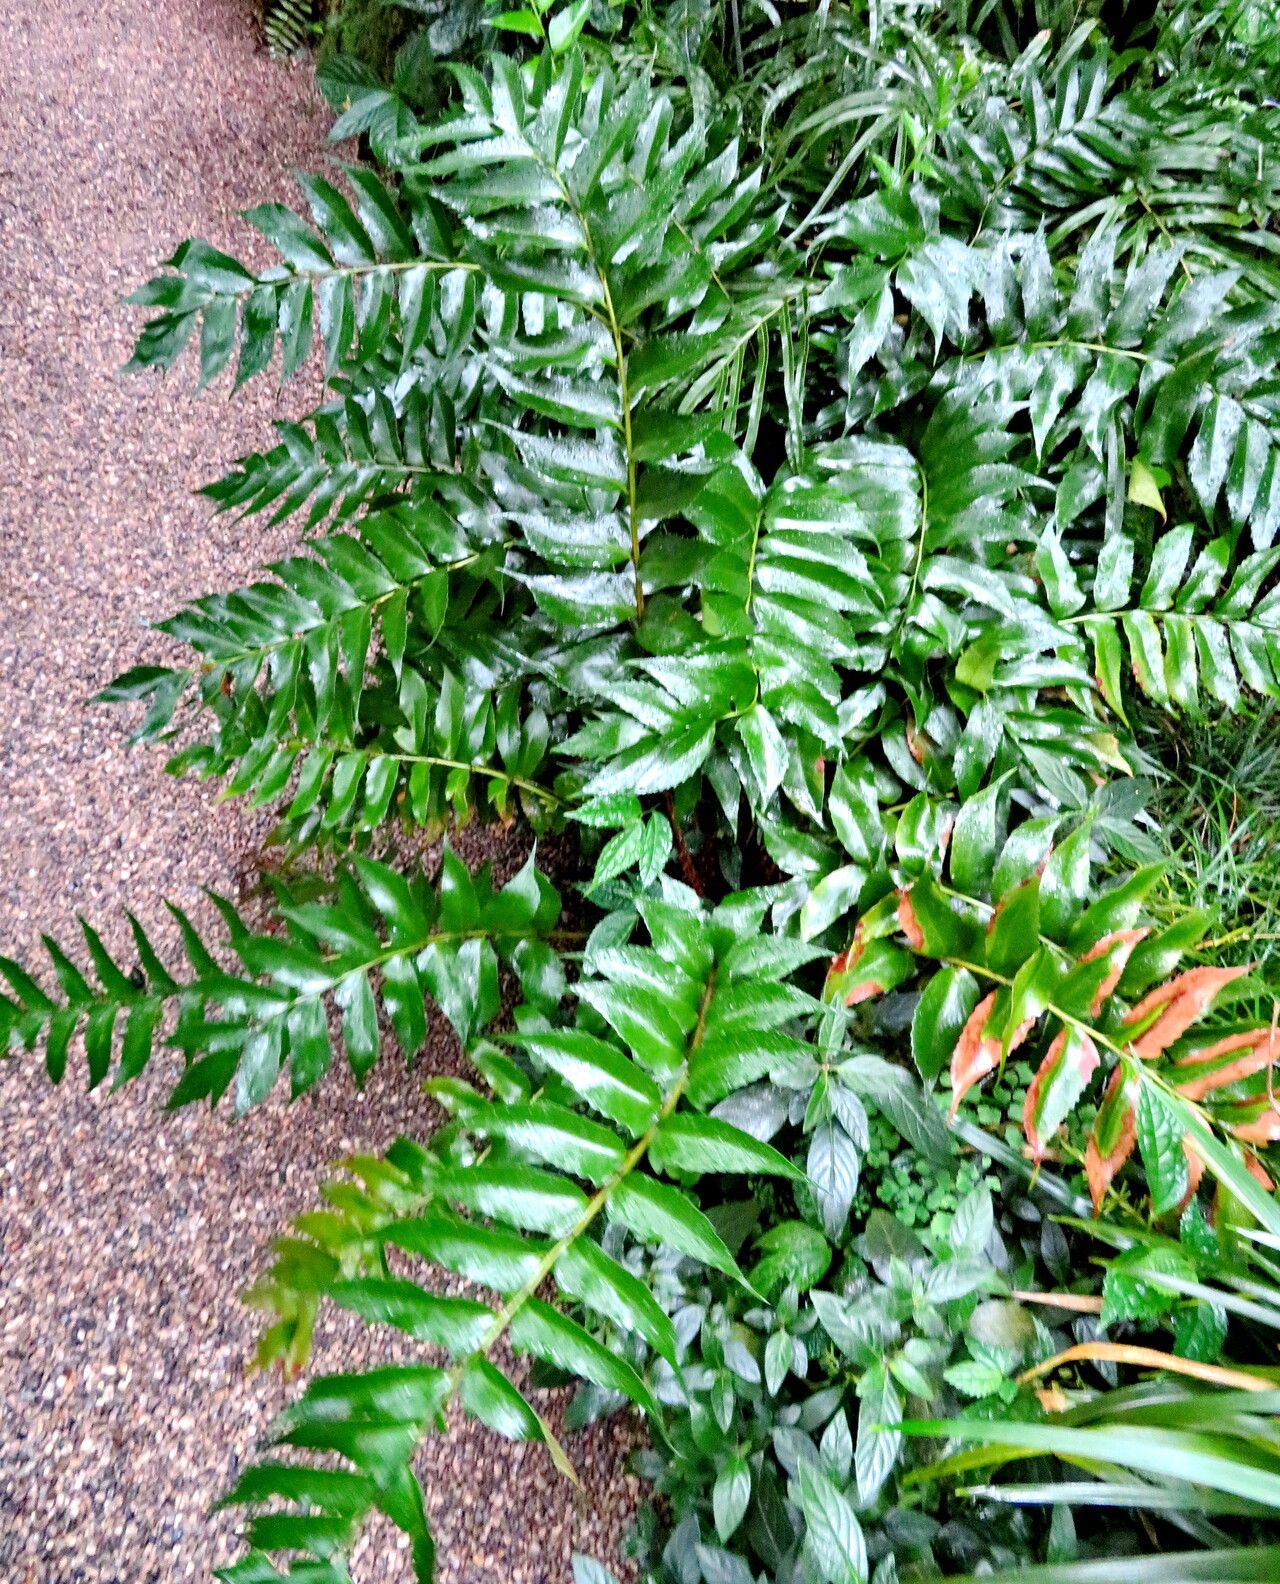
The Pteris dentata, with its delicate, lace-like fronds, brings a touch of the wild indoors. This fern, also known as the “Fern Leaf Brake Fern,” adds an airy elegance to any space. Are you enchanted by its beauty and longing for more? Ditch the trip to the garden center! Propagating your own Pteris dentata is a rewarding endeavor that’s easier than you might think. Let’s dive into the fascinating world of fern propagation.
Understanding the Pteris Dentata
Before we delve into the “how-to,” let’s understand what makes this fern tick. Pteris dentata is a resilient and adaptable fern, making it a perfect candidate for propagation. Unlike many plants that rely solely on seeds, ferns reproduce through spores and division.
Method 1: Spore Propagation (The Patient Gardener’s Approach)
Spore propagation is like mimicking nature’s own magic. It’s a longer process, but the reward of witnessing new life emerge from seemingly nothing is truly special.
- Spore Collection: Look for small, brown, dot-like structures called “sori” on the undersides of mature fronds. When they appear fuzzy, they’re ready. Carefully scrape them off onto a white sheet of paper.
- Spore Sowing: Prepare a tray with moistened peat moss. Sprinkle the spores evenly over the surface. Don’t bury them! Cover the tray with a clear plastic bag or wrap to create a humid environment.
- Patience is Key: Place the tray in a warm, shady spot. It can take several weeks to months for the spores to germinate. You’ll first notice a green, moss-like growth called “prothallus.”
- Transplanting: Once the prothallus develops tiny fernlets, gently separate them and plant them in individual pots filled with well-draining soil.
Method 2: Division (The Quick and Easy Method)
For those who prefer a more immediate gratification, division is the way to go. This method is best done in spring when your fern shows signs of new growth.
- Unpotting: Gently remove your Pteris dentata from its pot.
- Divide and Conquer: Look for natural divisions in the root ball. Using a clean, sharp knife or your fingers, carefully separate the fern into sections, ensuring each has a good amount of roots and fronds.
- Repotting: Plant each division in a pot slightly larger than its root system. Use a well-draining potting mix. Water thoroughly and place them in indirect sunlight.
Caring for Your New Fern Offspring
Whether you choose spores or division, providing the right environment is crucial for your new ferns to thrive. Pteris dentata prefers:
- Indirect Light: Avoid placing them in direct sunlight, which can scorch their delicate fronds.
- Humidity is Key: Ferns love humidity! Mist them regularly or place them on a pebble tray filled with water.
- Moist, Well-Draining Soil: Keep the soil evenly moist but never soggy, allowing the top inch to dry out between waterings.
Propagating your Pteris dentata is an adventure—a blend of patience, care, and a touch of magic. With just a bit of effort, you can soon have an abundance of these beautiful ferns gracing your home.