Unearthing the Secrets: How to Propagate Charming Ranunculus Bullatus
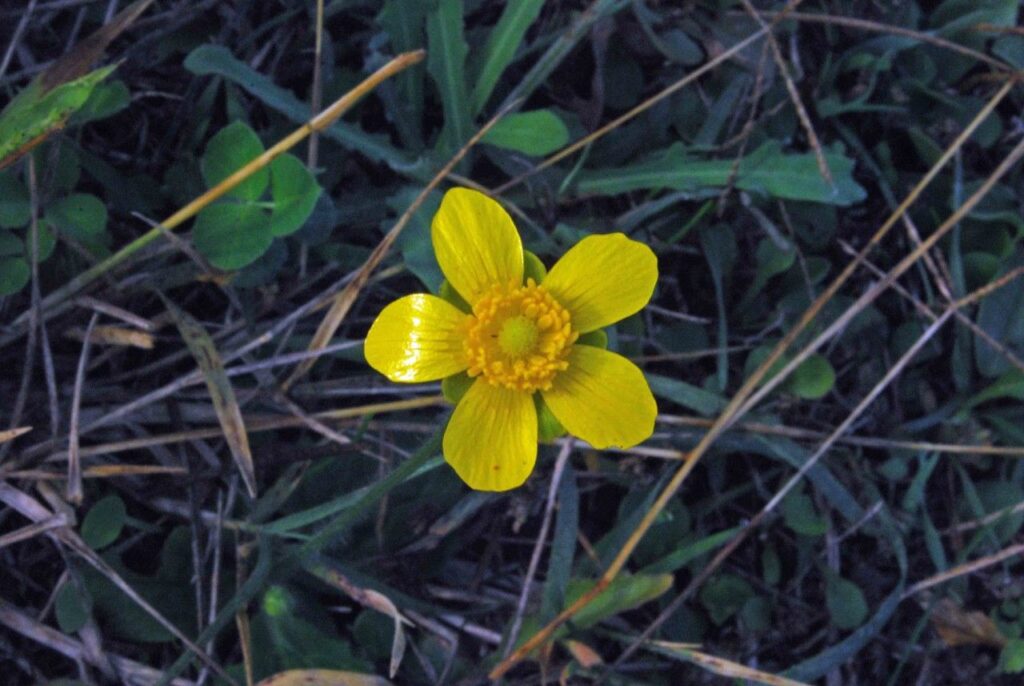
Ranunculus bullatus, with its cheerful, buttercup-yellow blooms and charming, ground-hugging foliage, is a delightful addition to any garden. Unlike its more common, flamboyant cousin, the Persian buttercup (Ranunculus asiaticus), Ranunculus bullatus boasts a delicate charm and a surprisingly long flowering period. If you’re looking to multiply this delightful plant and spread its sunny cheer throughout your garden, propagation is the key.
While Ranunculus bullatus can be a touch temperamental, propagating it isn’t as daunting as you might think. This guide will unearth the secrets to success, providing you with two reliable methods:
1. Division: The Simplest Approach
Division is the easiest and most effective way to propagate Ranunculus bullatus. This method involves separating established clumps into smaller sections, each with its own roots and shoots. The ideal time for this procedure is late summer or early autumn, after the flowering season has ended.
Here’s a step-by-step guide:
- Carefully lift the entire plant from the ground, ensuring you capture most of the root system.
- Gently tease apart the plant into smaller sections, ensuring each section has at least 2-3 healthy shoots and a good portion of roots.
- Prepare your planting area, amending the soil with well-rotted compost or organic matter to improve drainage.
- Plant the divisions at the same depth they were originally growing, ensuring the crown of the plant (where the roots meet the shoots) is level with the soil surface.
- Water thoroughly and keep the soil consistently moist until new growth emerges.
2. Seed Sowing: A More Challenging, Yet Rewarding, Method
While slightly more challenging, propagating Ranunculus bullatus from seed offers a rewarding experience and the potential for a larger number of plants.
Here’s how to try your hand at seed propagation:
- Collect ripe seeds from the dried seed heads of the plant in late summer.
- Prepare a seed tray filled with a well-draining seed starting mix.
- Sow the seeds thinly on the surface of the mix, and lightly press them into the soil.
- Mist the soil with water and cover the tray with a clear plastic lid or cling wrap to maintain humidity.
- Place the tray in a cool, bright location, out of direct sunlight.
- Keep the soil consistently moist but not soggy.
- Germination can be erratic, taking anywhere from a few weeks to a couple of months.
- Once seedlings have developed a couple of true leaves, you can transplant them into individual pots or directly into the garden after the last frost.
Important Considerations:
- Regardless of the propagation method used, good drainage is crucial for Ranunculus bullatus. They prefer well-draining soil and are susceptible to root rot in overly wet conditions.
- Provide your newly propagated plants with a spot that enjoys morning sun and afternoon shade, especially in warmer climates.
- These charming plants are relatively low-maintenance, but regular watering during dry periods and a light feed with a balanced fertilizer in spring will encourage healthy growth and abundant blooms.
Propagating your own Ranunculus bullatus is a rewarding experience that allows you to expand your collection of these cheerful beauties. With a bit of patience and care, you’ll soon have a garden brimming with their sunny disposition, bringing joy year after year.