Unlocking the Secrets: How to Propagate Your Very Own Rhaphiolepis Umbellata
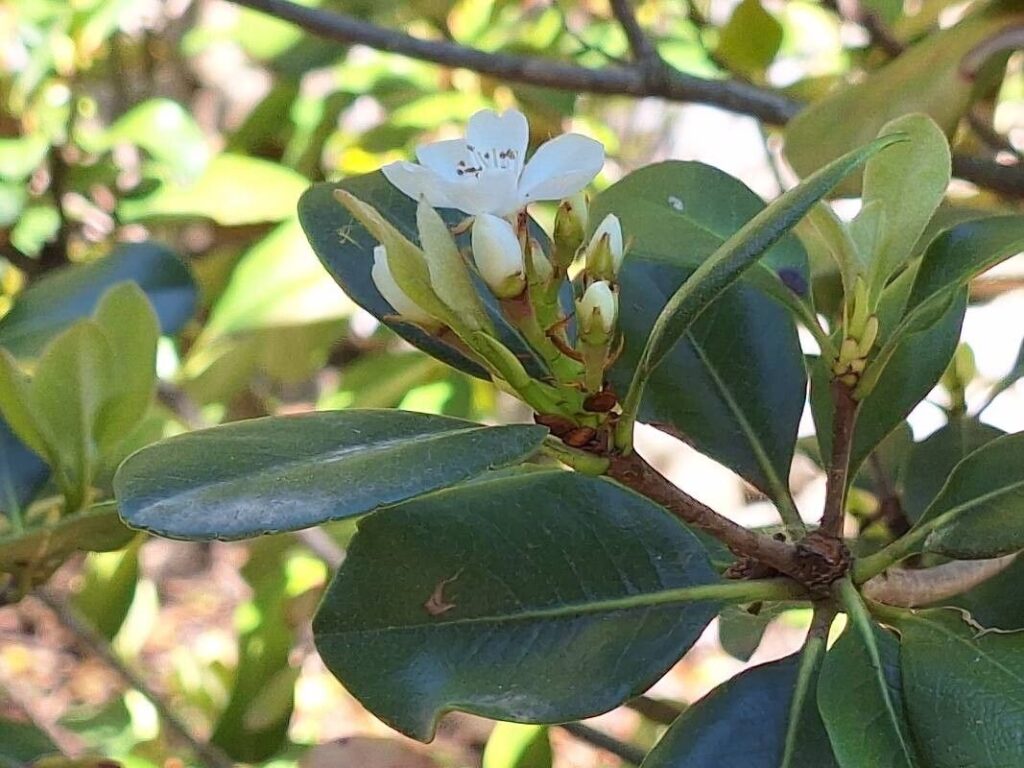
The Rhaphiolepis umbellata, also known as the Yeddo Hawthorn or Indian Hawthorn, is a beloved evergreen shrub prized for its glossy leaves, delicate spring blossoms, and resilient nature. While readily available in nurseries, propagating your own Rhaphiolepis can be a rewarding experience, allowing you to expand your garden while deepening your horticultural skills.
This comprehensive guide will delve into the two most effective methods for propagating Rhaphiolepis umbellata:
1. Propagating from Seed:
While relatively straightforward, propagating Rhaphiolepis from seed requires patience, as germination can be slow and unpredictable. Follow these steps for the best results:
- Seed Collection: Collect ripe berries from an existing Rhaphiolepis in late fall. The berries should be plump and a dark, purplish-black color.
- Seed Extraction: Gently crush the berries and separate the seeds from the pulp. Clean the seeds thoroughly, removing any remaining fruit debris.
- Stratification (Optional but Recommended): Rhaphiolepis seeds benefit from cold stratification to improve germination rates. Place the cleaned seeds in a damp paper towel inside a sealed plastic bag and refrigerate for 6-8 weeks.
- Sowing: After stratification, sow the seeds in a well-draining seed-starting mix. Barely cover the seeds with the mix and mist the soil lightly.
- Environment: Place the seed tray in a warm, brightly lit location, but out of direct sunlight. Maintain consistent moisture, ensuring the soil doesn’t dry out completely.
- Patience is Key: Germination can take anywhere from a few weeks to a few months. Be patient and continue to provide proper care.
2. Propagation from Semi-Hardwood Cuttings:
This method offers quicker results and generally has a higher success rate than seed propagation. Timing is crucial here, as cuttings are best taken during specific growth periods:
- Timing is Everything: The ideal time to take semi-hardwood cuttings is in late summer to early fall, when new growth has started to harden but remains slightly pliable.
- Taking the Cuttings: Select healthy, vigorous shoots from the current year’s growth. Using sharp, sterilized pruning shears, take cuttings that are 4-6 inches long, making a clean cut just below a leaf node.
- Preparing the Cuttings: Remove the leaves from the bottom third of each cutting. If desired, you can dip the cut end in rooting hormone powder to encourage root development.
- Planting the Cuttings: Insert the cuttings into a pot filled with a well-draining rooting medium, such as a mixture of perlite and peat moss. Ensure the bottom leaf node is buried in the medium.
- Creating a Humid Environment: To promote rooting, cover the pot with a clear plastic bag or place it in a propagation dome to maintain a humid environment.
- Root Development: Keep the cuttings in a warm, bright location out of direct sun. The rooting process typically takes about 6-8 weeks. You’ll know roots have developed when you feel resistance when gently tugging the cutting.
Successfully Propagated: Now What?
Once your Rhaphiolepis seedlings or cuttings have developed a strong root system, you can transplant them into individual pots filled with a well-draining potting mix. Harden off the young plants gradually before planting them outdoors in a sunny or partially shaded location with well-drained soil.
Propagating your own Rhaphiolepis umbellata may require a bit of effort and patience, but the rewards are well worth it. With these detailed steps and a little care, you’ll be well on your way to enjoying more of these beautiful shrubs in your own garden.