Demystifying Rhipidoglossum obanense Propagation: A Guide for Growing This Stunning Orchid
The Rhipidoglossum obanense, with its cascading sprays of delicate, star-shaped flowers, is a sight to behold. This epiphytic orchid, native to the rainforests of West Africa, can add a touch of exotic beauty to any home. However, successfully propagating this species can seem daunting for even seasoned plant enthusiasts. Fear not! This guide will demystify the process and equip you with the knowledge to multiply your Rhipidoglossum obanense collection.
Understanding the Basics
Before delving into the specifics, let’s clarify some terminology. “Propagation” simply refers to creating new plants from an existing one. For orchids like our Rhipidoglossum obanense, this can be achieved through two primary methods:
- Division: This method leverages the orchid’s natural growth habit of producing multiple growths, known as “keikis,” on a mature plant. These keikis develop their own roots and can be separated to become independent plants.
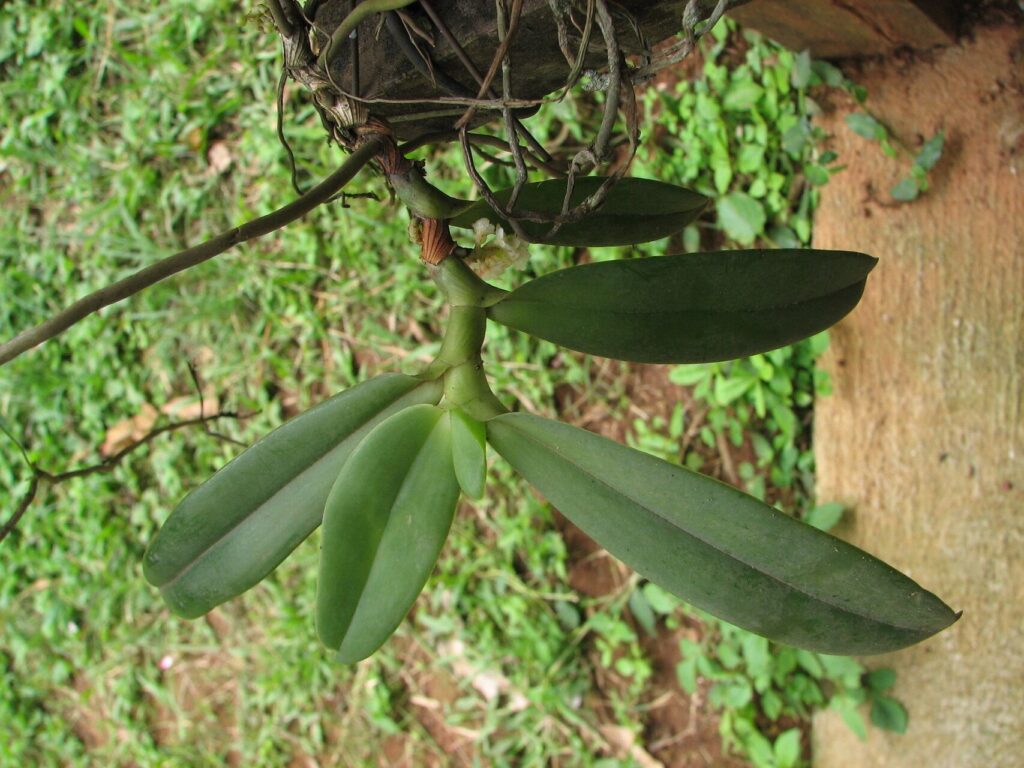
- Back Bulbs: Rhipidoglossum obanense also develops pseudobulbs, thickened stem sections that serve as storage organs. Over time, older pseudobulbs may lose their leaves, becoming “back bulbs.” These back bulbs retain the potential to sprout new growths and offer another propagation avenue.
Propagation through Division
This method is ideal for mature plants boasting multiple healthy keikis.
Step-by-Step Guide:
- Timing: The best time for division is during the active growing season, ideally spring or early summer.
- Preparation: Gather your tools: a sterilized cutting tool (pruning shears or sharp knife), a pot with suitable orchid potting mix, and cinnamon or rooting hormone (optional).
- Dividing the Plant: Carefully remove the orchid from its pot. Locate a keiki with at least 3-4 healthy roots. Using your sterilized tool, make a clean cut separating the keiki from the mother plant.
- Potting: Plant the divided keiki in your prepared pot, ensuring the base of the plant sits slightly above the potting mix’s surface. Gently firm the mix around the roots.
- Aftercare: Place the newly potted keiki in a warm, humid location, out of direct sunlight. Water sparingly until you see new growth, indicating the roots have established.
Propagation through Back Bulbs
While slightly more time-consuming, utilizing back bulbs can revitalize an older plant and produce new ones.
Step-by-Step Guide:
- Selection: Choose a healthy back bulb with no signs of rot or disease.
- Potting: Prepare a shallow tray or pot with a moist, sphagnum moss-based mix. Gently place the back bulb horizontally on the surface, ensuring the eye (the small bump where a new growth emerges) faces upwards.
- Environment: Cover the tray with a clear plastic dome or wrap to retain humidity and place it in a warm, bright location, out of direct sunlight.
- Patience is Key: Maintain consistent moisture and be patient. It may take several weeks or even months for new growth to emerge.
Important Considerations
- Hygiene: Always sterilize your cutting tools with rubbing alcohol to prevent the spread of diseases.
- Potting Mix: Rhipidoglossum obanense thrives in a well-draining, airy mix. A blend of bark chips, perlite, and sphagnum moss works well.
- Patience: Orchid propagation requires patience. Don’t be discouraged if you don’t see results immediately.
Propagating your Rhipidoglossum obanense can be a rewarding experience. By following these guidelines and embracing the journey, you’ll soon have beautiful new additions to your orchid family.