Propagating Rhododendron auritum: A Gardener’s Challenge and Reward
Introduction:
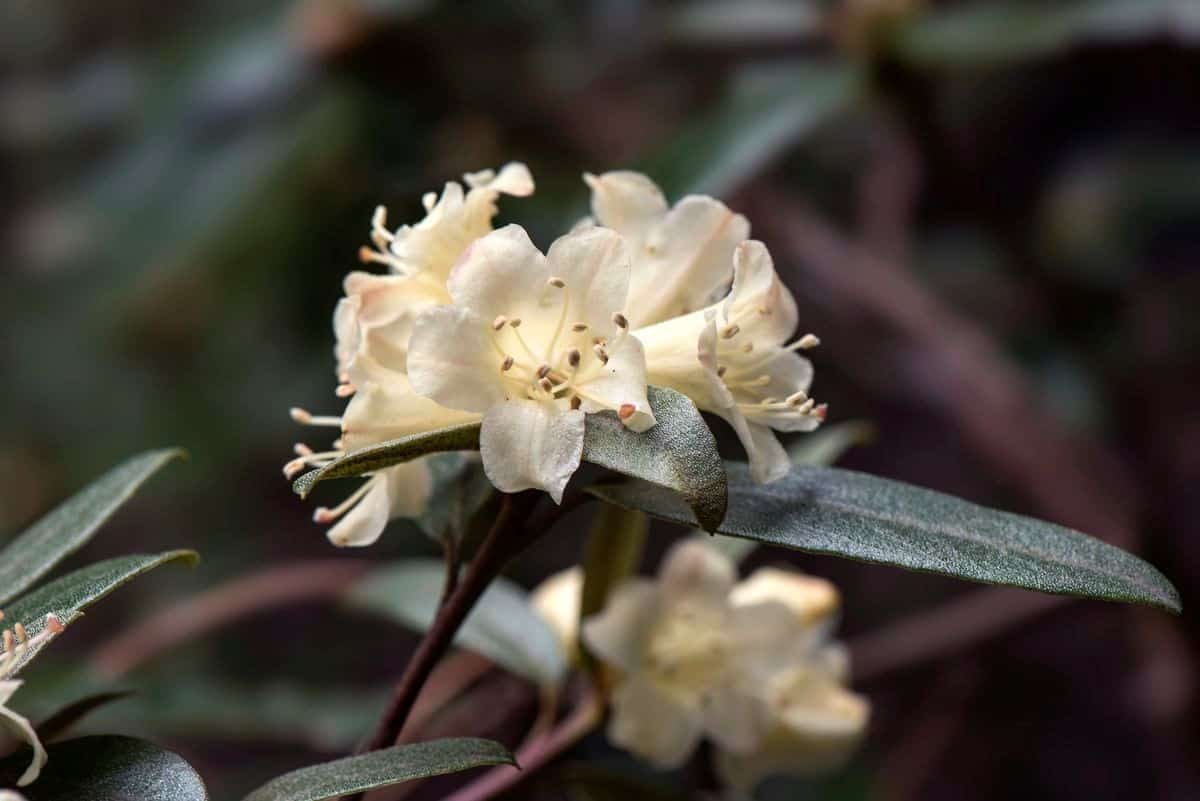
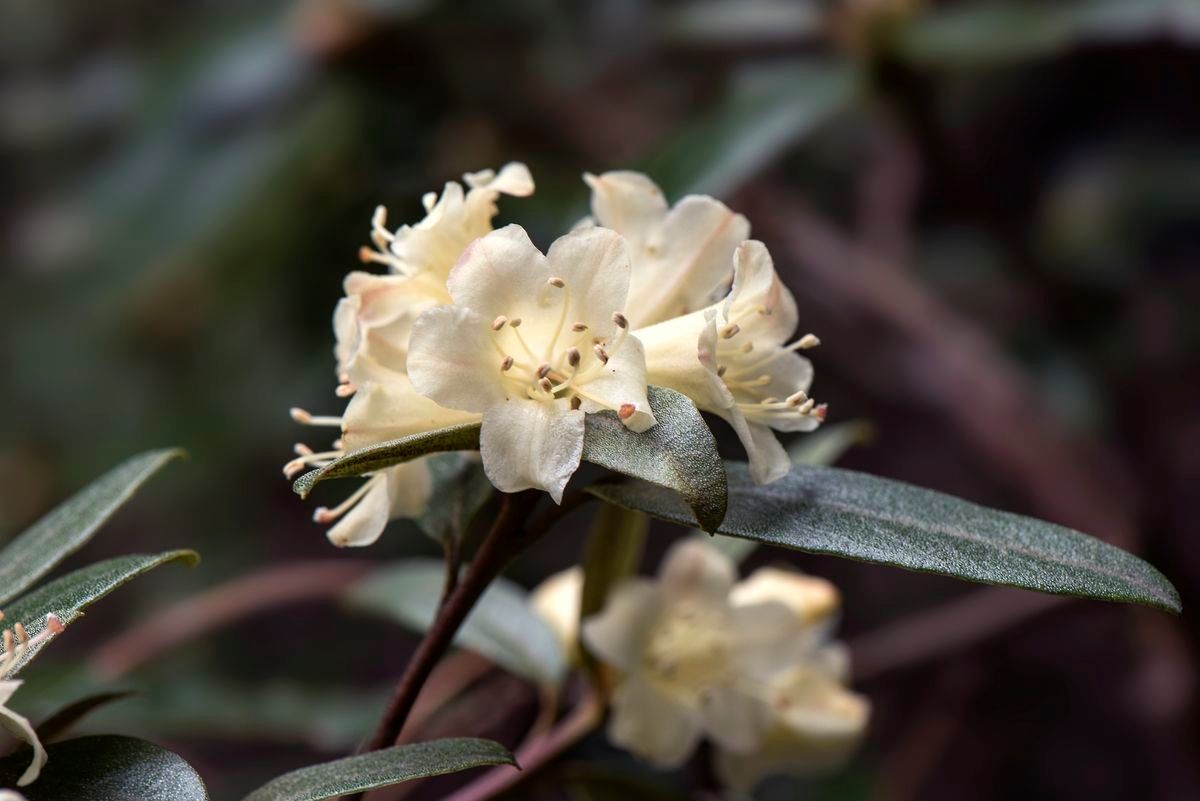
Rhododendron auritum, also known as the eared rhododendron or Japanese rhododendron, is a captivating shrub prized for its large, showy flowers and attractive foliage. Its leathery leaves, often displaying a reddish-bronze hue in young growth, contribute significantly to its ornamental value. While not as commonly cultivated as some other rhododendron species, R. auritum holds considerable appeal among gardeners seeking a less ubiquitous, yet equally stunning, addition to their landscapes. Its unique characteristics, including its tolerance of a wider range of conditions than some rhododendrons, makes propagation a worthwhile endeavor for enthusiasts, albeit one with its own set of challenges.
Seed Germination:
Seed germination for Rhododendron auritum is possible but presents significant challenges. The seeds are famously tiny and possess a low germination rate. Success hinges heavily on meticulous attention to detail.
Challenges: Seed dormancy is a major hurdle. Seeds require a period of cold stratification—typically 8-12 weeks at temperatures between 33-40°F (0-4°C)—to break dormancy. Furthermore, fungal diseases can easily decimate seedlings, requiring a sterile sowing mix and careful monitoring.
Practical Tips: Sow seeds thinly on a well-draining, sterile seed-starting mix. Stratify the seeds prior to sowing. Maintain high humidity and consistent moisture, and provide bright, indirect light. The use of a fungicide can greatly improve seedling survival rates.
Rewards: Successful germination yields genetically diverse plants, offering the possibility of unique variations in flower color and form. This method presents the potential for large-scale propagation, particularly for conservation efforts involving this species.
Cuttings:
Cuttings are a more reliable method for propagating Rhododendron auritum than seed germination.
Challenges: Rooting cuttings can be slow and requires a high level of humidity and consistent warmth. The use of rooting hormone is highly recommended. Selecting the right type of cutting (semi-hardwood cuttings taken in late summer are generally preferred) and maintaining optimal conditions are crucial for success.
Practical Tips: Take 4-6 inch cuttings from non-flowering stems. Remove lower leaves and dip the cut end in rooting hormone. Plant cuttings in a well-draining propagation mix (e.g., perlite and peat moss) and cover with a humidity dome or plastic bag. Maintain consistent humidity and temperature (around 70°F or 21°C).
Rewards: Cuttings produce genetically identical clones of the parent plant. This ensures that desirable traits are maintained and allows for quicker propagation of a specific cultivar.
Division:
Division is generally not a practical method for propagating Rhododendron auritum. This species is not readily divided without significant damage to the plant.
Tissue Culture:
Tissue culture offers a high-potential method for large-scale propagation of Rhododendron auritum. However, it’s a technically demanding process requiring specialized equipment, sterile conditions, and specific expertise in plant tissue culture techniques.
Challenges: Establishing sterile conditions and maintaining a contamination-free environment are crucial. The process demands specialized knowledge, equipment, and media.
Practical Tips: This method is best left to professionals or experienced botanists due to its complexity and specialized requirements.
Rewards: Tissue culture allows for rapid and large-scale multiplication from very small samples of plant tissue. This is particularly valuable for preserving rare or endangered cultivars.
Conclusion:
Propagating Rhododendron auritum presents unique challenges, with seed germination being the most unpredictable. While cuttings offer a more reliable yet still painstaking method, and tissue culture provides potential for large scale propagation but requires specialized expertise, each approach holds definite advantages. The rewards, though, are significant: the chance to grow this beautiful and distinctive species, contributing to its wider presence in gardens, or safeguarding genetic diversity. The satisfaction derived from successfully propagating R. auritum, after navigating its propagation quirks, is immense. For aspiring propagators, perseverance, attention to detail, and a willingness to learn from both successes and failures are key to achieving this rewarding endeavor. Remember to research specific cultivars, as some variations might present unique propagation challenges.