From Seed to Sapling: Unveiling the Secrets of Rinorea paniculata Propagation
Rinorea paniculata, with its striking foliage and captivating blooms, has captured the hearts of many plant enthusiasts. But for those eager to expand their collection or share the beauty of this species, the question arises: how can you propagate this fascinating plant?
While acquiring a Rinorea paniculata plant is relatively easy, propagation offers the exciting prospect of growing your own – a rewarding journey for any plant lover. This blog post will delve into the secrets of propagating Rinorea paniculata, exploring both seed and cutting methods to guide you towards successful cultivation.
From Seed to Sprout:
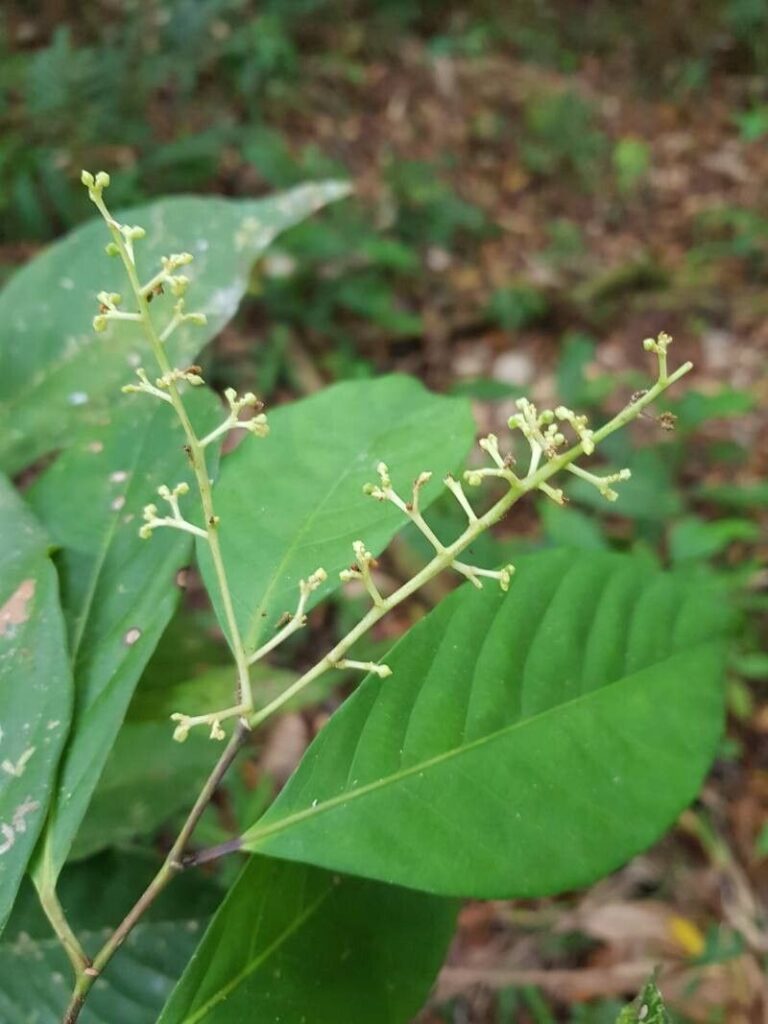
The first route to propagation is through seeds. Rinorea paniculata produces small, round seeds that are typically encased in berries. Once ripe, these berries can be gathered and carefully prepared for planting.
- Harvesting Seeds: Gently pluck ripe berries and extract the seeds. Rinse them thoroughly to remove any remaining pulp.
- Stratification: Some sources suggest that Rinorea paniculata seeds benefit from a period of stratification, a process mimicking winter conditions to break dormancy. This can be achieved by storing seeds in a moist environment at a cool temperature (around 4°C) for several weeks before sowing.
- Sowing: Choose well-draining, slightly acidic potting mix. Sow the seeds shallowly, just a dusting of soil over the top. Maintain consistently moist conditions and a warm environment (ideally around 25°C). Patience is key! Germination can take several weeks or even months.
Taking Cuttings for Success:
Another viable method of propagation is through stem cuttings. This technique utilizes a section of the plant’s stem to encourage root development.
- Selecting Cuttings: Choose healthy, semi-mature stems with several nodes. Snip cleanly just below a node with a sharp knife or pruning shears. Remove leaves from the lower portion of the cutting.
- Rooting Hormone (Optional): To further boost success rates, consider using a rooting hormone powder or gel. Dip the cut end of the stem into the hormone before planting.
- Planting: Prepare a pot filled with a light, airy rooting medium. Insert the cuttings into the medium, ensuring the nodes are buried slightly. Mist the cuttings regularly, maintaining humidity.
- Propagation Environment: Place the pots in a bright location but avoid direct sunlight. A humidity dome or plastic bag can help create a suitable microclimate.
- Patience and Progress: Rooting can take several weeks or months, depending on factors like the time of year and the environment. Patience is key here.
Nurturing Your New Rinorea:
Whether you’ve chosen seeds or cuttings, nurturing your newly propagated Rinorea paniculata is essential.
- Consistent Moisture: Maintain moderately moist conditions without overwatering. Allow the soil to dry slightly between waterings.
- Bright, Indirect Light: Provide ample bright, indirect light. Avoid exposing them to intense direct sunlight.
- Fertilization: Once your plants establish themselves, fertilize them regularly with a balanced liquid fertilizer diluted to half strength.
- Repotting: As your young plants grow, they will need to be repotted into larger containers to provide adequate space for their roots.
Embark on Your Propagation Journey:
Propagating Rinorea paniculata can be a rewarding experience, allowing you to expand your collection, share plants with others, or simply enjoy the magic of nurturing new life. Remember to be patient, provide the right conditions, and your efforts will be rewarded with the beauty and allure of this remarkable plant.