Unlocking the Secrets of Rogeria Longiflora: A Propagation Guide for Stunning Blooms
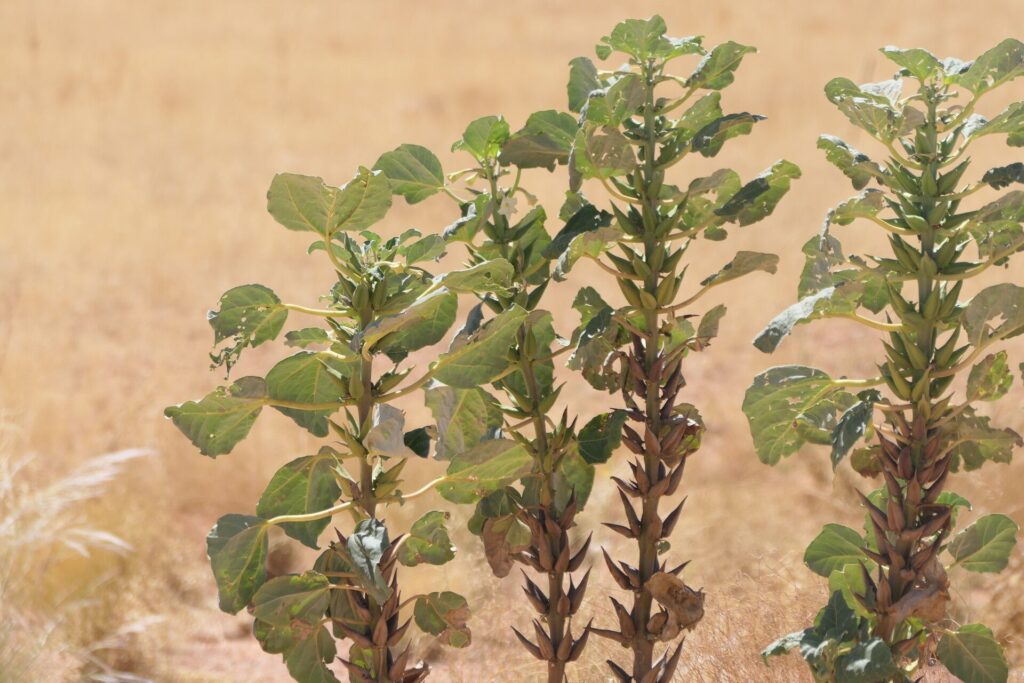
Rogeria longiflora, with its cascading stems of delicate, star-shaped flowers, is a sight to behold. This captivating plant, also known as “Purple showers” or “Yesterday-today-and-tomorrow” due to its color-changing blooms, adds a touch of exotic beauty to any space.
While admiring these beauties is a joy in itself, wouldn’t it be wonderful to multiply their charm? Propagation, the art of growing new plants from existing ones, allows you to do just that. This guide will equip you with the knowledge and techniques to propagate your very own Rogeria longiflora, filling your home and garden with their exquisite blooms.
Propagation Methods: Choosing Your Path
While Rogeria longiflora can be grown from seeds, the process is often slow and unpredictable. Fortunately, this flowering beauty readily propagates through cuttings, a significantly faster and more reliable method.
1. Stem Cuttings: The Tried and True Technique
This popular method involves taking a section of a healthy stem and encouraging it to develop roots. Here’s a step-by-step guide:
- Timing is Key: The ideal time for taking stem cuttings is during the active growing season, preferably in spring or early summer.
- Gather Your Tools: You’ll need clean, sharp pruning shears or a sharp knife, a rooting hormone (optional but recommended), a well-draining potting mix, and small pots or trays.
- Take the Cutting: Select a healthy, non-flowering stem and make a clean cut just below a leaf node (the point where a leaf emerges from the stem). The cutting should be about 4-6 inches long.
- Prepare the Cutting: Remove the leaves from the bottom inch or two of the stem. If desired, dip the cut end in rooting hormone to stimulate root development.
- Planting: Insert the cutting into the prepared potting mix, ensuring the leaf nodes are buried. Gently firm the soil around the base.
- Creating a Humid Environment: Cover the pot with a clear plastic bag or use a propagator to create a humid environment, mimicking greenhouse conditions.
- Patience is a Virtue: Place the pot in a warm, bright location, out of direct sunlight. Monitor moisture levels, keeping the soil consistently moist but not soggy.
- Signs of Success: In a few weeks, you should start to see new growth, indicating that roots have developed. Once the roots are established ( after about 6-8 weeks), you can transplant your new Rogeria longiflora into individual pots or your garden.
2. Water Propagation: A Root Awakening
While less common, Rogeria longiflora cuttings can be rooted in water before being transferred to soil.
- Follow steps 1-4 from the “Stem Cuttings” section.
- Submerge in Water: Instead of planting directly into soil, place the prepared cutting in a jar or glass of water, ensuring the bottom node is submerged.
- Change the Water Regularly: Replace the water every 2-3 days to prevent stagnation.
- Observe Root Development: Within a few weeks, small roots should start forming. Once the roots are about an inch long, carefully plant the cutting into a pot with well-draining soil.
A Final Word: Enjoy the Journey
Propagating Rogeria longiflora might seem daunting at first, but with a little patience and care, you’ll be rewarded with new plants that bring joy for years to come. As you witness the miracle of new life unfolding, remember to enjoy the process. After all, propagating plants is not just about multiplying greenery, it’s about nurturing a passion, one cutting at a time.