Unlocking the Secrets of Rourea glabra Propagation: A Journey From Cutting to Thriving Plant
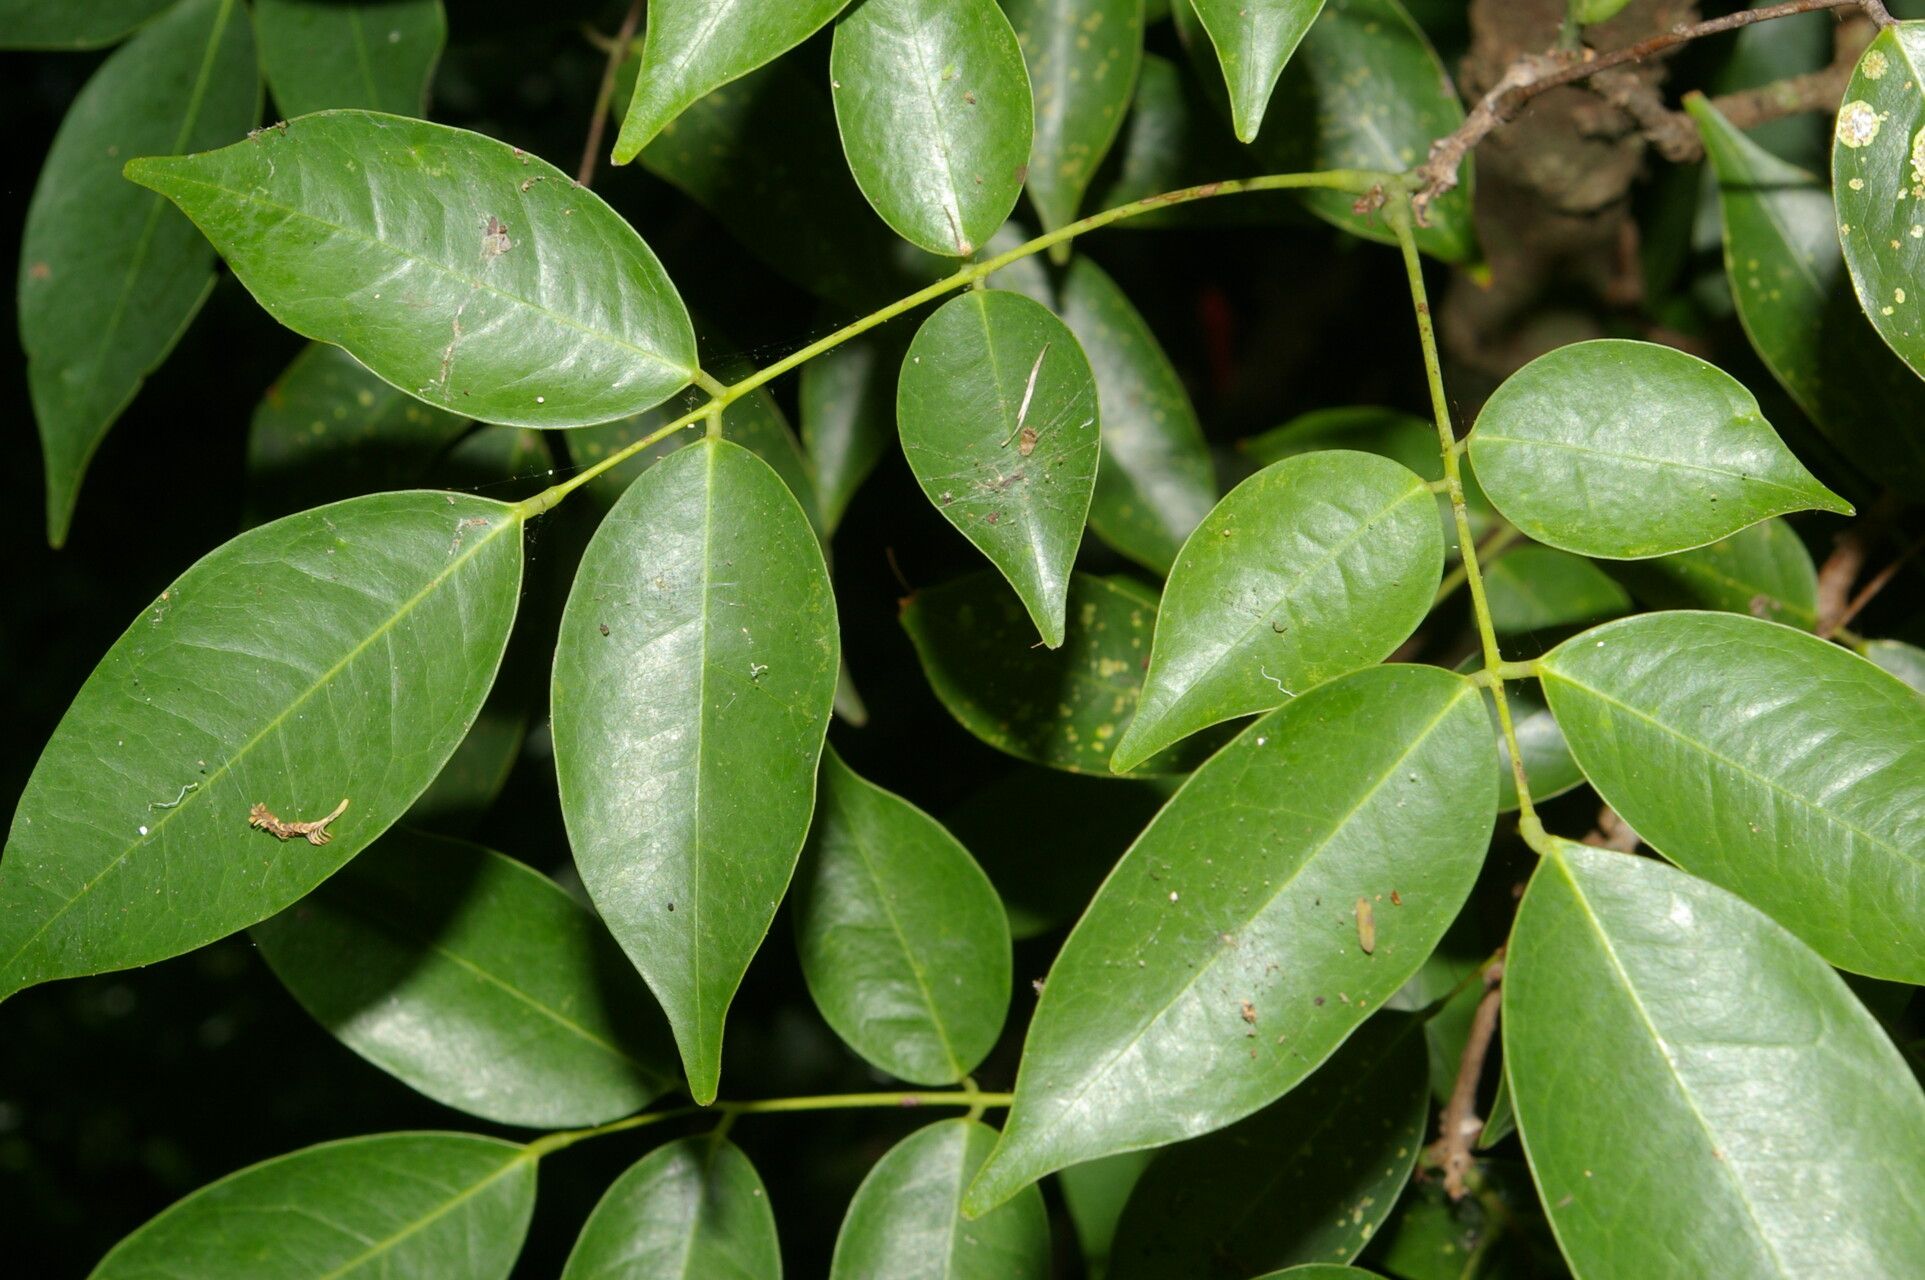
Rourea glabra, with its captivating glossy leaves and graceful climbing habit, has become a beloved plant among indoor gardeners and those seeking an elegant touch for patios and gardens. But what if you could share this beauty with others or simply expand your own collection?
The good news is that propagating Rourea glabra is achievable for even novice plant enthusiasts. This blog post dives into the world of propagation, breaking down the techniques and providing essential tips to ensure your success.
The Magic of Propagation: From One Plant to Many
Propagation involves creating a new plant from a part of an existing one. This is a remarkably efficient way to multiply your plant collection and share the joy of growing with friends and family. For Rourea glabra, two main methods are commonly employed:
1. Stem Cuttings: The Easiest Route
- Timing is Key: Spring and early summer are ideal for taking stem cuttings, as the plant is actively growing.
- The Cutting: Select a healthy, non-flowering stem with several nodes (the points where leaves sprout). Cut the stem just below a node, with a sharp, clean blade.
- Preparing for Success: Remove the leaves from the bottom inch or two of the cutting and apply rooting hormone to the cut end. This encourages faster root development.
- The Rooting Medium: A well-draining mix of perlite and vermiculite or a peat-based rooting medium are excellent choices.
- The Process: Insert the cutting into the moistened rooting medium, firming it in gently. A clear plastic bag over the pot will create a humid microclimate, a crucial factor for successful rooting.
- Patience is Virtue: Give your cuttings time to develop roots. Keep the rooting medium consistently moist but not soggy. Depending on your climate and care, roots should appear in a few weeks.
2. Air Layering: An Alternative for Larger Plants
- The Technique: Air layering involves encouraging roots to form directly on the stem while still attached to the parent plant. This method works best for larger, established Rourea glabra plants.
- Process: Choose a section on the stem with healthy growth. Gently scratch a small portion of the bark on this section, exposing the cambium layer. Wrap the scratched area with moist sphagnum moss, hold it in place with plastic film or aluminum foil, and seal the edges.
- Root Formation: Keep the moss consistently moist. After several weeks, roots should develop inside the moss.
- Separation: Once you spot roots, sever the stem below the air layer and plant it in a pot with fresh potting mix.
Beyond the Basics: Essential Tips for Success
- Water Wisely: Rourea glabra prefers consistent moisture but dislikes soggy roots. Water when the top inch of soil feels dry.
- Light is Key: Provide bright, indirect light and avoid direct sunlight, which can scorch the leaves.
- Humidity Matters: Rourea glabra thrives in humid environments. Consider using a humidifier or placing the pot on a pebble tray filled with water.
- Temperature Control: Maintain a warm temperature, ideally above 60°F (15°C) for optimal growth.
Patience is your Greatest Ally
As you embark on your Rourea glabra propagation journey, remember that patience is key. Allow ample time for root development, and be patient with the process. With the right technique, proper care, and a little patience, you’ll find yourself surrounded by the beauty and elegance of this remarkable plant.