From Snipping to Thriving: How to Propagate Rudgea stipulacea
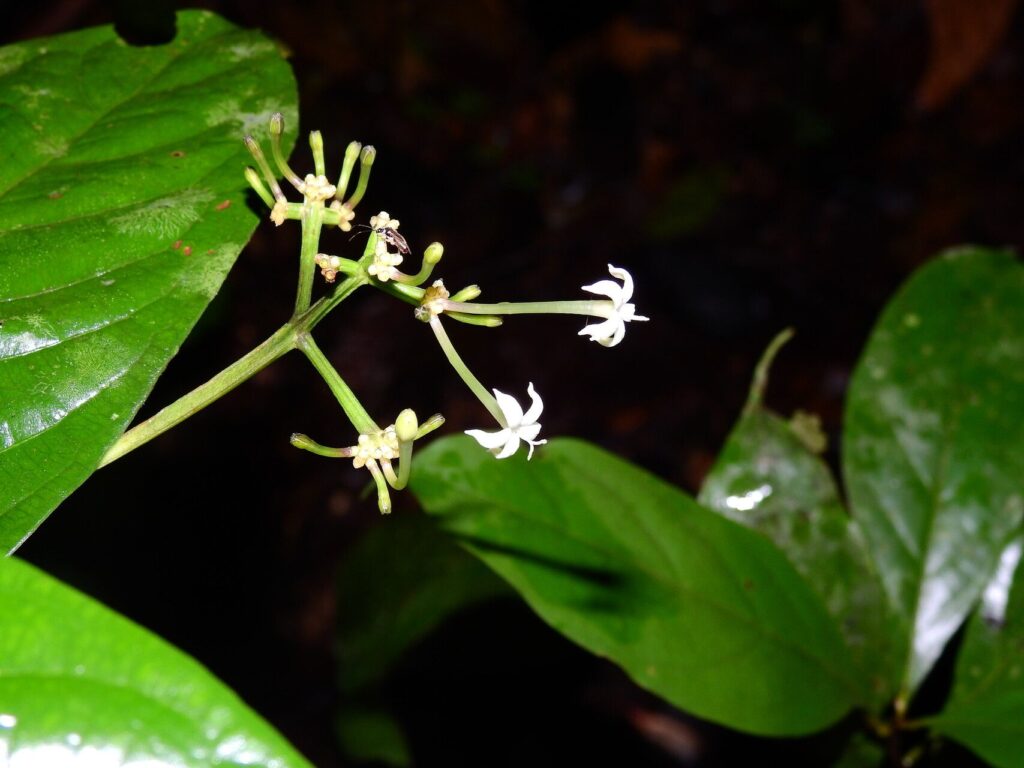
Rudgea stipulacea, also known as the “Purple-Flowered Rudgea”, is a captivating shrub prized for its vibrant purple blooms and lush foliage. But did you know that sharing this beauty with others is as easy as a simple snip? Propagating Rudgea stipulacea from cuttings is a surprisingly straightforward process, allowing you to expand your garden or gift these stunning plants to friends and family.
Why Choose Propagation?
Growing Rudgea stipulacea from cuttings offers several advantages over purchasing new plants:
- Cost-effective: Propagation lets you create multiple plants from just one, saving you money in the long run.
- Genetic preservation: Propagating from cuttings ensures that the new plant will be an exact genetic copy of the parent plant, preserving its unique characteristics.
- Increased variety: You can experiment with different cutting methods and rooting techniques to enhance your gardening skills.
The Right Time and Tools:
The best time to take cuttings for Rudgea stipulacea is in spring or early summer when the plant is actively growing. Gather these essential tools:
- Sharp, clean knife or pruning shears: For making precise and clean cuts.
- Rooting hormone: This helps stimulate root growth in the cutting.
- Potting mix: Use a well-draining mix specifically formulated for cuttings.
- Clear plastic bags or humidity dome: These create a moist environment that promotes rooting.
- Small pots or trays: To hold the cuttings while they develop roots.
Step-by-Step Guide:
- Choose Your Cutting: Select healthy, non-flowering stems that are about 4-6 inches long. Aim for a stem with at least 3-4 nodes, which are the points where leaves emerge.
- Make the Cut: Use your sharp knife or shears to make a clean, angled cut just below a node.
- Prepare the Cutting: Remove any leaves below the soil line and dip the cut end into rooting hormone.
- Plant the Cutting: Fill a small pot or tray with your prepared potting mix and make a small hole in the center. Place the prepared cutting in the hole, ensuring the nodes are below the soil line. Gently firm the soil around the cutting.
- Create a Humid Environment: Cover the pot or tray with a clear plastic bag or a humidity dome. This helps retain moisture and encourages root development.
- Maintain a Warm and Bright Location: Place the container in a warm, bright location, but avoid direct sunlight, which can scorch the delicate new growth.
- Keep the Soil Moist: Keep the soil consistently moist but not soggy. Mist the cuttings as needed to maintain humidity.
- Monitor Progress: After a few weeks, you should notice new growth emerging from the nodes. This is a sign that roots are developing.
- Gradually Acclimate: After several weeks, start gradually acclimating your cuttings to normal conditions by removing the plastic bag or humidity dome for increasing periods.
- Transplant: Once the cuttings are well-established with a strong root system, you can transplant them to larger pots or directly into your garden.
Tips for Success:
- Use a sharp knife or shears to prevent damaging the stems.
- Avoid using old or contaminated tools, which can spread diseases.
- Keep the cuttings in a warm and humid environment.
- Avoid overwatering, which can rot the roots.
- Be patient and give your cuttings time to develop roots.
With a bit of patience and the right techniques, you can easily propagate Rudgea stipulacea from cuttings and share the beauty of this vibrant plant with others. So, grab your tools, get ready to snip, and enjoy the satisfaction of creating new life from a simple cutting!