Spreading Sunshine: The Easy Way to Propagate Sanvitalia “Mexican Creeping Zinnia”
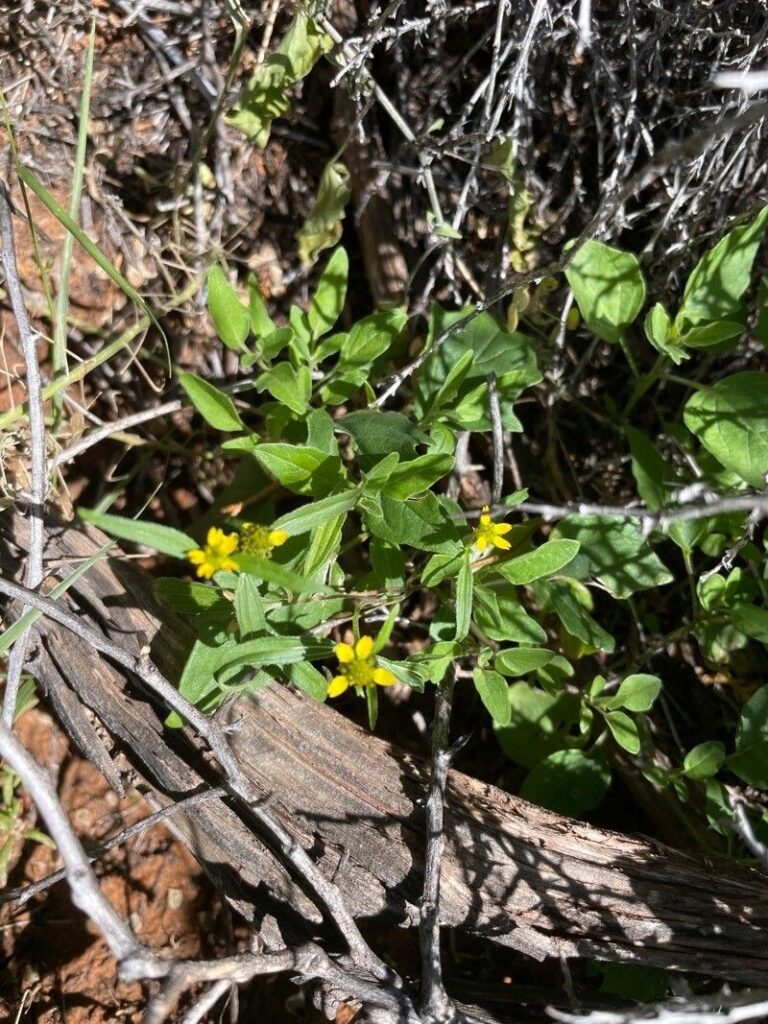
Sanvitalia abertii, more commonly known as Mexican creeping zinnia, is a cheerful, sun-loving annual that’s a favorite for adding vibrant color to gardens and containers alike. While it’s readily available at garden centers in the spring, did you know you can easily propagate this beauty and enjoy its golden glow year after year?
This guide will walk you through two simple methods for propagating your own Sanvitalia from seed or cuttings:
Method 1: Starting from Seed
Starting Sanvitalia from seed is an incredibly rewarding way to fill your garden with these sunny blooms. Here’s what you need:
- Seeds: You can collect seeds from your existing plants after the flowers fade or purchase them from a reputable supplier.
- Seed Starting Mix: Choose a well-draining seed starting mix to prevent damping off.
- Seed Trays or Small Pots: These provide a controlled environment for your seedlings to thrive.
- Water Spray Bottle: Misting ensures even moisture without disturbing the delicate seeds.
- Warm Sunny Location: This is crucial for successful germination and healthy growth.
Steps:
- Sow the Seeds: Fill your trays or pots with dampened seed starting mix. Sanvitalia seeds need light to germinate, so press them lightly on the surface of the soil without burying them.
- Mist and Cover: Gently mist the seeds with water and cover the trays lightly with plastic wrap or a humidity dome to retain moisture.
- Provide Warmth and Light: Place the trays in a warm location with bright, indirect sunlight. Aim for a temperature between 70-75°F (21-24°C).
- Keep Moist: Check the moisture level daily and mist the soil whenever it feels dry to the touch.
- Germination Time: Your Sanvitalia seeds should germinate within 7-14 days.
- Thinning: If multiple seedlings sprout in one cell, gently thin them out to allow the strongest one to flourish.
- Transplanting: Once your seedlings have developed a few sets of true leaves and the risk of frost has passed, you can transplant them into larger pots or directly into your garden.
Method 2: Propagating from Cuttings
Taking cuttings is another straightforward method for propagating your Sanvitalia:
- Sharp, Clean Pruning Shears or Scissors: Essential for taking healthy cuttings.
- Rooting Hormone (Optional): Can help speed up the rooting process, but isn’t strictly necessary.
- Small Pots or Seed Trays: Prepare these with a well-draining potting mix.
- Light Source: A grow light or bright, indirect sunlight is ideal.
Steps:
- Take Cuttings: Choose healthy, non-flowering stems from your Sanvitalia plant. Using clean, sharp shears, take a 3-4 inch cutting just below a leaf node. Remove the lower leaves of the cutting, leaving only the top few.
- Apply Rooting Hormone (Optional): Dip the cut end of your Sanvitalia stem in rooting hormone to encourage faster root development.
- Plant the Cuttings: Make a small hole in the prepared potting mix and gently insert the cutting, ensuring the leaf nodes are covered. Water it in well.
- Provide Humidity and Light: Cover the cuttings loosely with a plastic bag or place them in a propagator to maintain humidity. Place them in a spot with bright, indirect light.
- Root Development: After a few weeks, gently tug on the cuttings to check for resistance. Resistance indicates root development.
- Transplanting: Once rooted, carefully transplant your new Sanvitalia plants into individual pots or directly into your garden, ensuring they receive adequate sunlight and water.
Enjoy Your Bounty of Sunshine
Whichever method you choose, propagating Sanvitalia is a rewarding experience. With a little patience and care, you’ll have plenty of these dazzling plants to fill your garden with their radiant golden blooms year after year.