Unveiling the Secrets of Silky Scabious: A Guide to Propagating Scabiosa holosericea
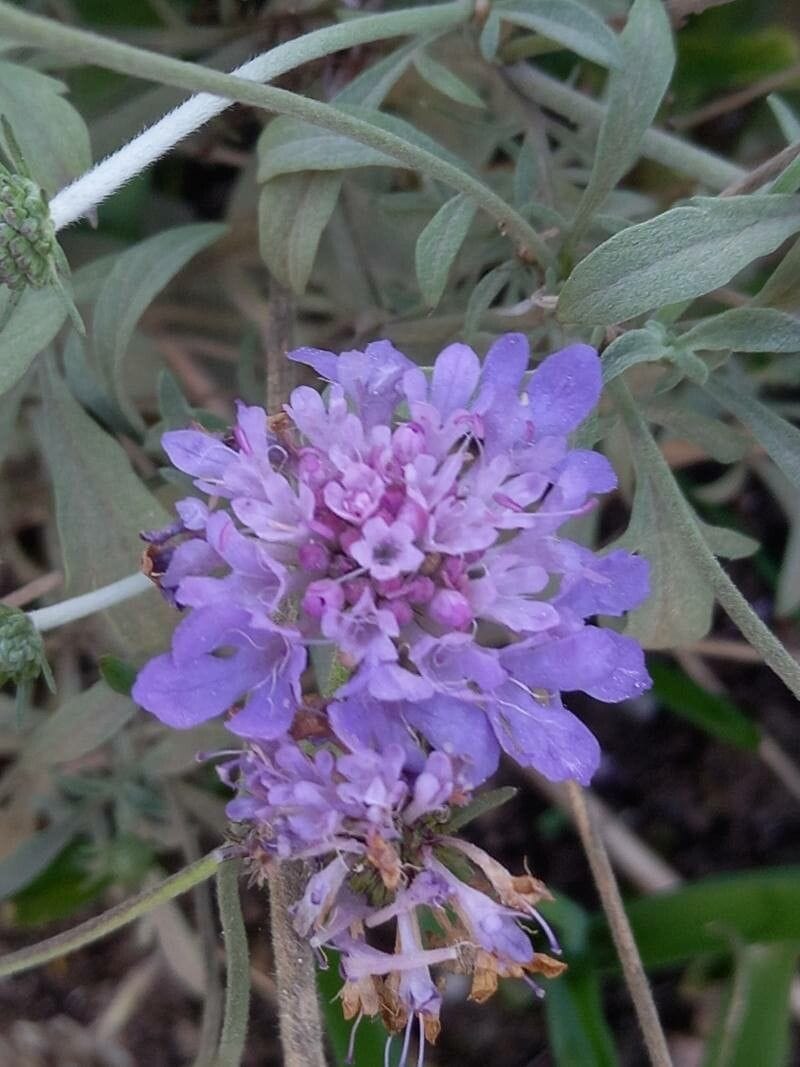
Scabiosa holosericea, known for its captivating silky blooms and delicate charm, is a true garden gem. But did you know that propagating this lovely plant isn’t as intimidating as it sounds? Whether you’re a seasoned gardener or just starting, mastering the art of multiplying your Silky Scabious will reward you with an abundance of these floral beauties for years to come.
This comprehensive guide will demystify the process, providing you with the knowledge and confidence to successfully propagate Scabiosa holosericea using two effective methods:
1. Seed Starting: A Rewarding Journey from Tiny Seeds to Stunning Blooms
Sowing seeds offers a satisfying experience, allowing you to witness the entire life cycle of your Silky Scabious. Here’s how to get started:
- Timing is Key: For best results, sow your seeds indoors 6-8 weeks before the last expected frost in your area. This provides ample time for the seedlings to mature before being transplanted outdoors.
- Prepare the Seedbed: Use a good-quality seed starting mix that offers excellent drainage. Moisten the mix and sprinkle the seeds evenly over the surface. Don’t bury them too deep; a light dusting of soil is sufficient.
- Provide Warmth and Light: Place the seed tray in a warm location with indirect sunlight. A consistent temperature of around 70°F (21°C) is ideal for germination.
- Patience is a Virtue: Seed germination can take anywhere from 2 to 4 weeks. Keep the soil consistently moist but not waterlogged during this period.
- Transplant Time: Once the seedlings have developed a couple of sets of true leaves and all danger of frost has passed, it’s time to introduce them to their permanent home in the garden. Choose a sunny spot with well-drained soil.
2. Cuttings: A Shortcut to Success for Quick and Easy Propagation
Taking cuttings is a faster propagation method, allowing you to create clones of your favorite Silky Scabious plant:
- Timing Matters: The ideal time for taking cuttings is in late spring or early summer when the plant is actively growing.
- Select Healthy Shoots: Look for healthy, non-flowering stems. Using a sharp, sterilized knife or pair of pruning shears, cut a 3-4 inch section just below a leaf node.
- Prepare the Cuttings: Remove the lower leaves, leaving only a couple of pairs at the top. This helps prevent rotting and encourages root development.
- Root Hormone (Optional): While not essential, dipping the cut end in rooting hormone can increase the success rate, especially for beginners.
- Planting the Cuttings: Plant the cuttings in a well-draining potting mix, ensuring the leaf nodes are buried. Water gently and maintain a humid environment. Covering the pot with a plastic bag can help.
- Transplantation: After 4-6 weeks, the cuttings should have developed a healthy root system and be ready to be transplanted to individual pots or a sunny spot in your garden.
General Tips for Success:
- Well-Drained Soil is Crucial: Silky Scabious thrives in well-drained soil. Amend heavy clay soils with compost or other organic matter to improve drainage.
- Sunlight is Key: Choose a location that receives at least 6 hours of direct sunlight per day.
- Water Wisely: Water deeply but infrequently, allowing the soil to dry out slightly between waterings.
- Deadheading Encourages More Blooms: Regularly remove spent flowers to encourage continuous blooming throughout the season.
By mastering these simple techniques, you’ll not only ensure a thriving population of Silky Scabious in your garden but also gain the satisfaction of successfully propagating your own plants. So go ahead, unleash your inner gardener, and watch your garden come alive with the delicate beauty of Scabiosa holosericea!