Unlocking the Secrets of Scaphyglottis lindeniana: A Propagation Primer
The Scaphyglottis lindeniana, with its charmingly diminutive flowers and intriguing growth habit, is a captivating orchid for enthusiasts of all levels. While caring for this epiphytic beauty might seem daunting, propagating it doesn’t have to be. This guide will demystify the process, empowering you to expand your collection and share the joy of these delightful orchids.
Understanding the Plant:
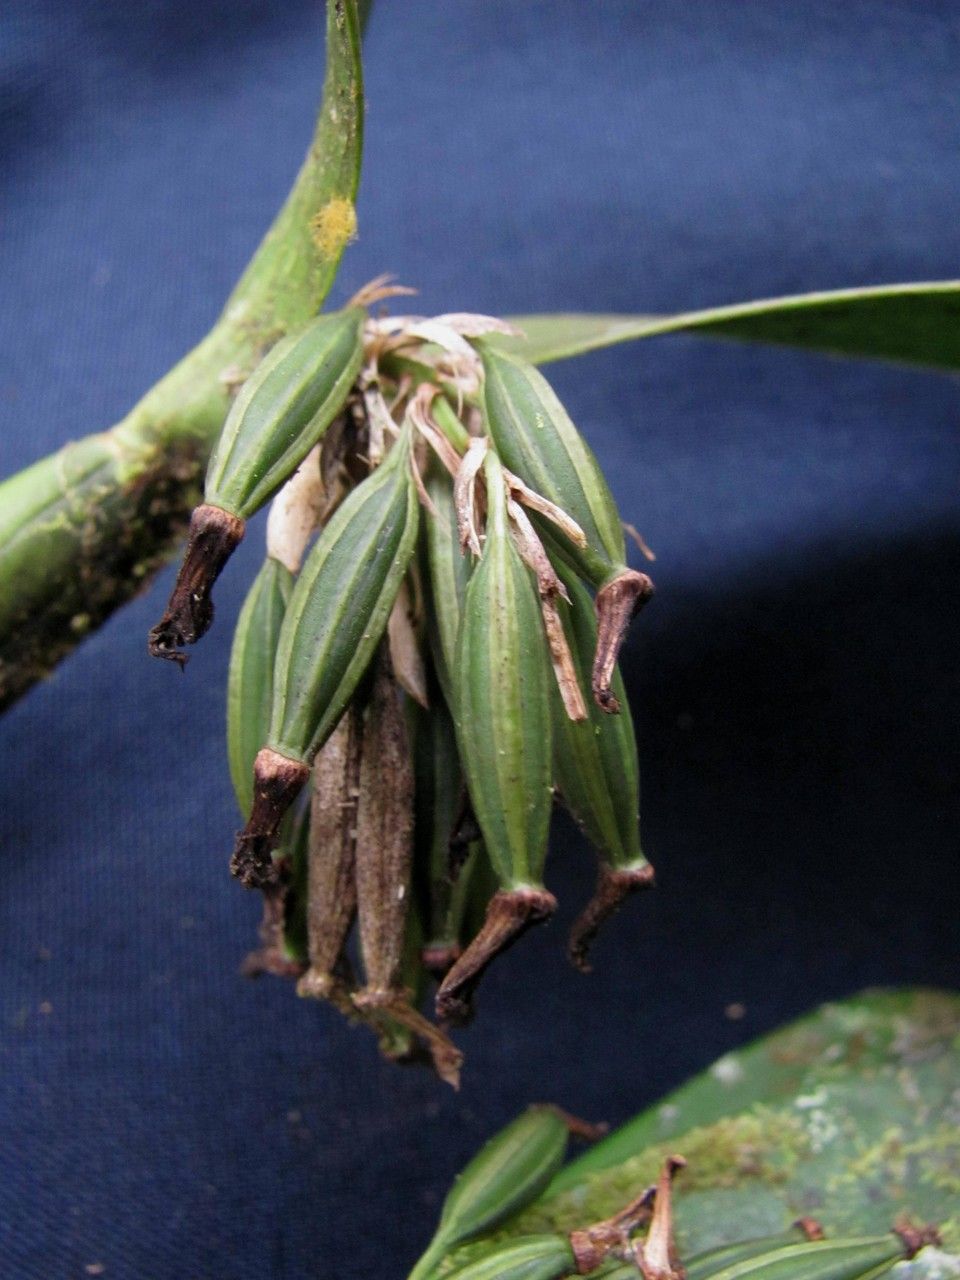
Before diving into propagation, it’s crucial to understand what makes the Scaphyglottis lindeniana tick. Unlike orchids that grow in soil, this species is an epiphyte, meaning it naturally grows on trees, clinging to bark for support. This characteristic informs their care and propagation needs.
While seeds are an option, they require specific conditions and patience. For hobbyists, two primary methods are more practical and yield faster results:
Division: Mature Scaphyglottis lindeniana often form clumps with multiple growths, called “pseudobulbs,” connected by a rhizome. Division involves carefully separating these clumps into smaller sections, each containing at least 3-4 healthy pseudobulbs. This method is best done during spring when the plant is actively growing.
- Prepare: Choose a sterilized, sharp cutting tool and select a pot slightly larger than the divided section. Fill it with a well-draining orchid mix, ensuring it doesn’t retain excessive moisture.
- Divide: Gently remove the orchid from its pot and locate natural division points on the rhizome. Using the sterilized tool, carefully cut the rhizome, ensuring each division retains healthy roots and pseudobulbs.
- Potting: Plant each division in the prepared pot, securing the base of the pseudobulbs just above the surface of the potting mix. Water sparingly until new growth emerges.
Keikis: These are essentially baby orchids that sprout from the nodes of mature pseudobulbs. Once a keiki develops its roots, typically 2-3 inches long, it’s ready for separation.
- Removal: Gently twist the keiki while holding the mother plant firmly. This usually detaches it cleanly, leaving a small wound on the pseudobulb which heals naturally.
- Potting: Plant the keiki like you would a division, ensuring the roots are in contact with the moist (not wet) potting medium.
Post-Propagation Care:
- Light: Provide bright, indirect light, similar to the dappled sunlight they receive in their natural habitat.
- Watering: Water thoroughly when the potting mix approaches dryness. Avoid overwatering, as it can lead to root rot.
- Humidity: Aim for 50-70% humidity. Regularly misting or using a pebble tray can help achieve this.
Patience is Key:
Propagation, like any aspect of plant care, requires patience. It might take several weeks or even months for your divisions or keikis to establish themselves and show robust new growth. Don’t be discouraged if you encounter minor setbacks; with consistent care and attention, you’ll be rewarded with flourishing Scaphyglottis lindeniana, a testament to your green thumb and a beautiful addition to your indoor jungle.