Unlocking the Secrets of the “S” Curve: Propagating Scaphyglottis Sigmoidea
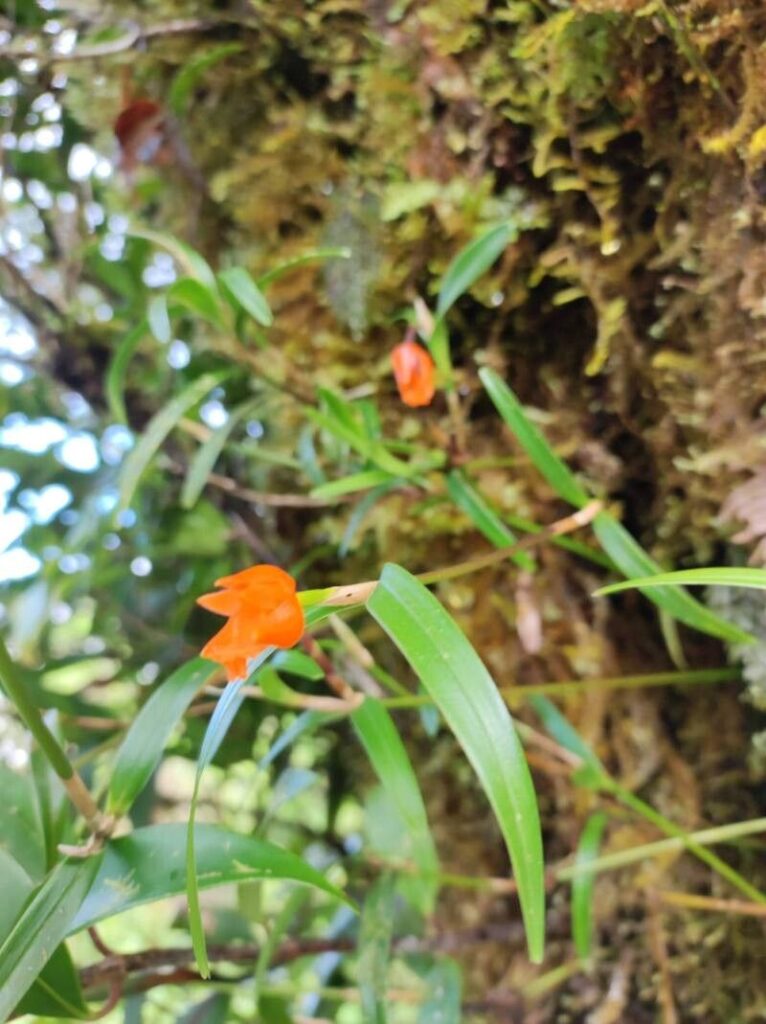
The intricate beauty of Scaphyglottis sigmoidea, with its delicate, uniquely shaped petals and intriguing “S” curve, is a sight to behold. But what if you could share this beauty with others, or simply enjoy a thriving collection of your own? Propagation unlocks the potential to grow more of this captivating orchid, and with a little patience and the right techniques, you can successfully bring new life to your collection.
Choosing the Right Method:
For Scaphyglottis sigmoidea, the two most popular methods of propagation are division and seed germination.
-
Division is a relatively simple and successful method, ideally performed during the plant’s active growth phase. This involves carefully separating the plant’s pseudobulbs (the swollen stems) into individual sections, each containing at least two pseudobulbs and healthy roots. Plant these sections in a well-draining potting mix, keeping them warm and humid.
- Seed germination is a more challenging but rewarding method. Orchid seeds are incredibly tiny and require specific conditions to germinate. These conditions include a sterile medium, high humidity, and often, the presence of a symbiotic fungus called mycorrhizae. While daunting, seed germination offers the opportunity to grow hundreds of new plants from a single seed pod.
Here’s a detailed look at each method:
Division:
- Prepare Your Tools: Sterilize your cutting tools (like a sharp knife or pruning shears) with rubbing alcohol to prevent disease.
- Inspect Your Plant: Choose a healthy, mature Scaphyglottis sigmoidea that has multiple pseudobulbs. Look for signs of healthy root growth.
- Divide the Plant: Carefully separate the plant into sections, ensuring each section has at least two pseudobulbs and healthy roots. Avoid damaging the roots during this process.
- Potting Up: Plant the divisions in a well-draining orchid potting mix. Ensure the plant is potted at the same depth as it was previously.
- Provide Ideal Conditions: Maintain high humidity and warmth, and water regularly to encourage root development.
Seed Germination:
- Collect Seeds: Once the seed pod ripens, collect the tiny seeds.
- Sterile Setup: Prepare a sterile environment using a seed tray and sterile orchid growth media.
- Inoculation: Inoculating the seeds with mycorrhizae is essential for successful germination. You can purchase commercially prepared mycorrhizae or utilize a symbiotic fungus found in healthy orchid roots.
- Light and Water: Provide the seeds with bright, indirect light and keep the medium consistently moist, but not soggy.
- Patience is Key: Seed germination can take several weeks or even months. Be patient and maintain ideal conditions; seedling growth will eventually emerge.
Tips for Success:
- Maintain High Humidity: Scaphyglottis sigmoidea thrives in environments with high humidity. Misting the plant regularly or using a humidifier can help maintain optimal conditions.
- Provide Adequate Light: These orchids prefer bright, indirect light. Avoid direct sunlight, which can scorch the leaves.
- Water Regularly: Keep the potting mix consistently moist but allow it to dry slightly between waterings.
- Provide Proper Air Circulation: Good air circulation helps prevent fungal diseases. Ensure the plant is not overcrowded and allow for air to flow around it.
Propagating Scaphyglottis sigmoidea allows you to cultivate a collection of these enchanting orchids, share them with others, and witness the captivating “S” curve dance across your windowsill. With the right techniques and careful attention, you can unlock the secrets of their propagation, enjoying the beauty and reward of nurturing new life.