
The Magic of Resurrection Ferns: How to Propagate Selaginella lepidophylla
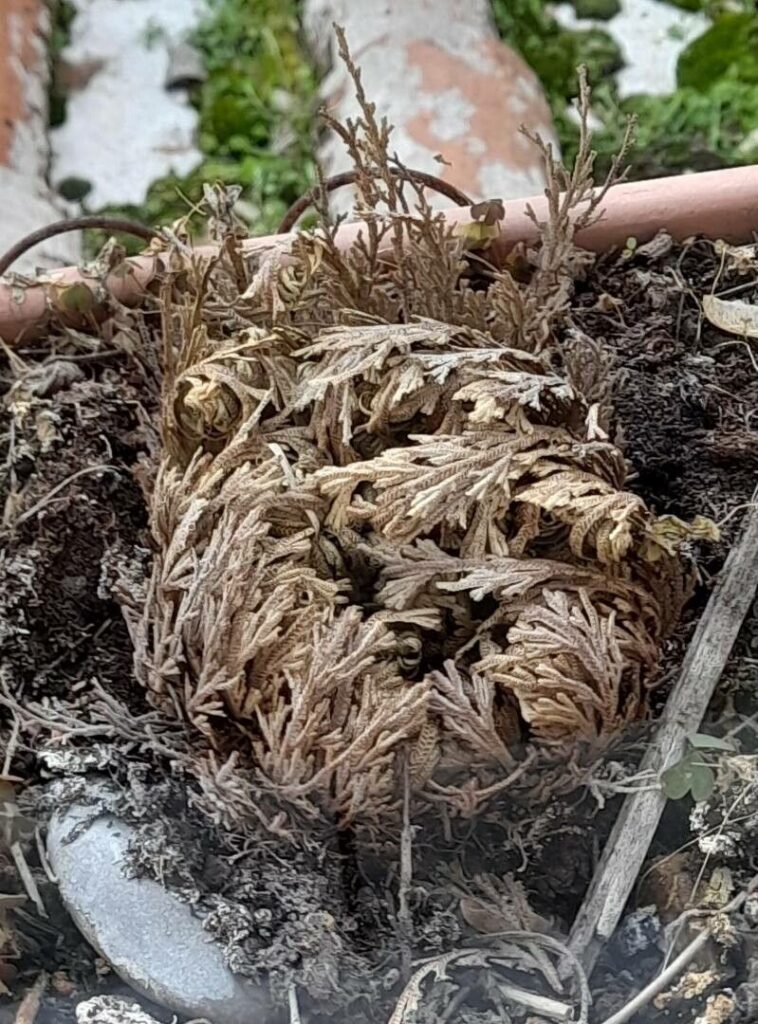
Have you ever heard of a plant that can come back to life after seeming completely dried out? That’s the incredible feat of the Selaginella lepidophylla, also known as the Resurrection Fern. This fascinating plant, native to the Chihuahuan Desert, has the ability to survive extreme drought by curling into a tight ball and appearing completely dead. But with a little bit of water, it magically unfolds and springs back to life, earning it the nickname “Resurrection Plant.”
If you’re charmed by the resilience of this remarkable plant and want to grow your own, you’re in luck! While it might seem like magic, propagating Selaginella lepidophylla is actually quite simple. Here’s your guide to bringing this unique plant into your home:
1. The Magic of Spores:
Resurrection Ferns reproduce using spores, not seeds. These tiny, dust-like structures are produced in structures called sporophylls, which are located on the underside of the plant’s stems.
2. Spore Collection:
Start by carefully selecting a healthy, mature plant that is producing sporophylls. Gently brush the underside of the stems to release the spores into a container. You can also use a paper towel to collect the spores.
3. Spore Preparation:
The collected spores are a bit like seeds waiting to germinate, but they have a special requirement: moisture. Mix the spores with a light, sterile growing medium. A mix of peat moss and perlite works well. Transfer this mixture to a shallow container with drainage holes.
4. The Perfect Environment:
Resurrection Ferns thrive in humid conditions, so maintain a high humidity level around the spores. You can achieve this by misting the container regularly or by placing it in a humid environment such as a terrarium. Keep the soil moist but not soggy. Place the container in a warm location, but avoid direct sunlight.
5. Patience is Key:
Germination for Resurrection Fern spores can take anywhere between 2 to 12 weeks. Be patient and don’t give up! Keep the growing medium moist and the environment humid. You’ll start to notice tiny green shoots emerge from the surface.
6. Transplanting Time:
Once the young plants have developed a few sets of leaves, it’s time for them to move to their permanent homes. Carefully transplant them into small pots filled with a well-draining potting mix. Continue to keep the soil consistently moist.
7. The Power of Division:
While spores are the primary means of propagation, Resurrection Ferns can also be propagated by division. This involves carefully separating the plant’s rhizomes (underground stems) into smaller sections, each with a few healthy leaves, and planting them separately.
8. Growing and Care:
- Watering: Ensure the soil is consistently moist, but allow it to dry out slightly between waterings. Overwatering can lead to root rot.
- Light: Resurrection Ferns prefer bright, indirect light. Avoid direct sunlight, which can scorch their delicate leaves.
- Humidity: These plants need high humidity to thrive. You can mist the plant regularly, use a humidifier, or grow it in a terrarium.
Conclusion:
Bringing the magic of Resurrection Ferns into your home is achievable and rewarding. Whether you choose the spore method or division, patience and proper care will ensure your little “magic plant” flourishes. Watching the dry, curled ball unfurl and come back to life with the right amount of water is a captivating experience, reminding you of the resilience that lies hidden within the natural world.