
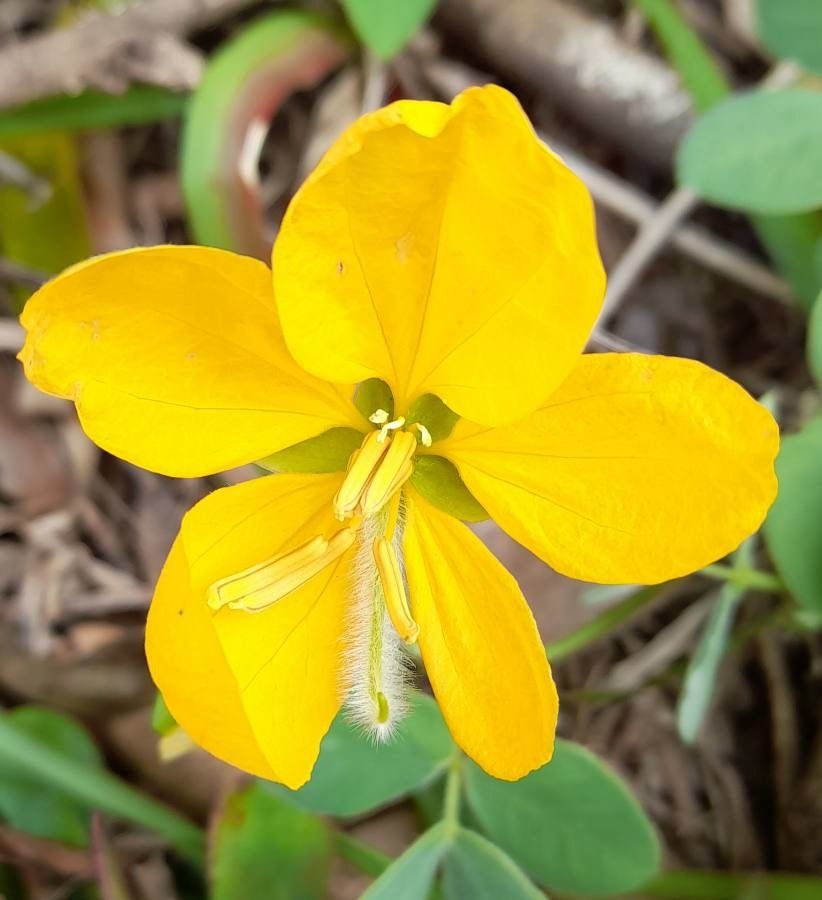
Golden Showers on Demand: Propagating the Beautiful Senna Pilifera
Senna pilifera, with its vibrant yellow blooms cascading like golden rain, is a sight to behold. This showy shrub, native to South America, brings a touch of the tropics to gardens worldwide. While admiring its beauty is easy, have you ever considered propagating your own Senna pilifera? It’s simpler than you might think! Let’s explore the world of Senna pilifera propagation, bringing some sunshine to your gardening endeavors.
Two Paths to Golden Glory: Seeds and Cuttings
Senna pilifera offers flexibility when it comes to propagation, allowing you to choose the method that best suits your resources and preferences:
1. Starting from Seed: A Journey of Patience and Reward
Propagating Senna pilifera from seed is a rewarding experience, allowing you to witness the entire lifecycle of this amazing plant. Here’s how:
- Seed Collection: Collect ripe seed pods from an existing Senna pilifera. These pods turn brown and brittle when ready.
- Seed Preparation: Senna pilifera seeds have a hard outer coating. To improve germination rates, lightly scarify the seeds by rubbing them gently with sandpaper or nicking them with a sharp knife.
- Sowing the Seeds: Plant the seeds in a well-draining seed starting mix, covering them lightly with soil. Water gently and consistently, keeping the soil moist but not soggy.
- Warmth and Light: Senna pilifera seeds thrive in warmth. Place the seed tray in a warm, brightly lit location, out of direct sunlight.
- Germination: Be patient, as germination can take a few weeks to a couple of months. Once the seedlings emerge and have a few sets of true leaves, they can be transplanted into individual pots.
2. Cuttings: A Faster Route to Golden Showers
Propagating from cuttings is a quicker method, ideal if you want to establish new plants more rapidly.
- Timing is Key: Take cuttings in the spring or early summer when the plant is actively growing.
- Selecting Cuttings: Choose healthy, non-flowering stems that are about 4-6 inches long.
- Prepare the Cuttings: Remove the leaves from the lower two-thirds of the stem. Dip the cut end in rooting hormone (optional, but recommended).
- Planting the Cuttings: Plant the cuttings in a well-draining potting mix, burying the nodes (where the leaves were attached) below the soil surface.
- Moisture and Humidity: Keep the potting mix consistently moist and provide humidity by covering the cuttings with a plastic bag or humidity dome.
- Root Development: In a few weeks, the cuttings should develop roots. You can test for root growth by gently tugging on the cutting. If it resists, roots are forming! Once roots are established, the cutting can be transplanted into a larger pot.
Tips for Success
No matter your chosen propagation method, these tips will help you on your way:
- Well-Draining Soil: Senna pilifera is susceptible to root rot, so well-draining soil is crucial.
- Sunlight Lovers: These plants thrive in full sun to partial shade. Ensure your seedlings or cuttings receive adequate sunlight.
- Watering Wisely: Water deeply but infrequently, allowing the soil to dry out slightly between waterings.
- Fertilize Regularly: Use a balanced fertilizer during the growing season to support healthy growth and blooms.
Bringing the Tropics Home
Propagating Senna pilifera is an enriching experience, allowing you to grow your own collection of these vibrant plants. With a bit of patience and care, you’ll soon be enjoying your own cascade of “golden showers,” adding a touch of tropical beauty to your garden with the satisfaction of knowing you grew them yourself.