Unlocking the Secrets of Senna Quinquangulata: A Guide to Propagation
Senna quinquangulata, also known as the Senna shrub or Climbing Cassia, is a sight to behold. This vigorous climber, adorned with cascading clusters of vibrant yellow flowers, can transform any garden into a tropical paradise. But before you envision your own floral haven, you might be wondering: how exactly do you propagate this beauty?
Luckily, propagating Senna quinquangulata is a relatively straightforward process, offering two main avenues: seeds and cuttings.
Method 1: Starting from Seed
For those who enjoy the journey from tiny seed to flourishing plant, this method is incredibly rewarding.
1. Seed Collection and Preparation:
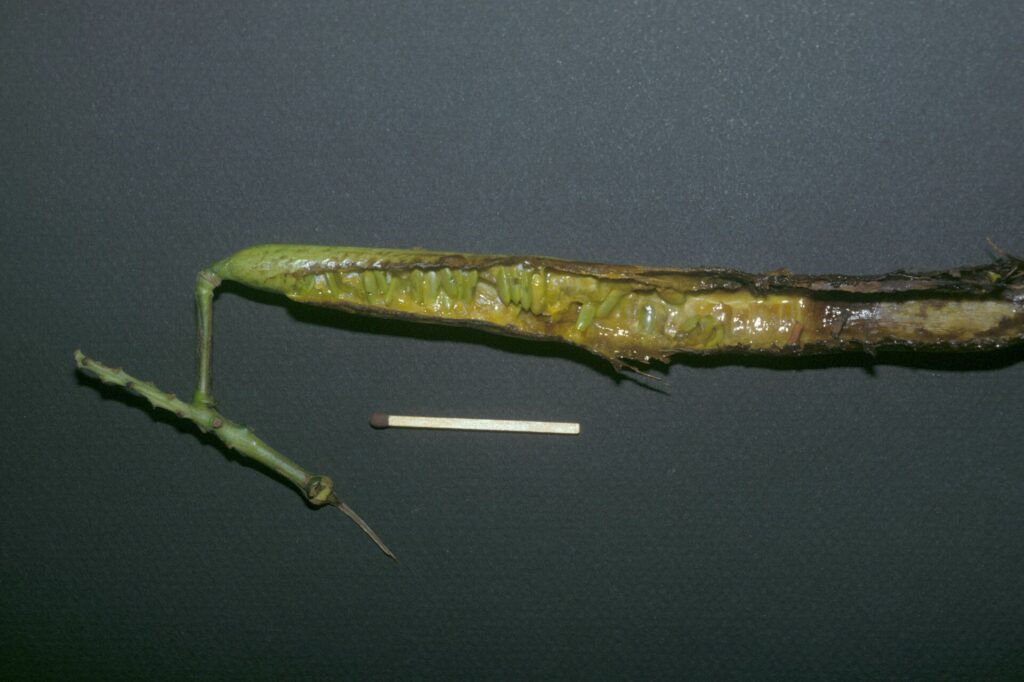
Senna quinquangulata produces long, bean-like pods filled with seeds. Collect mature, dry pods directly from the plant.
- Tip: Pods will typically turn brown and brittle when ready.
2. Scarification and Soaking:
Senna seeds have a hard outer coating that requires scarification to improve germination rates. Gently rub the seeds with sandpaper or a nail file, creating a small nick in the outer layer. After scarification, soak the seeds in warm water for 24 hours. This process helps soften the seed coat further, promoting faster and more uniform germination.
3. Sowing the Seeds:
Use a well-draining seed starting mix and sow the seeds about 1/2 inch deep in individual pots or seed trays. Water gently and keep the soil consistently moist, but not waterlogged.
- Tip: Providing warmth (around 70-75°F) using a heat mat can significantly increase germination success.
4. Germination and Early Growth:
With proper care, germination should occur within 1-3 weeks. Once the seedlings emerge and develop a few sets of true leaves, they can be gradually acclimated to outdoor conditions before transplanting into larger pots or directly into the garden.
Method 2: Propagation through Cuttings
For a quicker and sometimes more predictable outcome, propagating Senna quinquangulata through cuttings is an excellent choice.
1. Selecting the Right Cutting:
Choose healthy, non-flowering stems for cuttings. Ideally, select a stem that is about 4-6 inches long and displays vigorous growth.
2. Preparing the Cutting:
Using clean, sharp pruning shears, make a cut just below a leaf node. Remove the leaves from the lower two-thirds of the cutting, leaving only a few leaves at the top.
- Tip: Dipping the cut end in rooting hormone powder can significantly improve the success rate of rooting.
3. Planting the Cutting:
Insert the prepared cutting into a pot filled with a well-draining potting mix or a mix of perlite and peat moss. Gently firm the soil around the cutting and water thoroughly.
4. Encouraging Root Development:
Maintain a warm, humid environment for the cutting. You can achieve this by covering the pot with a clear plastic