Taming the (Somewhat) Wild: Propagating Solanum Asperum at Home
Solanum asperum, also known as the “sticky nightshade” or “nightshade berry,” may sound like something out of a Shakespearean tragedy, but this wild beauty is gaining popularity amongst adventurous gardeners. With its delicate white flowers, vibrant berries, and intriguing growth habit, it’s easy to see the appeal. If you’re looking to invite a touch of the untamed into your garden, learning to propagate Solanum asperum is a rewarding endeavor.
Seeds: Embracing the Element of Surprise
Propagating Solanum asperum from seed is a fascinating journey, though it requires a touch of patience. Here’s how:
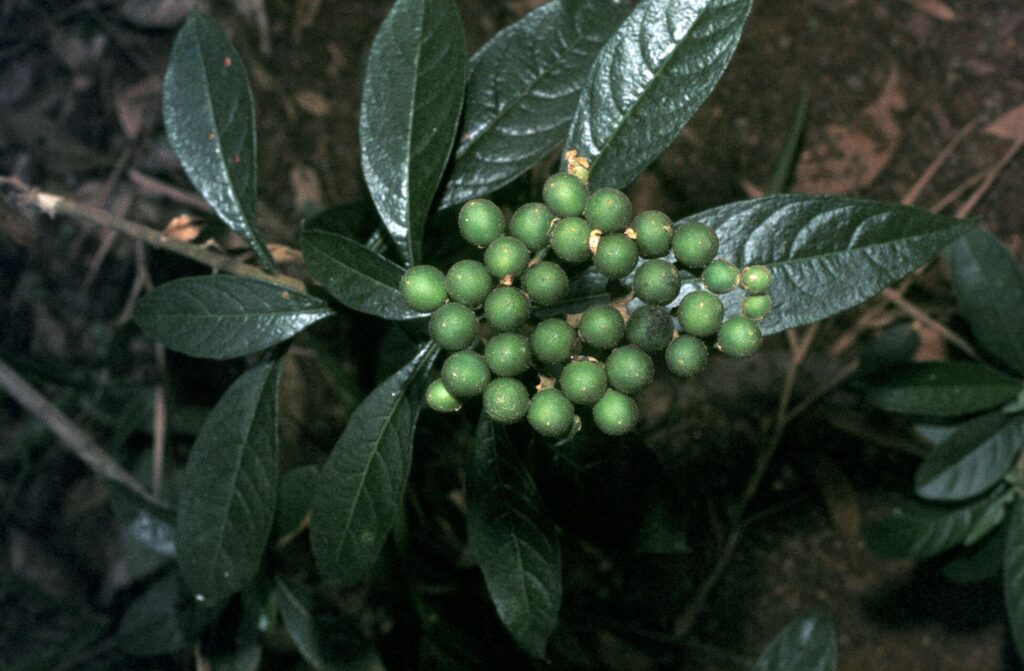
- Berry Good Source: Harvest ripe berries from an existing plant. The berries transition from green to yellow, then finally to a deep, almost black, purple when fully mature.
- Extraction and Cleaning: Carefully extract the seeds from the berries. Be warned, the name “sticky nightshade” is no exaggeration! Washing the seeds thoroughly in a sieve under running water will remove the sticky residue.
- Stratification Simulation: Solanum asperum seeds benefit from a period of cold stratification to break their dormancy. Place your cleaned seeds in a damp paper towel, seal them in a plastic bag, and store them in your refrigerator for 4-6 weeks.
- Sowing Time: Plant your stratified seeds in a well-draining seed starting mix, covering them lightly with soil. Keep the soil consistently moist, and provide warmth (around 70-75°F or 21-24°C) and bright, indirect light.
- Patience, Young Sprout: Germination can take anywhere from 2 to 8 weeks, so don’t lose heart if your little seedlings take their time making an appearance.
Cuttings: A Faster Path to Foliage:
For those who prefer a quicker and more predictable method, cuttings are a fantastic option:
- Choose Wisely: Select healthy, non-flowering stems from your Solanum asperum plant during the spring or early summer. Ideally, the cutting should be around 4-6 inches long.
- Prepare the Cutting: Remove the leaves from the lower half of the stem. You can dip the cut end in rooting hormone powder (although not strictly necessary, it can encourage faster root development).
- Planting Time: Plant your cuttings in a pot filled with a well-draining, loose potting mix, burying the leaf nodes below the soil line.
- Humidity is Key: Maintain a humid environment around the cuttings to prevent them from drying out. A simple humidity dome can be created by covering the pot with a clear plastic bag.
- Root Formation: Keep the soil consistently moist, and within 4-6 weeks, you should see new growth, indicating successful root establishment. Once the cuttings are well-rooted, you can transplant them into larger pots or directly into your garden.
A Note of Caution: Remember that Solanum asperum, like many plants in the nightshade family, contains toxic compounds. While the ripe berries are used in certain cultures for jams and jellies after careful preparation, all parts of the plant should be considered toxic when raw and handled with caution, especially around children and pets.
Propagating Solanum asperum can be a rewarding experience, adding a touch of wild allure to your gardening repertoire. So, embrace the untamed, follow these tips, and enjoy the journey of watching new life spring forth from seed or cutting!