Unleash the Fuzzy Army: Propagating Lamb’s Ear for a Lush, Tactile Garden
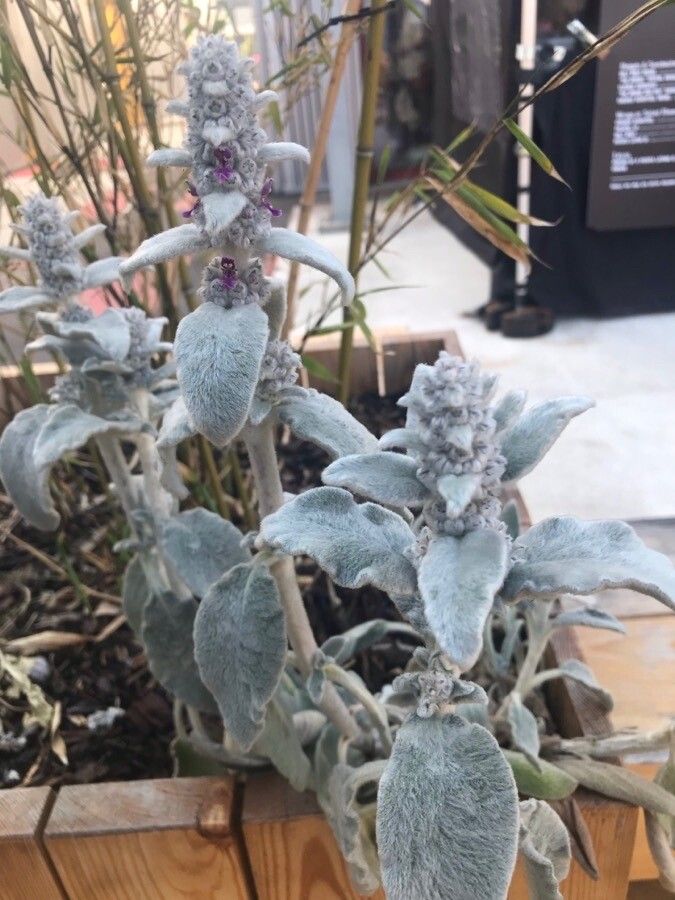
Lamb’s ear (Stachys byzantina) is a beloved garden perennial known for its soft, velvety leaves that resemble, you guessed it, lamb’s ears. But this charming plant isn’t just adored for its fuzzy foliage; it’s also surprisingly easy to propagate, allowing you to blanket your garden with its unique texture and silvery charm without breaking the bank. Let’s explore the simple methods of multiplying your lamb’s ear collection.
Division: The Simplest Path to Multiplication
Division is the most straightforward method for propagating lamb’s ear and yields the quickest results. This technique is best performed in early spring or fall, when the plant is dormant or just beginning new growth. Here’s how:
- Dig It Up: Gently lift a mature lamb’s ear plant from the ground, ensuring you get a good portion of the root system.
- Divide and Conquer: Use your hands or a sharp, clean garden knife to carefully separate the plant into smaller sections, each with a healthy clump of roots and leaves.
- Replant and Thrive: Replant the divisions in well-drained soil, spaced about 12-18 inches apart. Water them in well and watch them flourish!
Cuttings: Snip, Dip, and Grow
Taking stem cuttings is another excellent way to propagate lamb’s ear. This method is best employed in late spring or early summer during the plant’s active growing season. Follow these steps:
- Take Your Pick: Select a healthy, non-flowering stem and make a clean cut just below a leaf node (the point where the leaf attaches to the stem). Ideally, the cutting should be around 4-6 inches long.
- Prep the Cutting: Remove the lower leaves from the stem, leaving only a few leaves at the top. This encourages root development.
- Rooting Hormone (Optional): While not essential, dipping the cut end in rooting hormone can speed up the process.
- Plant and Wait: Plant the cuttings in a well-draining potting mix, burying the bottom node. Keep the soil consistently moist but not waterlogged.
- Patience is Key: Within a few weeks, your cuttings should start to develop roots and show signs of new growth. Once they are well-established, you can transplant them to your garden.
Sowing Seeds: A More Patient Approach
While less common, lamb’s ear can also be propagated from seed. Start seeds indoors about 6-8 weeks before the last frost date for your region.
- Surface Sow: Sprinkle the seeds over the surface of a seed-starting mix and gently press them in. Lamb’s ear seeds need light to germinate.
- Keep it Humid: Cover the tray with a humidity dome or plastic wrap to create a warm, moist environment.
- Thin Out: Once the seedlings emerge, thin them out to give the strongest ones adequate space to grow.
- Harden Off: Gradually acclimate the seedlings to outdoor conditions before transplanting them to the garden after the last frost date.
Tips for Propagation Success:
- Always use clean tools and pots to prevent the spread of diseases.
- Water consistently, but avoid overwatering, which can lead to root rot.
- Provide bright, indirect light for cuttings and seedlings.
- Be patient! Propagation takes time, and some methods take longer than others.
By mastering these simple techniques, you can easily propagate your lamb’s ear and transform your garden into a fuzzy, tactile haven. So, go ahead, unleash the fuzzy army and enjoy the delightful texture and silvery charm these plants bring to any landscape.