Tiny Dancer, Big Impact: Unlocking the Secrets to Propagating Stelis Pusilla
The orchid world is a captivating one, filled with exotic blooms and vibrant colors. While many gravitate towards the showy Cattleyas or the graceful Phalaenopsis, a unique charm surrounds miniature orchids like the Stelis pusilla. This tiny epiphyte, hailing from the cloud forests of Central and South America, captivates with its delicate, intricately patterned flowers and compact growth habit.
But don’t let its diminutive size fool you – propagating Stelis pusilla can be a rewarding challenge, allowing enthusiasts to expand their collections and share the joy of these miniature marvels. Let’s dive into the fascinating world of Stelis pusilla propagation.
Understanding the Stelis Pusilla:
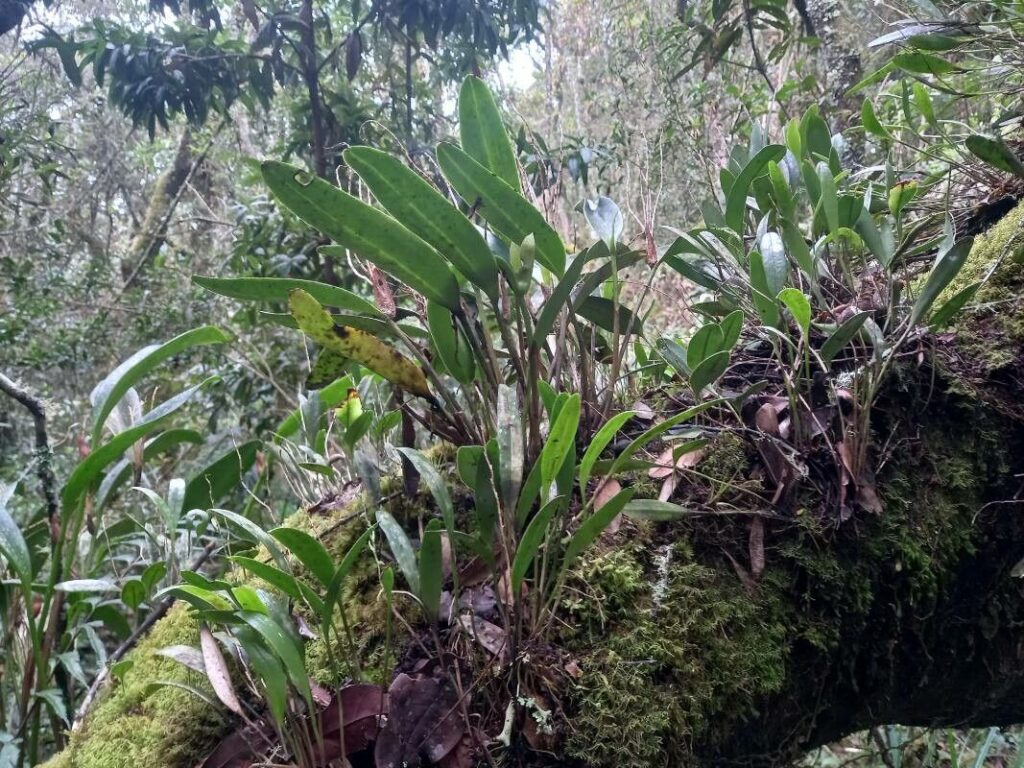
Before embarking on the propagation journey, it’s crucial to understand the plant’s natural growth habits. Stelis pusilla, like many orchids, is an epiphyte, meaning it naturally grows on trees, utilizing them for support but not deriving nutrients from them. This information is crucial for replicating its preferred growing conditions.
Propagation Methods:
While seed propagation is possible, it’s a complex process typically reserved for experienced growers and breeders. For the average enthusiast, the most viable propagation method is division:
-
Timing is Key: The ideal time for division is during spring, just as the plant begins its active growth phase. This ensures the divisions have the best chance of establishing themselves.
-
Choosing a Candidate: Select a healthy, mature Stelis pusilla with at least 6-8 pseudobulbs (the thickened stem-like structures). This provides ample material for division.
-
The Art of Division:
- Carefully remove the plant from its pot, gently loosening the roots.
- Using a sterilized sharp knife or shears, divide the rhizome (the horizontal stem connecting the pseudobulbs), ensuring each division has at least 3-4 pseudobulbs and healthy roots.
- Dust the cut ends with cinnamon or a fungicide to prevent infection.
-
Potting Your Divisions:
- Choose small pots with excellent drainage, using a well-draining orchid mix (sphagnum moss, bark chips, and perlite are common components).
- Securely position the divisions, ensuring the base of the pseudobulbs sits level with the potting mix.
- Post-Division Care:
- Place your newly potted divisions in a warm, humid environment with bright, indirect light.
- Water sparingly until new growth appears, indicating the roots are established. Gradually increase watering frequency as the plants grow.
Patience is a Virtue:
Remember, propagating Stelis pusilla, like any orchid, demands patience. It might take several weeks or even months for the divisions to show significant growth. Don’t be discouraged! Consistent care and attention to its needs will ultimately reward you with new plants, allowing you to enjoy the captivating beauty of Stelis pusilla for years to come.
Beyond Propagation:
Successfully propagating Stelis pusilla is only the beginning. To ensure your miniature orchids thrive, remember to provide them with the right conditions – bright, indirect light, high humidity, good air circulation, and a well-draining potting mix. With the right care, these tiny dancers will reward you with their unique charm and delicate floral display, proving that even in the plant world, sometimes the smallest things have the biggest impact.