Unlocking the Secrets to Growing More Stenorrhynchos speciosum: A Guide to Propagation
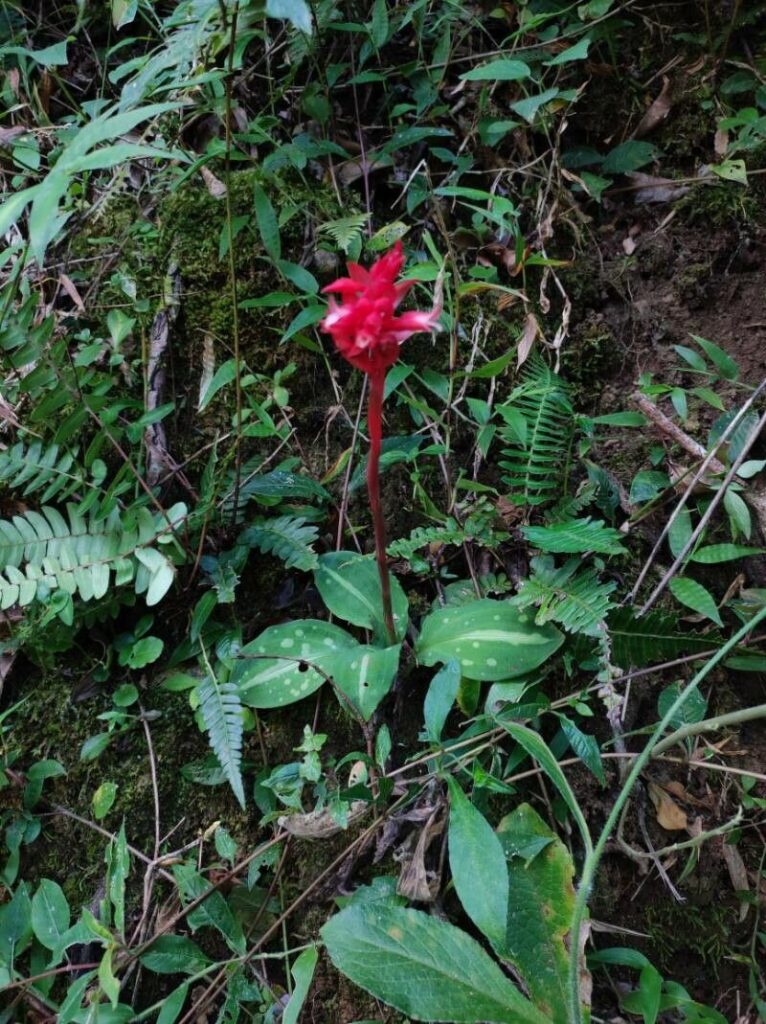
The captivating beauty of the Stenorrhynchos speciosum, with its delicate, orchid-like blooms, is a sight to behold. But did you know that sharing this beauty is easier than you might think? With a bit of patience and the right technique, you can propagate your own Stenorrhynchos speciosum and enjoy its charm throughout your home or garden.
Let’s dive into the fascinating world of Stenorrhynchos speciosum propagation, breaking down the process into simple steps you can easily follow.
Understanding Your Plant
Before you begin, it’s important to understand the unique characteristics of the Stenorrhynchos speciosum. This epiphytic orchid prefers humid, warm environments with bright, indirect sunlight. It thrives in well-draining potting mixes, and requires adequate humidity to flourish.
Methods of Propagation
There are two primary methods for propagating Stenorrhynchos speciosum:
-
Division: This method is best suited for mature plants that have multiple growth points. Simply gently separate the plant into individual sections, ensuring each has healthy roots and stems. Repot each section in a well-draining orchid mix.
- Seed Propagation: While possible, this approach is more challenging and time-consuming than division. It involves collecting seeds from mature flowers and planting them in a sterile, nutrient-rich medium. Be prepared for a lengthy germination process, often requiring specific conditions and patience.
Step-by-Step Propagation Guide (Division)
-
Choose the Right Time: The best time to divide your Stenorrhynchos speciosum is during the spring or early summer when the plant is actively growing.
-
Prepare Your Tools: Gather sharp, sanitized tools like a knife or a pair of pruning shears. This ensures clean cuts and reduces the risk of disease.
-
Carefully Separate the Plant: Gently loosen the plant from its pot and inspect the root system. Identify the natural division points where the plant can be separated without damaging the roots. With a gentle tug or clean cut, separate the plant into sections, each with healthy roots and at least two stems.
-
Repotting: Plant each divided section in a well-draining potting mix suited for orchids. Ensure the pot has adequate drainage holes to prevent waterlogging.
- Post-Propagation Care: Keep the newly potted plants in a warm, humid environment with bright, indirect light. Water generously and mist regularly to maintain humidity. Avoid exposing the plants to direct sunlight, which can damage their delicate leaves.
Creating a Healthy Environment
Once you’ve successfully propagated your Stenorrhynchos speciosum, it’s essential to provide the optimal environment for its growth.
- Watering: Water your new plants thoroughly, allowing the water to drain completely. Avoid overwatering, as this can lead to root rot.
- Humidity: Maintain a high humidity level by misting the plants regularly or using a humidifier.
- Fertilizing: After a few weeks, start fertilizing your plants with a diluted orchid fertilizer once a month. Follow the product’s instructions for optimal results.
Patience and Reward
Remember, propagation is a journey of patience. It might take a few weeks or months for your new Stenorrhynchos speciosum plants to establish themselves. But with the right care and attention, you’ll watch them thrive and produce beautiful, delicate blooms that will become a constant source of beauty and joy.
By embracing the art of propagation, you not only increase the splendor of your plant collection but also contribute to the wonderful world of orchids, fostering their charm and beauty for generations to come.