
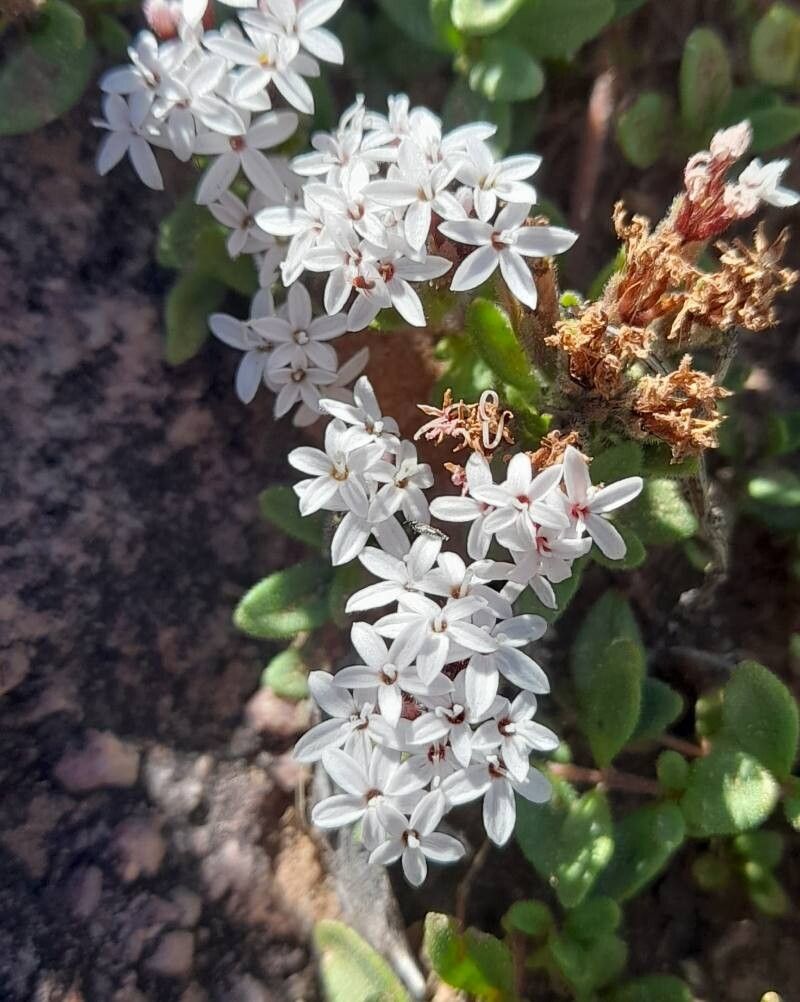
Sweet Success: How to Propagate Stevia Mandonii at Home
Stevia Mandonii, the naturally sweet herb, is gaining popularity as a healthy sugar alternative. But did you know you can skip the trip to the store and grow your own stevia plant right at home? Propagation, the art of creating new plants from existing ones, makes it possible and surprisingly simple!
This guide unveils the secrets of propagating Stevia Mandonii, empowering you to cultivate your own supply of this sweet wonder.
Two Methods for Stevia Mandonii Propagation:
1. Stem Cuttings: The Go-To Approach
Propagating Stevia Mandonii from stem cuttings is a highly effective technique that even beginners can master. Here’s a step-by-step breakdown:
- Timing: It’s best to take cuttings in spring or early summer when the plant is actively growing.
- Tools You’ll Need: A sharp, sterilized pruning shears or knife, a small pot (4-6 inches), well-draining potting mix, and rooting hormone (optional).
- Taking the Cutting: Select a healthy, non-flowering stem from the mother plant. Make a clean cut just below a leaf node (where the leaf joins the stem), ensuring the cutting is about 4-6 inches long.
- Preparing the Cutting: Remove the lower leaves from the stem, leaving 2-3 pairs of leaves at the top. Dipping the cut end in rooting hormone can encourage faster root development, though it’s not mandatory.
- Potting the Cutting: Fill the pot with your potting mix. Create a small hole in the center and gently insert the bottom inch or two of the cutting into the soil. Firm the soil around the cutting to provide support.
- Creating a Humid Environment: Moisture is crucial for root development. Cover the pot with a clear plastic bag or use a humidity dome to create a mini greenhouse effect. This helps retain moisture around the cutting.
- Placement & Care: Place the pot in a warm, bright location, but avoid direct sunlight which can scorch the delicate cutting. Keep the soil consistently moist, but not waterlogged.
- Rooting & Transplanting: In about 4-6 weeks, you should see new growth, indicating successful rooting. Once roots have developed, you can transplant your stevia cutting into a larger pot or your garden!
2. Growing from Seed: Embracing the Challenge
While propagating from stem cuttings is more straightforward, growing Stevia Mandonii from seed offers a unique sense of accomplishment. Keep in mind that seed germination can be less reliable and may require more patience. Here’s what you need to know:
- Sourcing Seeds: Purchase seeds from a reputable supplier to ensure quality and viability.
- Starting Indoors: Stevia seeds benefit from a head start indoors. Sow the seeds in seed-starting trays filled with a well-draining seed-starting mix. Lightly press the seeds onto the surface of the soil – don’t bury them!
- Providing Light & Warmth: Place the seed tray in a warm, well-lit location. A grow light can be helpful, especially if natural light is limited.
- Maintaining Moisture: Keep the soil consistently moist using a spray bottle or a bottom-watering method to avoid disturbing the tiny seeds.
- Transplanting Seedlings: Once the seedlings develop a few sets of true leaves, you can transplant them into individual pots or into your garden after the last frost.
Tips for Sweet Success:
- Use a light and airy potting mix to ensure good drainage. Stevia plants dislike soggy roots.
- Choose a location with at least 6 hours of sunlight for optimal growth.
- Pinch back the tips of the stems to encourage bushier growth and more leaf production – those leaves are where the sweetness lies!
- Be patient! Propagation takes time, so don’t be discouraged if you don’t see results immediately.
With a bit of care and these easy-to-follow steps, you can experience the joy and satisfaction of growing your own Stevia Mandonii, enjoying its natural sweetness for years to come!