Unlocking the Secrets of Stylogyne Atra Propagation: A Guide to Growing This Tropical Beauty
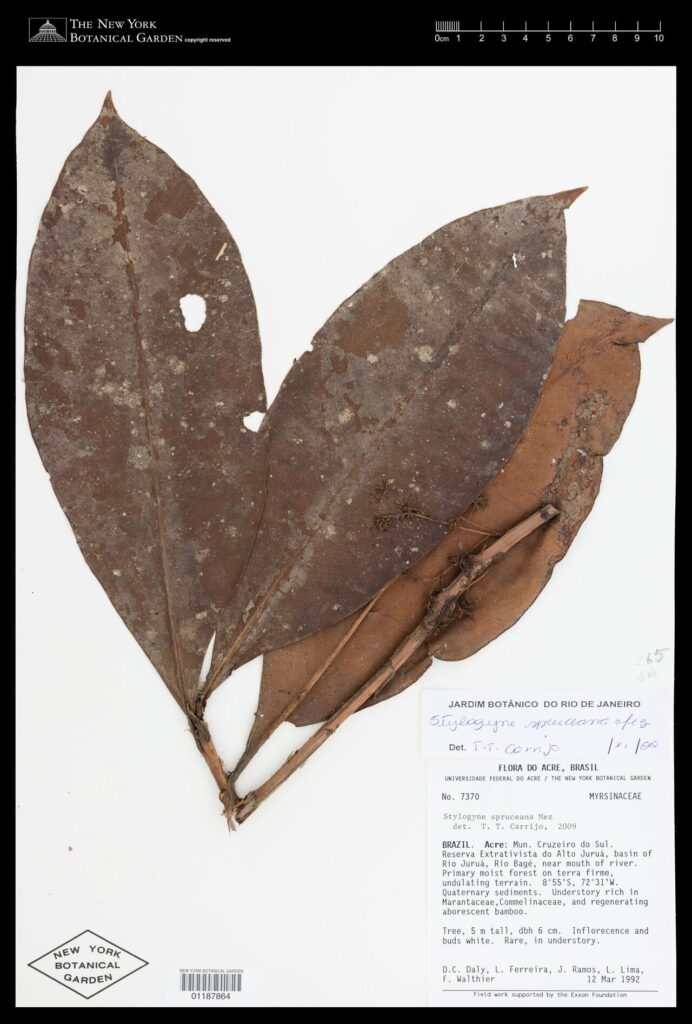
Stylogyne atra, also known as the Black-fruited Stigma or Shoe Button Ardisia, is a captivating tropical shrub prized for its glossy evergreen foliage and intriguing dark berries. Native to Central and South America, this lesser-known beauty can bring a touch of the exotic to your garden or home. But if you’re interested in expanding your collection or sharing this unique plant with friends, you’ll need to know how to propagate it.
While Stylogyne atra might sound intimidating, propagation is achievable for both novice and experienced plant enthusiasts. This guide will delve into two effective methods: propagating from seed and propagating from cuttings.
Method 1: From Seed – A Test of Patience
Propagating Stylogyne atra from seed is a rewarding, albeit slower, process. Here’s how:
-
Seed Collection: Locate ripe berries on an established plant. Ripe berries will be plump and black. Gently squeeze the berries to extract the seeds, which are small and brown.
-
Seed Preparation: Cleanse the seeds by removing any fruit residue and allow them to air dry for a day. You can enhance germination rates by soaking the seeds in lukewarm water for 24 hours before sowing.
-
Sowing: Choose a well-draining seed starting mix. Plant the seeds about ¼ inch deep and mist the soil surface generously.
-
Environment: Place the seed tray in a warm, humid location with indirect sunlight. Maintaining a consistent temperature around 75°F (24°C) is optimal.
-
Patience: Germination can be erratic and may take anywhere from a few weeks to several months. Keep the soil consistently moist but not waterlogged.
- Transplanting: Once the seedlings develop a couple of sets of true leaves and are sturdy enough to handle, transplant them carefully into individual pots with well-draining potting mix.
Method 2: From Cuttings – The Faster Route
Propagating Stylogyne atra from cuttings offers a quicker path to success. Here’s the step-by-step guide:
-
Taking Cuttings: Choose healthy, non-flowering stems from the current year’s growth. Use a sharp, sterile knife or pruning shears to cut a 4-6 inch section from the tip of the stem, making the cut just below a leaf node.
-
Prepare the Cuttings: Remove the lower leaves from the cutting, leaving 2-3 leaves at the top. Dip the cut end in rooting hormone powder (optional but recommended) to encourage root development.
-
Planting: Insert the cuttings into a pot filled with a well-draining rooting medium like a mix of perlite and peat moss. Gently firm the medium around the cutting.
-
Creating a Humid Environment: Cover the pot with a clear plastic bag or use a humidity dome to maintain moisture and warmth. Ensure the leaves don’t touch the covering to prevent rot.
-
Light and Water: Place the cuttings in bright, indirect light. Water regularly, keeping the rooting medium consistently moist but not soggy.
-
Root Development: Within 4-6 weeks, the cuttings should develop roots. Gently tug on the cutting; if you feel resistance, roots have likely formed.
- Transplanting: Once the cuttings have established a healthy root system, transplant them into individual pots with well-draining potting mix.
Final Thoughts
Propagating Stylogyne atra is a rewarding endeavor that allows you to expand your plant collection and share this botanical treasure. Whether you choose the patience-testing seed method or the quicker approach of cuttings, remember to provide your new plants with proper care and enjoy watching them flourish. With a little dedication, you’ll soon have more of this lovely tropical species to brighten your home.