From Seed to Sapling: Unlocking the Secrets of Synoum glandulosum Propagation
Synoum glandulosum, also known as the “Queensland Maple” or “Red Bean Tree,” is a stunning Australian native that boasts beautiful foliage and vibrant red seeds. But its beauty is only part of the story. For those drawn to its unique charm, the desire to propagate this remarkable tree often arises. But how can you bring a new Synoum glandulosum into your garden?
The good news is that propagating this species is achievable, though it does require some patience and a bit of know-how. Let’s explore the two main methods:
1. The Seed-to-Sapling Journey:
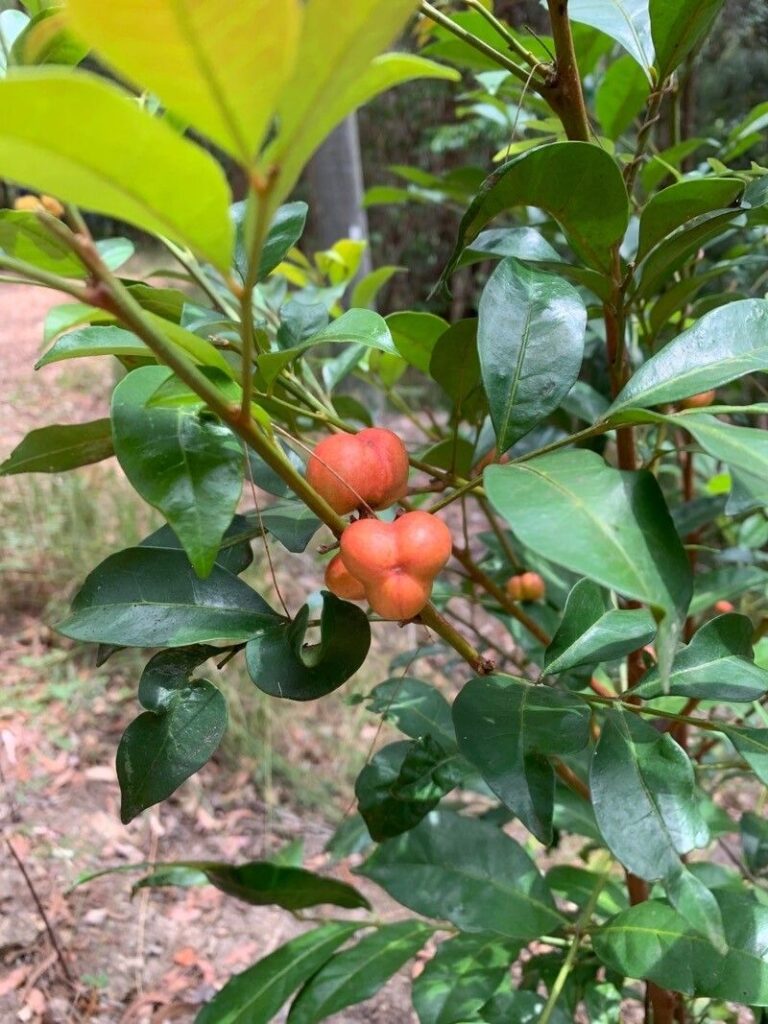
- Harvesting the Seeds: The journey begins with the seeds themselves. Look for the bright red, bean-shaped pods that appear on the tree after flowering. Once ripe, these pods will naturally open, revealing the seeds within.
- Preparing the Seeds: These seeds have a hard outer coating that needs to be scarified (broken) to allow for successful germination. You can achieve this by gently scoring the seed coat with a sharp blade or using sandpaper. Alternatively, you can soak the seeds in hot water (around 80°C) for a few minutes.
- Sowing the Seeds: After scarification, it’s time to sow! Plant the seeds directly into pots or seedling trays filled with a well-draining potting mix. Cover the seeds with a thin layer of soil and keep them consistently moist.
- Patience is Key: Synoum glandulosum seeds can be slow to germinate, sometimes taking months, so patience is crucial. Ensure your seedlings are placed in a bright, warm location, and keep them consistently moist.
- Transplanting: Once the seedlings have developed a strong root system and a few sets of leaves, they are ready to be transplanted into larger containers or directly into the ground.
## 2. The Art of Cuttings:
- Selecting the Cuttings: For propagation through cuttings, take semi-hardwood cuttings during the late spring or early summer. These cuttings should be about 10-15 cm long and have at least three nodes (the bumps on the stem where leaves grow).
- Prepare the Cuttings: Cut the bottom of the cutting at a 45-degree angle just below a node. Remove the leaves from the bottom half of the cutting, leaving a few at the top.
- Root Hormone: To encourage root development, dip the cut end of the cutting into a rooting hormone powder or gel.
- Planting Process: Plant your cuttings in a pot filled with a well-draining potting mix. Keep the soil consistently moist and place the pot in a bright, warm location.
- Successful Rooting: Under ideal conditions, rooting should occur within a few weeks, though it could take longer. Once the cuttings have developed roots, they can be slowly acclimated to outdoor conditions before being transplanted into their permanent locations.
## Considerations for Success:
- Light: Both seedlings and cuttings require bright, indirect light. Avoid direct sunlight, as it can scorch young plants.
- Drainage: Ensure the planting medium allows for good drainage to prevent root rot.
- Water: Keep the soil consistently moist, but not waterlogged. Allow the top inch of soil to dry out between waterings.
- Temperature: Synoum glandulosum thrives in warm climates and prefers temperatures above 10°C.
## Beyond the Basics:
- Pest Control: While generally pest-resistant, keep an eye out for potential problems. Aphids and mealybugs can occasionally be an issue.
- Fertilisation: Once established, occasional fertilization will help promote healthy growth. Apply a balanced fertilizer during the growing season.
## Enjoy the Fruit (and Flowers!):
As your Synoum glandulosum grows, you’ll be rewarded with its beautiful foliage, fragrant flowers, and vibrant red seeds. Remember to be patient and give your new tree the right care, and soon you’ll have a thriving addition to your garden, adding a touch of Australian charm to your landscape.