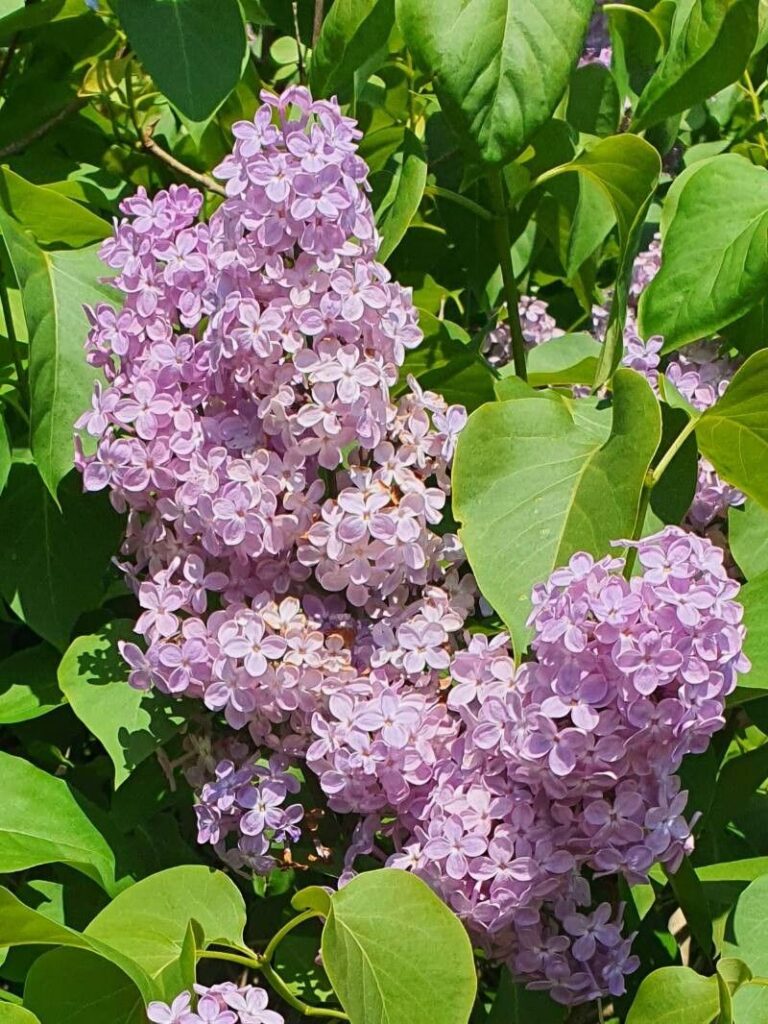
Demystifying Persian Lilac Propagation: Grow Your Own Fragrant Garden Gem
The Persian lilac (Syringa persica), with its intoxicating fragrance and delicate blooms, has captivated gardeners for centuries. While readily available in nurseries, wouldn’t it be fulfilling to grow your own from scratch? It’s not as daunting as it seems! This article demystifies Persian lilac propagation, guiding you through different methods to cultivate more of these fragrant beauties.
The Why and When of Persian Lilac Propagation
Propagating your existing lilac allows you to expand your fragrant haven, share this beloved shrub with fellow gardening enthusiasts, or create a captivating hedge. But timing is key. The ideal period for most propagation methods is during the plant’s dormant period, ideally in late fall or early spring.
Mastering the Methods:
This popular technique uses new, flexible growth from late spring to early summer.
- Step 1: Select healthy shoots, 4-6 inches long, and make a clean cut below a leaf node.
- Step 2: Remove lower leaves and dip the cut end in rooting hormone (optional but recommended).
- Step 3: Plant the cutting in a well-draining potting mix and place it in a warm, humid environment with indirect sunlight.
- Step 4: Keep the soil consistently moist but not waterlogged. Rooting typically occurs within 4-8 weeks.
2. Hardwood Cuttings:
This method utilizes dormant, mature stems taken in late fall or winter.
- Step 1: Choose healthy stems, 6-8 inches long, and cut just above a bud at the top and below one at the bottom.
- Step 2: Dip the bottom end in rooting hormone and plant the cutting deeply in well-draining soil, leaving only the top bud exposed.
- Step 3: Place the pot in a sheltered location outdoors or a cool, bright indoor spot, keeping the soil slightly moist.
- Step 4: Be patient! Hardwood cuttings can take several months to root.
3. Layering:
This natural method encourages root formation on a branch while it’s still attached to the parent plant.
- Step 1: Choose a low-growing, flexible branch in spring.
- Step 2: Make a small wound on the underside of the branch and treat it with rooting hormone (optional).
- Step 3: Bury the wounded portion of the branch in the soil, using a small rock or peg to hold it in place.
- Step 4: After several months, check for root development. Once established, carefully separate the layered branch from the parent plant.
4. Suckers:
Persian lilacs often produce suckers, or shoots, from their base. These can be easily divided and transplanted.
- Step 1: Carefully dig around the sucker, ensuring it has its own root system.
- Step 2: Sever the sucker from the main plant with a sharp spade.
- Step 3: Transplant the sucker to a prepared planting site or a pot with well-draining soil.
Post-Propagation Care: Nurturing Your New Lilacs
Once your new Persian lilac plants are rooted and showing signs of growth, remember these care tips:
- Sunlight: Plant in a location that receives at least six hours of direct sunlight daily.
- Soil: Lilacs thrive in fertile, well-draining soil with a slightly alkaline pH.
- Water: Maintain consistent moisture, especially during dry spells, but avoid overwatering.
- Pruning: Remove spent blooms regularly to promote healthier growth.
By following these simple steps and providing the right care, you can successfully propagate your Persian lilac and enjoy the enchanting fragrance and beauty of these floral treasures for years to come. Don’t hesitate to ask your local nursery or gardening club for additional guidance – sharing the love of gardening is what it’s all about!