Taming the Tamarisk: Simple Propagation Techniques for the Salt Cedar
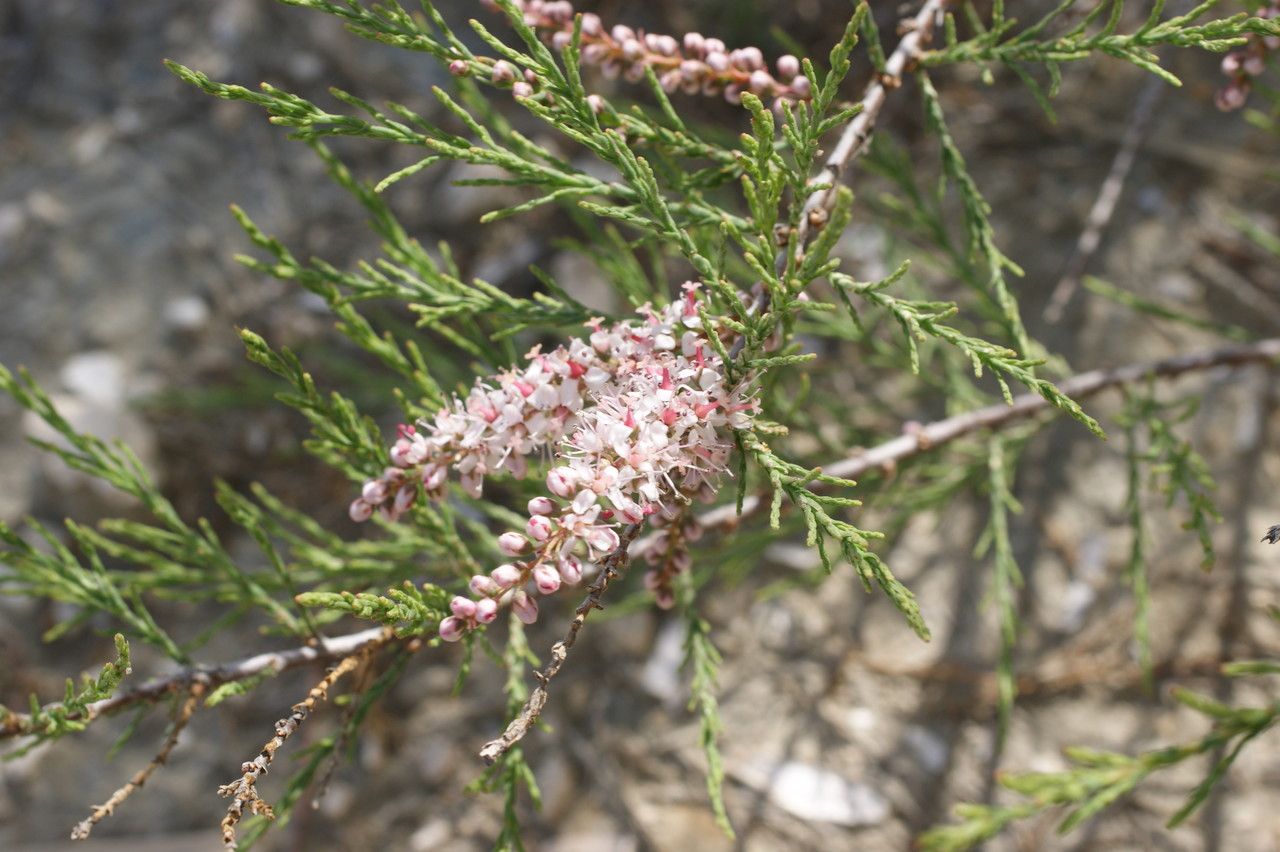
The Tamarix hampeana, more commonly known as the salt cedar, is a resilient and beautiful shrub prized for its feathery foliage and delicate pink blooms. Native to Eurasia, this hardy plant has found a home in gardens across the globe, thanks in part to its adaptability and ease of propagation. If you’re looking to add the salt cedar’s unique charm to your landscape, propagating your own is a rewarding and straightforward process.
This guide explores two common methods – propagation from cuttings and growing from seed – to help you successfully cultivate new salt cedar plants.
Method 1: Conquering with Cuttings
Propagating salt cedar from cuttings is the most popular method, offering high success rates and a faster route to mature plants. Here’s what you need to do:
1. Timing is Key: The best time for taking cuttings is during the plant’s dormant period, ideally in late fall or early spring. This allows the cutting time to focus on root development before expending energy on foliage.
2. Selecting the Perfect Candidate: Look for healthy, mature stems that are at least pencil-thick and haven’t flowered yet. Use a sharp, sterilized knife or pruning shears to take cuttings about 6-8 inches long.
3. Prepare for Success: Remove the leaves from the lower third of the cutting to prevent rotting. For a boost, dip the cut end in rooting hormone powder, which encourages faster and stronger root development.
4. Planting the Cutting: Fill a small pot with a well-draining potting mix – a combination of sand, perlite, and peat moss works well. Make a hole in the center with a pencil and gently insert the bottom portion of the cutting into the hole. Firm the soil around the cutting.
5. Patience is a Virtue: Place the pot in a bright location, but out of direct sunlight. Keep the soil consistently moist, but not soggy. Roots should start to form in 4-6 weeks, indicated by new growth on the cutting.
6. Transplanting Time: Once the roots are well-established, usually after a couple of months, transplant the cutting into a larger pot or directly into your garden. Choose a location with well-drained soil and plenty of sunlight.
Method 2: Starting from Seed – A Test of Patience
Propagating salt cedar from seed requires more time and effort compared to cuttings, but can be a rewarding experience.
1. Obtaining Seeds: Salt cedar seeds are tiny and often found within the plant’s small, capsule-like fruits. Collect the fruits once they turn brown and dry, and carefully extract the seeds.
2. Sowing the Seeds: Fill a seed tray with a well-draining seed starting mix. Sprinkle the seeds thinly over the surface and lightly press them in – don’t bury them.
3. Germination Station: Mist the seeds with water and cover the tray with a plastic dome or wrap to create a humid environment. Place the tray in a warm, bright location out of direct sunlight.
4. Patience is Paramount: Germination can be erratic and may take several weeks to several months. Keep the soil consistently moist during this time.
5. Thinning Out: Once seedlings emerge and have a couple of true leaves, thin them out to provide space for the strongest ones to thrive.
6. Gradual Acclimatization: When the seedlings are a few inches tall, gradually acclimate them to outdoor conditions by introducing them to longer periods of sunlight and wind over a week or two.
7. Time to Transplant: Once acclimated, transplant the seedlings into individual pots or your garden, providing ample space for their eventual growth.
Whether you choose to propagate by cuttings or embark on the journey of seed starting, the satisfaction of growing your own salt cedar is truly rewarding. With a little care and attention, you’ll soon be enjoying the beauty of these hardy and graceful plants in your very own landscape.