
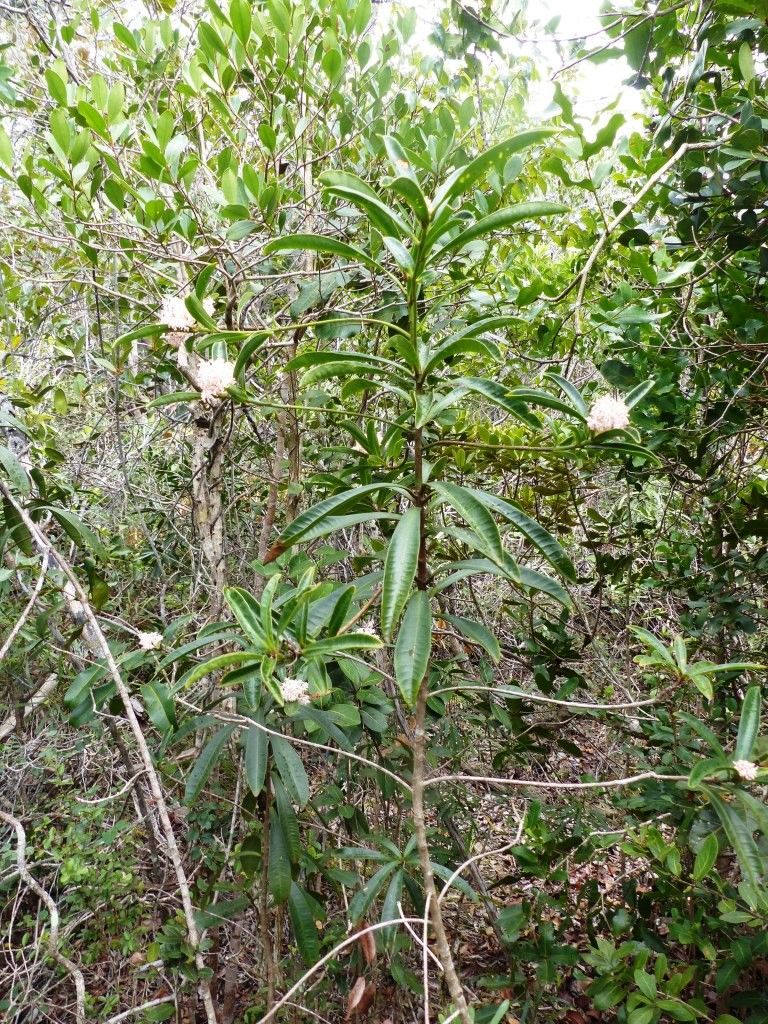
Unveiling the Secrets of Tapeinosperma golonense Propagation: A Guide to Growing This Rare Beauty
The Tapeinosperma golonense, fondly nicknamed the “Shiny Tape,” is a captivating tropical shrub cherished for its glossy, vibrant foliage. Hailing from the misty forests of New Caledonia, this rare beauty, with its red stems and eye-catching foliage, is a prized addition to any indoor plant collection. While obtaining a mature plant can be challenging, the reward of cultivating your own Shiny Tape from scratch is a fulfilling endeavor. Whether you’re a seasoned plant parent or a curious beginner, mastering the art of Tapeinosperma golonense propagation is easier than you might think.
Two Paths to Propagation:
There are two primary methods for propagating Tapeinosperma golonense, each with its own advantages and considerations:
1. Stem Cuttings:
Stem cuttings offer a straightforward approach, especially during the plant’s active growing season (spring and summer). Here’s a step-by-step guide:
- Tools of the Trade: Gather a sharp, sterilized pruning shear or knife, a rooting hormone (powder or gel), a well-draining potting mix (like a blend of peat moss, perlite, and vermiculite), and small pots.
- Selecting the Cuttings: Choose healthy, non-flowering stems around 4-6 inches long. Look for stems with at least two sets of leaves.
- Preparing the Cuttings: Using your sterilized tool, make a clean cut just below a leaf node (where the leaf meets the stem). Remove the bottom leaves to prevent rotting, leaving 2-3 leaves at the top.
- Hormone Boost (Optional): Dipping the cut end in rooting hormone can significantly increase success rates.
- Planting and Patience: Insert the prepared cuttings into the moist potting mix, burying the nodes. Gently firm the soil around the base and water thoroughly.
- Creating a Humid Haven: To mimic the humid environment Tapeinosperma golonense craves, enclose the pots in a clear plastic bag or a humidity dome. This helps retain moisture and promotes root development.
- Light and Location: Place your cuttings in a warm, brightly lit area, but away from direct sunlight, which can scorch the delicate leaves.
- Root Check: In about 4-6 weeks, gently tug on the cuttings to check for resistance, indicating root growth.
- Potting Up: Once roots are established, transplant the cuttings into individual pots filled with a well-draining potting mix.
2. Air Layering:
Air layering is another effective method, particularly useful for propagating larger branches. Follow these steps:
- Choosing a Branch: Select a healthy, mature branch that is at least 1/2 inch thick.
- Wounding the Branch: Make a shallow upward cut about 1-2 inches long on the branch. You can also scrape a small section of bark, exposing the cambium layer (the green layer beneath).
- Applying Rooting Hormone (Optional): Dust the wounded area with rooting hormone to encourage faster root development.
- The Sphagnum Moss Wrap: Moisten sphagnum moss and wrap it around the wounded area, securing it with plastic wrap or aluminum foil.
- Patience is Key: Keep the moss consistently moist and check for root development in about 6-8 weeks. Once a healthy root system has formed, you can sever the branch from the parent plant and pot it up.
Caring for Your New Tapeinosperma Golonense:
Whether you’ve propagated through stem cuttings or air layering, providing the right care is crucial for healthy growth:
- Light: Bright, indirect light is ideal. Avoid direct sunlight, as it can scorch the leaves.
- Water: Keep the soil consistently moist but not waterlogged. Allow the top inch of soil to dry out between waterings.
- Humidity: This plant thrives in high humidity. Consider using a humidifier or placing the pot on a tray with pebbles and water.
- Temperature: Maintaining temperatures between 65-80°F (18-27°C) ensures optimal growth.
Propagating your own Tapeinosperma golonense is a rewarding experience. With patience and these techniques, you can successfully propagate this rare beauty and enjoy its vibrant presence for years to come.