Unveiling the Secrets of Tarenna Pavettoides Propagation: From Seed to Success
Tarenna pavettoides, with its glossy leaves and captivating floral displays, can be a showstopping addition to any tropical garden. But how do you go about propagating this exotic beauty? While it might sound daunting, unlocking the secrets of Tarenna pavettoides propagation is simpler than you think.
This guide will equip you with the knowledge to multiply your collection from seeds or cuttings, ensuring a garden brimming with the allure of Tarenna pavettoides.
Method 1: Seeds of Promise
Propagating Tarenna pavettoides from seeds is an exciting journey, offering the satisfaction of nurturing a plant from its very genesis. Here’s how:
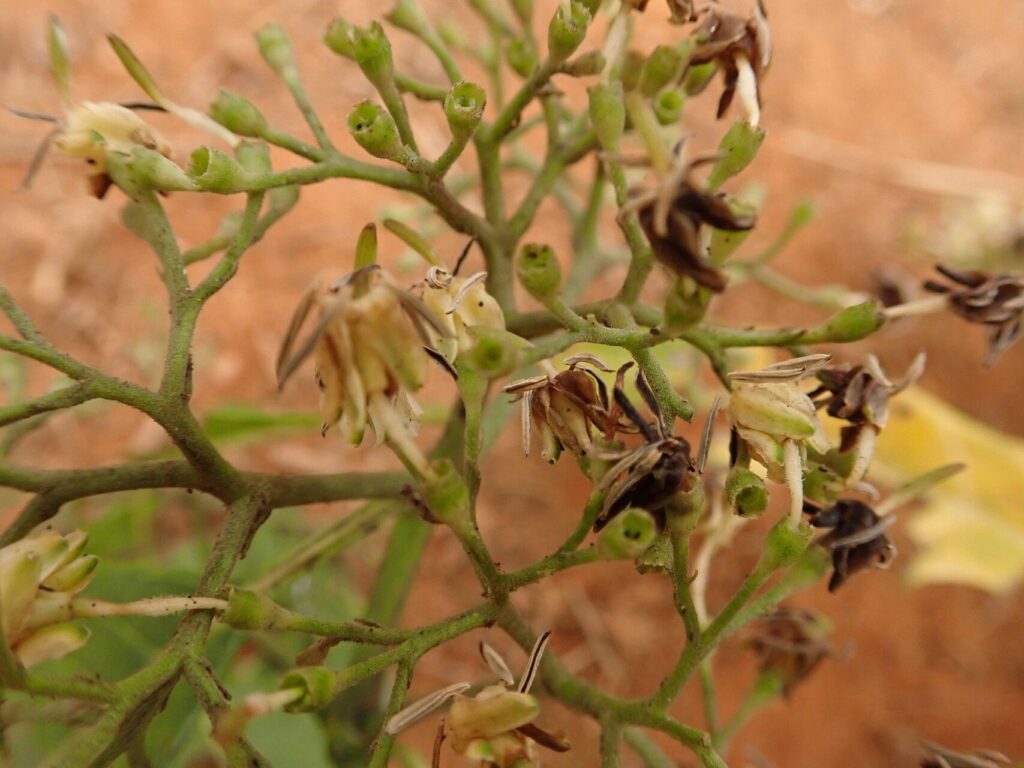
- Source your seeds: Obtaining viable seeds is the crucial first step. Purchase from reputable suppliers or, if you’re lucky enough to have an existing plant, collect ripe berries. Look for plump, healthy berries displaying a deep color.
- Prepare the seeds: Gently extract the seeds from the berries and rinse away any remaining pulp. Allow the seeds to dry thoroughly in a shady, well-ventilated area for 24 hours.
- Create the perfect nursery: Choose a well-draining seed starting mix and fill small pots or trays. Moisten the mix lightly with water.
- Sow with care: Plant each seed about half an inch deep in the moistened mix, providing ample space between them for optimal root development.
- Patience is key: Place the pots in a warm, humid environment with indirect sunlight. Maintaining consistent moisture is crucial for germination, which can take several weeks or even months.
Method 2: Cuttings for Quick Growth
For those seeking quicker results, propagating Tarena pavettoides from cuttings is an excellent alternative. This method fosters faster growth and ensures the new plants retain the parent plant’s characteristics.
- Choose the right cutting: During spring or early summer, select a healthy, non-flowering stem. A 4-6 inch cutting with at least two nodes is ideal.
- Prepare the cutting: Using a sharp, sterilized knife or pruning shears, make a clean cut just below a node. Remove any leaves from the lower half of the cutting.
- Hormone boost (optional): While not mandatory, dipping the cut end in rooting hormone can significantly increase the success rate and speed up root development.
- Potting time: Plant the cutting in a well-draining potting mix, burying the nodes. Water gently to settle the soil around the cutting.
- Create a humid haven: Cover the pot with a clear plastic bag or place it in a propagator to maintain high humidity – essential for successful rooting.
- Watch for growth: After 4-6 weeks, gently tug on the cutting. Resistance indicates root development. Once roots are established, gradually acclimate the cutting to regular humidity levels.
Caring for your young Tarenna pavettoides:
Whether you choose seeds or cuttings, providing the right care for your young plants is vital. Ensure they receive bright, indirect sunlight and keep the soil consistently moist but not waterlogged. Regularly check for pests and diseases, addressing any issues promptly.
With patience, care, and this guide, you’ll soon be enjoying the enchanting beauty of multiple Tarenna pavettoides, each a testament to your successful propagation journey.