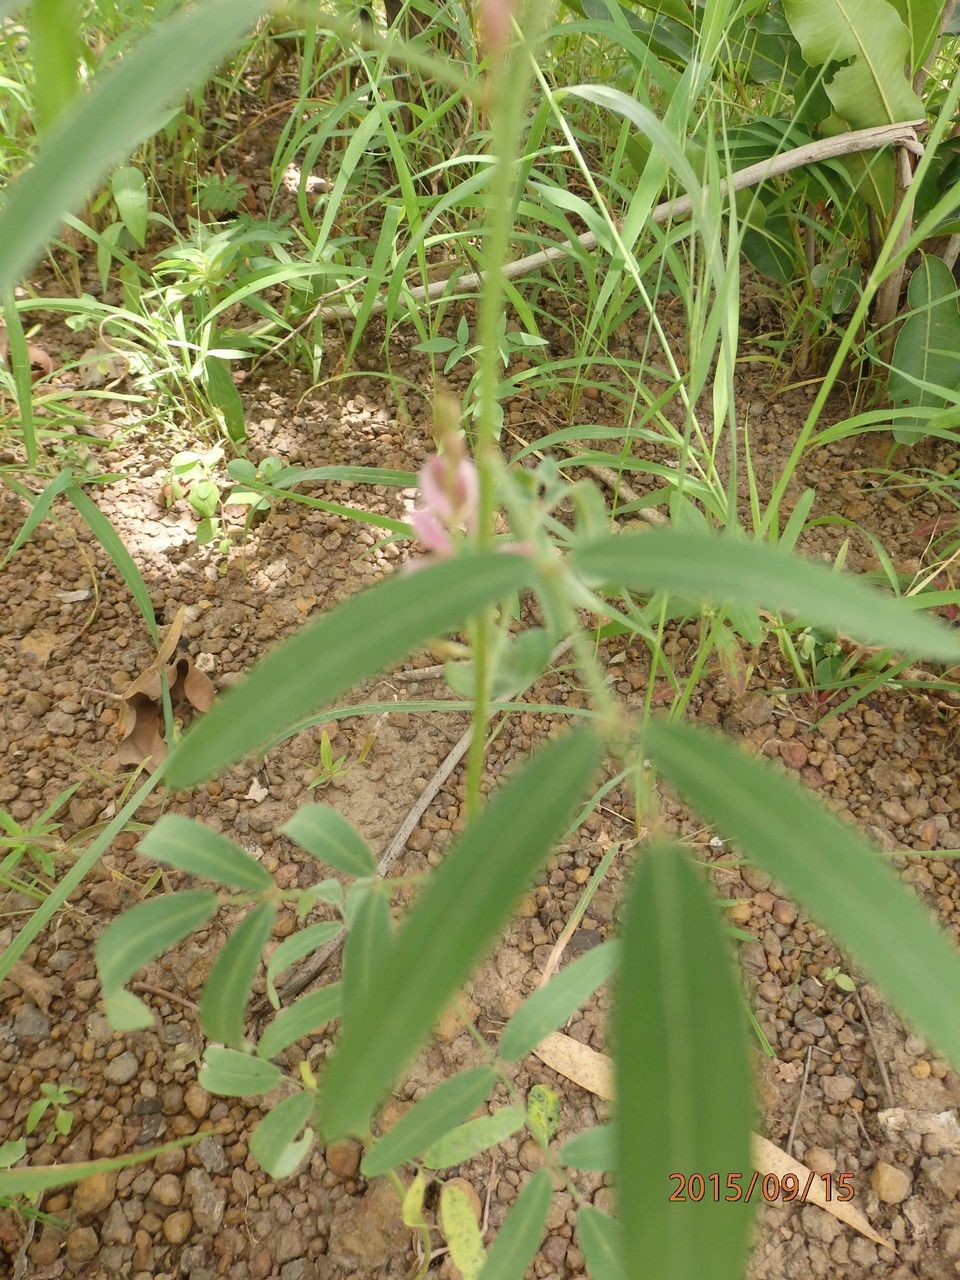
Unlocking the Secrets of Tephrosia bracteolata: A Guide to Propagation
Tephrosia bracteolata, a lesser-known gem in the plant world, captivates with its delicate foliage and vibrant flowers. This versatile plant holds immense potential for both ornamental and medicinal uses. If you’re looking to welcome this botanical beauty into your garden or home, understanding its propagation methods is key to success.
While information on Tephrosia bracteolata propagation might seem scarce, fear not! This guide will equip you with the knowledge to cultivate this intriguing species using two effective methods:
1. Seed Propagation:
- Seed Collection: Begin by collecting mature seed pods from a healthy Tephrosia bracteolata plant. The pods are typically elongated and turn brown when ripe. Allow the pods to dry thoroughly in a well-ventilated area. Once dry, gently crack open the pods to reveal the small, brownish seeds within.
- Seed Pre-treatment: Tephrosia bracteolata seeds possess a hard seed coat that can hinder germination. To overcome this, you can employ a technique called scarification. This involves gently rubbing the seed coat with fine sandpaper or nicking it slightly with a nail clipper. Scarification allows water to penetrate the seed coat, promoting faster and more uniform germination.
- Sowing: Sow the scarified seeds in a well-draining seed starting mix. Sprinkle a thin layer of the mix over the seeds, ensuring they are lightly covered.
- Watering and Light: Keep the soil consistently moist but not waterlogged. Place the seed tray in a bright location, but avoid direct sunlight which can scorch the delicate seedlings.
- Transplanting: Once the seedlings develop a few sets of true leaves and are sturdy enough to handle, transplant them into individual pots or your garden bed. Ensure adequate spacing for optimal growth.
2. Cutting Propagation:
- Taking Cuttings: Select healthy, non-flowering stems from a mature Tephrosia bracteolata plant. Using a clean, sharp knife or pruning shears, take cuttings that are about 4-6 inches long. Remove the lower leaves from the cutting, leaving only a few at the top.
- Rooting Hormone (Optional): While not mandatory, dipping the base of the cutting in a rooting hormone powder can encourage faster and more successful root development.
- Planting the Cuttings: Insert the cuttings into a well-draining potting mix, burying at least two nodes below the soil surface. Gently firm the soil around the cutting to provide support.
- Creating Humidity: Maintaining a humid environment around the cuttings is crucial. You can achieve this by covering the pot with a clear plastic bag or using a humidity dome. This helps to prevent the cuttings from drying out while they develop roots.
- Transplanting: After a few weeks, gently tug on the cutting to check for resistance. Resistance indicates root development. Once the cuttings have established a healthy root system, they can be transplanted into larger pots or your garden.
General Care for Tephrosia bracteolata:
This resilient plant thrives in well-drained soil and prefers a sunny location. Water regularly, especially during dry periods, but avoid overwatering which can lead to root rot. Fertilize occasionally with a balanced fertilizer to promote healthy growth and blooming.
By following these propagation techniques, you can successfully cultivate Tephrosia bracteolata and enjoy its beauty and potential benefits. Happy gardening!