Unveiling the Secrets to Propagating Tetrorchidium rubrivenium: A Guide for Beginners
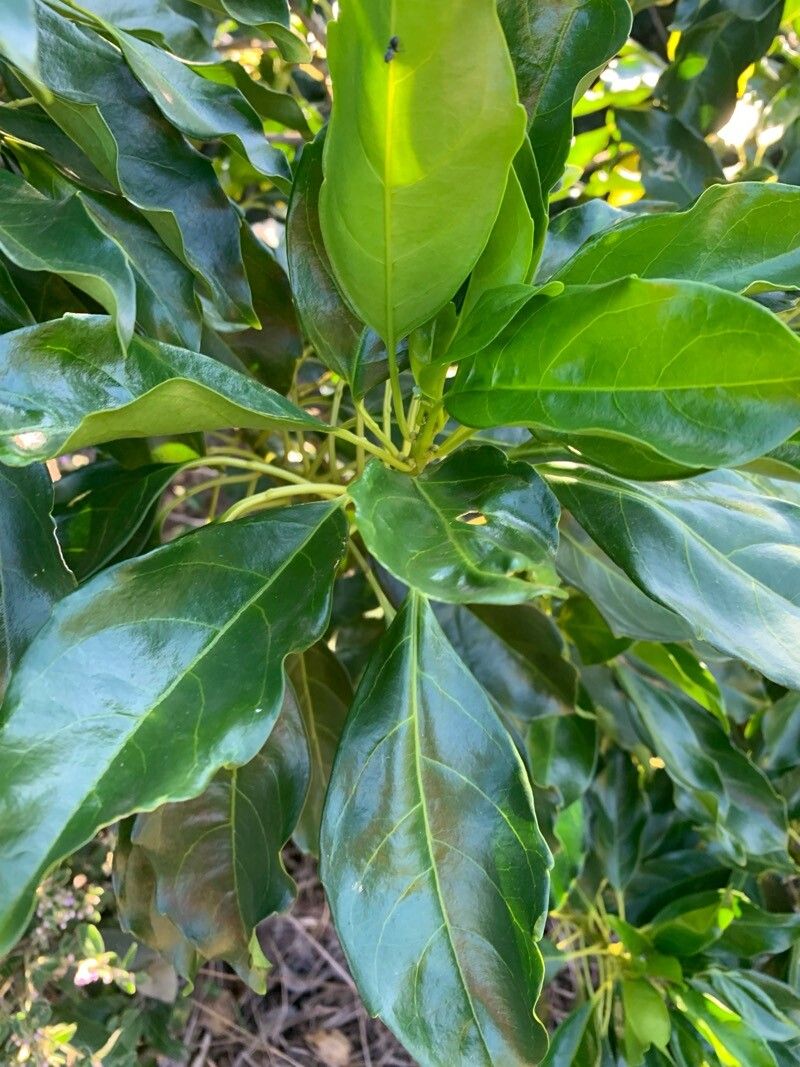
The Tetrorchidium rubrivenium, also known as the “Red-Veined Tetrorchidium,” is a captivating plant with striking red veins adorning its glossy green leaves. Its unique beauty and relative ease of care make it a popular choice for plant enthusiasts. However, propagating this species might seem daunting at first. Fear not! This blog post will demystify the process and guide you through the steps for successfully propagating your own Red-Veined Tetrorchidium.
1. Understanding the Basics of Propagation:
Before delving into the specifics, let’s grasp the fundamentals of propagation. Essentially, it’s the process of creating new plants from existing ones. This can be achieved through various methods, including:
- Cuttings: Taking stem or leaf cuttings from the parent plant and encouraging them to develop roots.
- Seeds: Sowing seeds to germinate and grow into new plants.
- Air Layering: Inducing root growth on a branch while still attached to the mother plant.
2. Choosing the Right Method for Tetrorchidium rubrivenium:
For Tetrorchidium rubrivenium, the most reliable and commonly used method is stem cuttings. This technique is generally easier and faster compared to other options.
3. Preparing for Propagation:
- Gather your materials: You’ll need a clean sharp knife or pruning shears, a potting mix designed for cuttings, a rooting hormone (optional but beneficial), and a clear plastic bag or humidity dome.
- Choose the right cutting: Select a healthy, non-flowering stem with at least two to three nodes (points where leaves grow). Cut the stem just below a node, ensuring a clean and sharp cut.
- Remove lower leaves: Trim off any leaves below the soil line to prevent rotting.
4. The Propagation Process:
- Dip the cutting in rooting hormone (optional): This will stimulate root development and enhance the success rate.
- Insert the cutting into the prepared potting mix: Make a small hole in the potting mix and gently insert the cutting, ensuring the node rests just below the surface.
- Create a humid environment: Cover the pot with a clear plastic bag or humidity dome to trap moisture and maintain high humidity.
- Place in indirect light: Avoid direct sunlight as it can scorch the new cutting.
- Water regularly: Keep the potting mix moist but not soggy.
5. Patience and Observation:
Success takes time! It can take several weeks or even months for new roots to develop. Regularly check the potting mix for moisture and observe the cutting for signs of growth. You may notice new leaves emerging, which indicates successful rooting.
6. Transplanting your new Tetrorchidium:
Once your cutting has developed a healthy root system, you can gently remove it from the plastic bag and transplant it into a larger pot with fresh potting mix. Provide the same care as for adult Tetrorchidium rubrivenium, ensuring adequate light, water, and occasional fertilization.
With a little patience and care, you can now enjoy the beauty of the Red-Veined Tetrorchidium and its ability to thrive in your home. Remember to celebrate the joy of propagation: it’s not just about bringing new life to your plant collection; it’s a rewarding and educational experience in itself, connecting you closer to the wonders of nature!