From Snipping to Thriving: How to Easily Propagate Woolly Germander (Teucrium lanigerum)
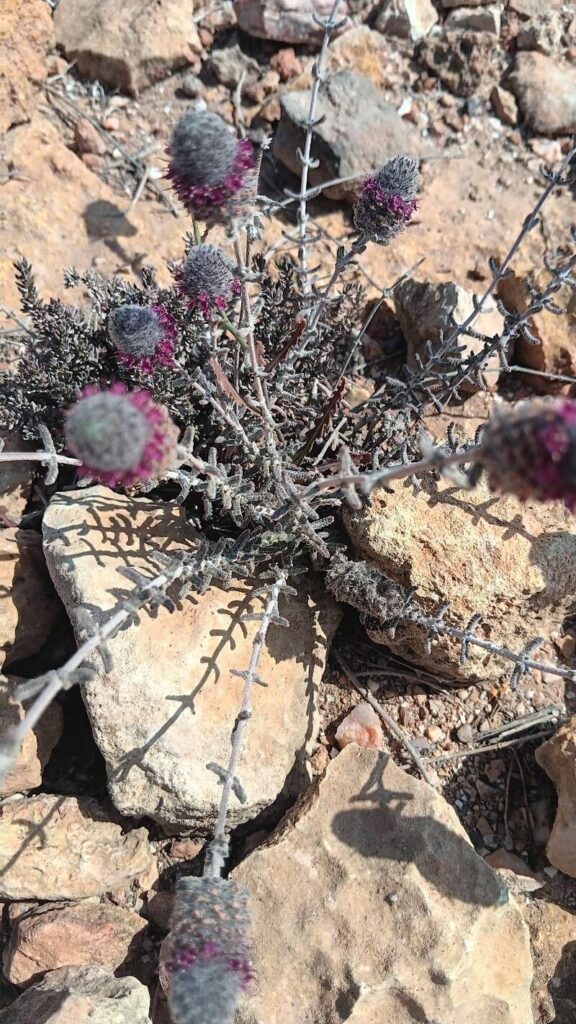
Woolly Germander (Teucrium lanigerum), with its soft, silvery-grey foliage and charming lavender blooms, adds a touch of Mediterranean charm to any garden. But did you know that you can easily multiply your stock of this beautiful plant with a simple propagation technique? That’s right, you can create new Woolly Germander plants from cuttings, taking advantage of their natural resilience and expanding your garden’s beauty with minimal effort.
The Power of Propagation
Propagation is the process of creating new plants from existing ones, often by using cuttings, seeds, or divisions. For Woolly Germander, taking cuttings is the easiest and most common method. It allows you to replicate your existing plant’s characteristics, preserving its unique beauty, and quickly boosting your collection.
Step-by-Step Propagation Guide
Here’s a simple guide to get you started:
- Timing is Key: The best time to take cuttings is during the spring or early summer when the plant is actively growing. Avoid taking cuttings from plants that are stressed or in bloom.
- The Cutting Selection: Choose semi-hardwood cuttings, about 4-6 inches long, from healthy, non-flowering stems. Gently remove the lower leaves, leaving 2-3 leaves at the top.
- Root Hormone Magic: Dip the cut end of the cuttings into rooting hormone powder. This enhances root development and boosts success rates.
- Potting Prep: Prepare a pot with a well-draining potting mix. It should be moist but not soggy. Make small holes with a pencil in the mix, about 1 inch deep.
- Planting the Cuttings: Insert the cuttings into the holes, ensuring the bottom leaf nodes are covered by the soil.
- Creating a Greenhouse Effect: Cover the pot with a plastic dome or wrap to create a humid environment, which encourages root development. Place the pot in a warm, bright location, but out of direct sunlight.
- Patience Pays Off: Regularly mist the cuttings to maintain moisture. It might take 4-6 weeks for roots to develop, so be patient.
- Transition to Sunlight: Once the cuttings have developed roots, you can gradually acclimate them to full sunlight by removing the plastic cover for longer periods each day.
- Transplanting: Once the cuttings are well established, transplant them into individual pots or into your garden, ensuring you choose a sunny spot with well-draining soil.
Care Tips for Your New Woolly Germander Plants
- Water wisely: Water your new Woolly Germander plants regularly, allowing the soil to dry slightly between waterings. Avoid overwatering, as this can lead to root rot.
- Protect from Frost: Woolly Germander is generally cold-hardy, but young plants may need protection during winter frosts. A layer of mulch or a frost blanket can keep them warm.
- Pruning for Healthy Growth: You can pinch back the tips of the plants during the growing season to encourage a bushier habit.
Benefits of Woolly Germander Propagation
- Free Plants: Save money by propagating new Woolly Germander from existing plants.
- Quick Multiplication: Expand your garden with beautiful, long-lasting Woolly Germander plants within months.
- Preserving Unique Characteristics: By propagating from cuttings, you can preserve the unique traits of your existing plant, like its color, fragrance, and size.
Conclusion
Propagating your own Woolly Germander is a rewarding and easy process. With this detailed guide, you can readily create new plants and embrace the beauty of this Mediterranean wonder in your own garden, all while expanding your gardening skills and enjoying the satisfaction of cultivating your very own Woolly Germander.