Unlocking the Secrets of Thaumatophyllum Williamsii Propagation: A Step-by-Step Guide to Multiplying Your Tropical Treasure
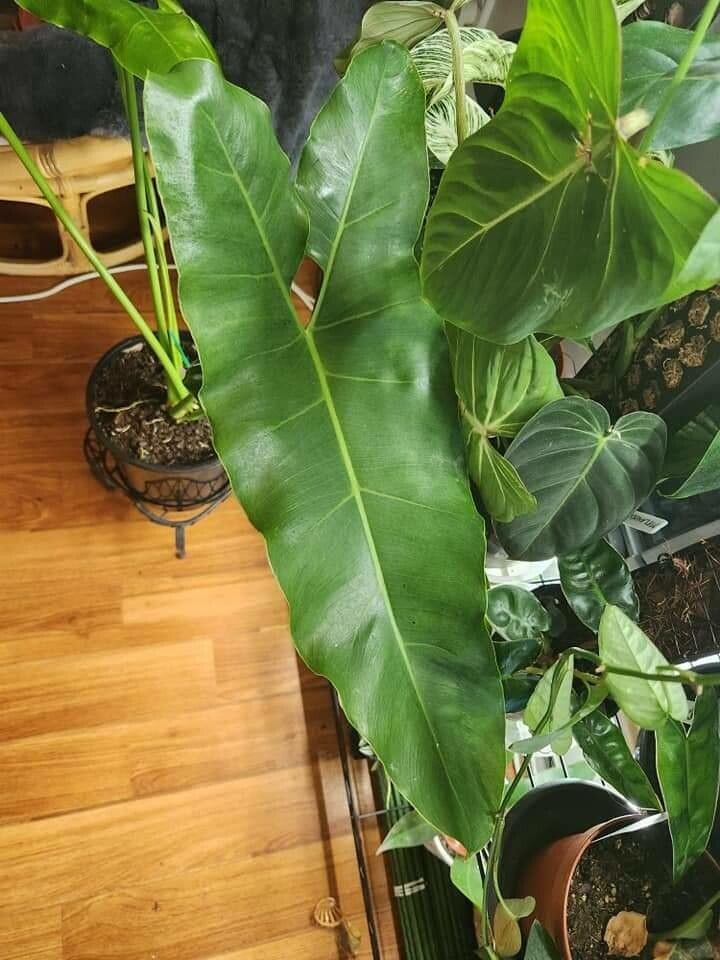
The Thaumatophyllum williamsii, with its stunningly variegated leaves splashed with silver and green, has become a sought-after treasure for plant enthusiasts. If you’re lucky enough to own one of these beauties, you’ve probably wondered about the best ways to propagate it. Well, you’re in luck! This guide will walk you through the process, demystifying the art of multiplying your very own tropical paradise.
Understanding the Basics
Before we dive into the methods, let’s understand how T. williamsii propagation works. Unlike some plants that can be grown from seed, this species is most successfully propagated through cuttings. This involves taking a piece of the parent plant and encouraging it to develop roots, essentially creating a clone.
Method 1: Stem Cuttings in Water
Water propagation is a popular choice for beginners due to its simplicity. Here’s how it’s done:
- Choose the right cutting: Look for a healthy stem with at least one node (the small bump where leaves emerge) and ideally two or three. Using clean, sharp scissors or pruning shears, make a cut just below a node.
- Prepare the cutting: Remove any leaves from the bottom node, as these will be submerged in water. If desired, you can dip the cut end in rooting hormone powder to encourage faster root development (optional but helpful).
- Submerge in water: Place the cutting in a clear glass container filled with filtered water or rainwater. Ensure the nodes are submerged while the leaves remain dry.
- Patience is key: Place the container in a bright location, out of direct sunlight. Change the water every few days to prevent stagnation.
- Transplanting to soil: In a few weeks, you’ll begin to see roots sprout. Once they reach about an inch or two in length, carefully transplant the cutting into a well-draining potting mix.
Method 2: Stem Cuttings in Soil
For those who prefer a more direct approach, rooting cuttings directly in soil is a viable option:
- Follow steps 1 and 2 from the water propagation method.
- Prepare the pot: Fill a small pot with a well-draining potting mix, ideal for aroids. You can create your own by mixing peat moss, perlite, and vermicast in equal parts.
- Plant the cutting: Create a small hole in the soil with your finger or a pencil and gently insert the cut end of the stem, burying the node.
- Keep it humid: Water well and place the pot inside a clear plastic bag or a humidity dome to create a warm, humid environment. This is crucial for successful rooting.
- Monitor and transplant: Once you see new growth emerging, it’s a sign that your cutting has rooted. Gradually acclimate the plant to normal humidity levels by opening the bag or dome slightly more each day. After about a week, you can transplant it into a larger pot.
Tips for Success
- Timing is everything: Spring and early summer are the ideal seasons for propagation, as the plant is actively growing.
- Choose healthy plants: Strong, healthy parent plants yield stronger cuttings with a higher chance of success.
- Be patient: Propagation takes time. Don’t be discouraged if you don’t see results immediately. Continue to provide the necessary care, and your patience will be rewarded with beautiful new plants.
Propagating your T. williamsii is a rewarding experience that allows you to share the joy of this stunning plant with others. By following these tips and techniques, you’ll be well on your way to expanding your collection and becoming a true plant parent pro!