Unfurling the Secrets: Propagating the Graceful Thelypteris poiteana Fern
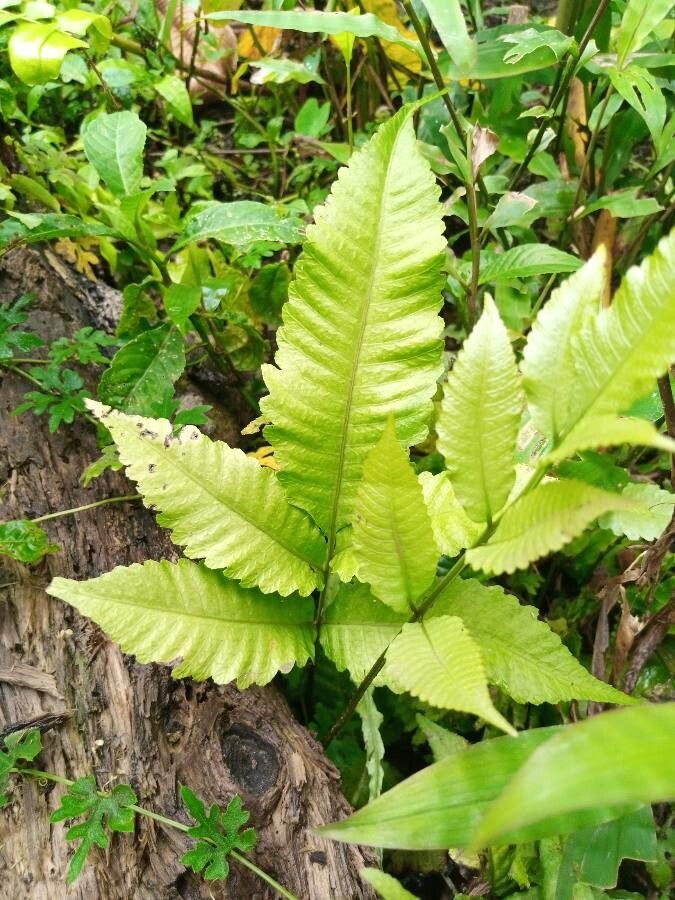
The Thelypteris poiteana, also known as the Coastal Plain marsh fern, is a sight to behold. Its delicate, arching fronds bring a touch of lush elegance to any space fortunate enough to host it. While relatively easy to care for, many enthusiasts wonder about the best way to propagate this graceful fern and expand their verdant collection. Fear not, fellow plant lovers, for we’re about to delve into the art of multiplying your Thelypteris poiteana!
Understanding the Fern’s Life Cycle
Unlike many flowering plants that readily multiply through seeds, ferns reproduce through spores. These microscopic wonders are housed in tiny structures called sporangia, clustered together in visible patterns on the underside of mature fronds.
Propagating Your Thelypteris poiteana: Two Tried and True Methods
1. Spore Propagation (The Adventure Route)
While slightly more involved, propagating from spores offers a deeply rewarding experience. Here’s your step-by-step guide:
- Spore Collection: Identify mature fronds with dark, mature sporangia. Carefully snip off a frond and place it in a paper bag, spore-side down. Leave it in a dry, undisturbed location for a few days, allowing the spores to naturally release into the bag.
- Sowing the Spores: In a sterile seed tray, prepare a moist, peat-based potting mix. Sprinkle the collected spores evenly over the surface, avoiding burying them. Cover the tray with a clear plastic lid or wrap to create a humid environment.
- Patience is Key: Place the tray in a warm, bright location, out of direct sunlight. It can take several weeks to a few months for the spores to germinate, forming a green, moss-like layer called prothallus.
- From Prothallus to Fernlets: Once the prothallus emerges, mist it regularly with distilled water. Tiny fernlets will eventually sprout, signifying a successful propagation.
- Transplanting: When the fernlets are large enough to handle, carefully separate them and pot them individually in a well-draining, peat-rich mix.
2. Division (The Simpler Path)
For a quicker and more straightforward approach, division is the way to go. This method, best undertaken in early spring, allows you to separate an established plant into multiple smaller ones:
- Prepare for Division: Carefully remove the Thelypteris poiteana from its pot, gently shaking off excess soil. Using clean, sharp shears or a knife, divide the rhizome (the fern’s underground stem) into sections, ensuring each portion has a healthy set of fronds and roots.
- Potting the Divisions: Plant each division in its own pot filled with a moist, peat-based potting mix. Water thoroughly and place the newly potted ferns in a humid environment, away from direct sunlight.
Nurturing Your New Fern Offspring
Whether you choose spores or division, your new Thelypteris poiteana plants will thrive in a humid environment with indirect light and consistently moist soil. Avoid letting the soil completely dry out and provide regular fertilization during the growing season to encourage healthy growth.
With a little patience and care, you’ll soon have a flourishing collection of this captivating fern, bringing a touch of graceful greenery to your home or garden. Happy propagating!