Unlocking the Secrets of Juneberry Propagation: Grow Your Own Edible Oasis
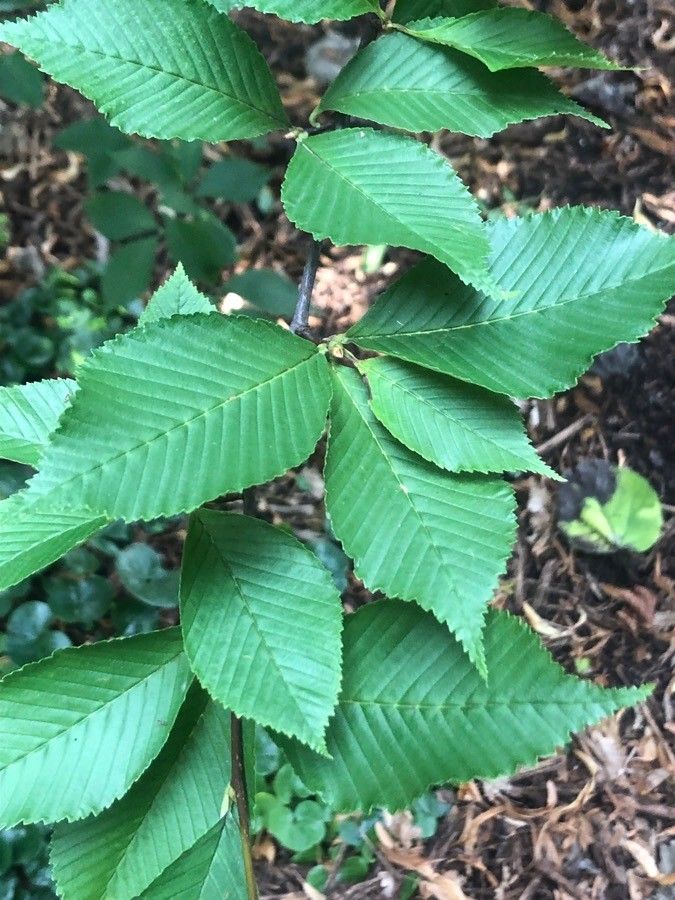
Juneberry (Amelanchier alnifolia), also known as Saskatoon berry, is a delightful shrub prized for its beautiful spring blossoms, vibrant fall foliage, and, most notably, its delicious, blueberry-like fruit. If you’re dreaming of an edible landscape with this versatile plant, you’ll be pleased to know that propagating Juneberries isn’t as daunting as it might seem. Let’s delve into the various methods to grow your own Juneberry haven.
Method 1: Starting from Seed – A Test of Patience
Growing Juneberries from seed is certainly possible, but it requires a bit of patience and green-thumb magic. This method is best suited for those who enjoy a challenge and don’t mind waiting a little longer for their fruit-bearing shrubs.
-
Seed Collection and Stratification: Collect ripe berries in early summer and extract the seeds. Juneberry seeds need a period of cold stratification to germinate. You can achieve this by placing the seeds in a moist paper towel inside a sealed bag and storing them in the refrigerator for 90-120 days.
-
Sowing the Seeds: In spring, sow the stratified seeds about ½ inch deep in seed starting mix and keep the soil consistently moist. Be patient, as germination can take several weeks.
- Transplanting: Once the seedlings are a few inches tall, transplant them to larger pots or directly into your garden after the last frost.
Method 2: Cuttings – A Faster Route to Fruit
Propagating Juneberries from cuttings offers a faster and more reliable way to multiply your shrubs. Here’s how to do it:
-
Timing is Key: Take hardwood cuttings in late fall or early winter when the plant is dormant, or softwood cuttings in late spring after the new growth has hardened off.
-
Taking the Cuttings: For hardwood cuttings, select healthy, pencil-thick stems from the previous year’s growth. Make a 6-8 inch cut below a node. For softwood cuttings, choose new growth that snaps easily and make a 4-6 inch cut.
-
Hormone Boost: Dip the cut end of your cuttings in rooting hormone to encourage faster root development.
- Planting and Patience: Plant the cuttings in a well-draining potting mix, leaving a couple of nodes above the soil. Keep the soil consistently moist and provide gentle warmth. Roots should start forming in a few weeks.
Method 3: Suckering – Letting Nature Take the Lead
Juneberry plants often produce suckers, which are new shoots emerging from the base of the plant. These suckers provide an effortless way to propagate new plants.
-
Identify and Separate: Look for healthy suckers around the base of your established Juneberry plant.
-
Gentle Removal: Carefully dig down around the sucker and use a sharp spade to separate it from the mother plant, ensuring you gather a good portion of the root system.
- Potting or Planting: Pot the separated sucker or plant it directly in your desired location.
Tips for Success:
- Well-Drained Soil: Juneberries thrive in well-drained soil with a slightly acidic to neutral pH.
- Sunlight is Key: Choose a location with full sun to partial shade for optimal growth and fruit production.
- Water Wisely: While Juneberries are relatively drought-tolerant once established, provide regular watering, especially during dry spells.
Propagating your own Juneberry plants opens up a world of possibilities for your edible landscape. Whether you choose the patience of seeds, the reliability of cuttings, or the ease of suckers, you’ll be rewarded with beautiful shrubs and bountiful harvests for years to come. Happy growing!