Unveiling the Secrets of Propagation: How to Grow More Thymelaea velutina
The alluring fragrance and unique beauty of Thymelaea velutina, also known as the “Mediterranean Paperbush,” have captivated gardeners for years. But what if you could share this exquisite plant’s charm with others? Introducing the world of propagation: a fascinating journey that unveils the secrets of creating new plants from existing ones.
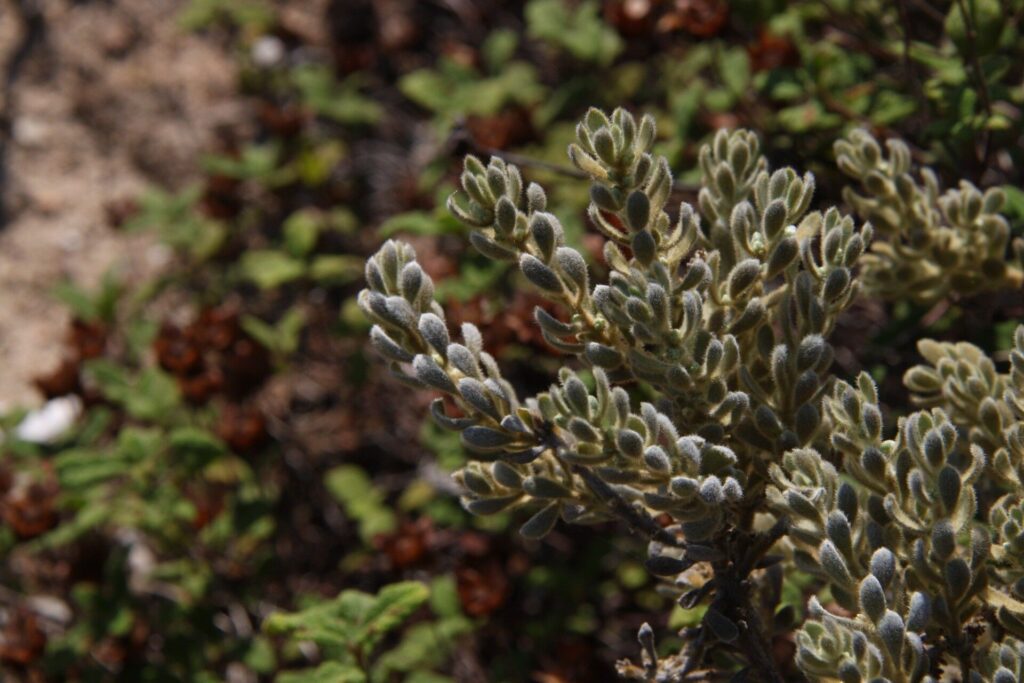
This blog delves into the art of propagating Thymelaea velutina, equipping you with knowledge to successfully cultivate new plants from both seeds and cuttings.
From Seed to Sprout: The Journey Begins
Seed propagation, while a bit more time-consuming, offers a rewarding experience. Here’s how to cultivate your own Thymelaea velutina from seed:
- Harvesting the Seeds: Locate ripe fruits, typically small and fleshy, from established plants. Separate the seeds from the pulp and let them dry thoroughly.
- Sowing the Seeds: Prepare a seed tray filled with a well-draining seed-starting mix. Sow the seeds about ¼ inch deep and cover them lightly with soil.
- Moisture and Warmth: Keep the soil consistently moist but not waterlogged. A warm environment, around 70°F, is ideal for germination.
- Patience is Key: Thymelaea velutina seeds may take several weeks to germinate. Be patient and maintain a humid environment.
- Transplanting: Once seedlings develop true leaves, gently transplant them into individual pots filled with a well-draining potting mix.
Taking Cuttings: A Faster Route
For those seeking a quicker approach, propagation through cuttings is an excellent option. Here’s how to get started:
- Timing is Crucial: The best time for taking cuttings is during late spring or early summer when the plant is actively growing.
- Selecting the Cuttings: Choose healthy, non-flowering stems with new growth. Cut them at a 45-degree angle below a node (where leaves emerge).
- Preparing the Cuttings: Remove leaves from the bottom 1-2 inches of the stem. Dip the cut end into a rooting hormone powder to stimulate root development.
- Planting the Cuttings: Fill a pot with a rooting mix and make a small hole to accommodate the cutting. Plant the cutting about 1-2 inches deep and firm the soil gently.
- Create a Humid Environment: To mimic the conditions of a greenhouse, cover the pot with a plastic bag or dome to create humidity.
- Maintain Patience and Light: Place the pot in a bright, indirect light location. Keep the soil consistently moist and check periodically for signs of root growth, which typically takes 4-6 weeks.
Important Tips for Success
- Watering: Though Thymelaea velutina thrives in well-drained soil, adequate moisture is essential during propagation. Water gently to maintain moisture without over-watering.
- Sunlight: Provide bright, indirect sunlight for both seedlings and cuttings. Direct sunlight can scorch delicate leaves.
- Ventilation: Ensure proper airflow to prevent fungal diseases. Remove the plastic bag or dome for a few minutes each day to allow air circulation.
Sharing the Beauty of Thymelaea velutina
Propagating Thymelaea velutina is not just a gardening technique; it’s a rewarding experience that allows you to multiply your collection, share this exquisite plant with others, and witness the wonders of plant life firsthand. Whether you choose seeds or cuttings, the journey of propagation offers the opportunity to discover the secrets of nature and bring the enchanting charm of Thymelaea velutina to life.