From Seed to Stardom: How to Propagate the Striking Salsify
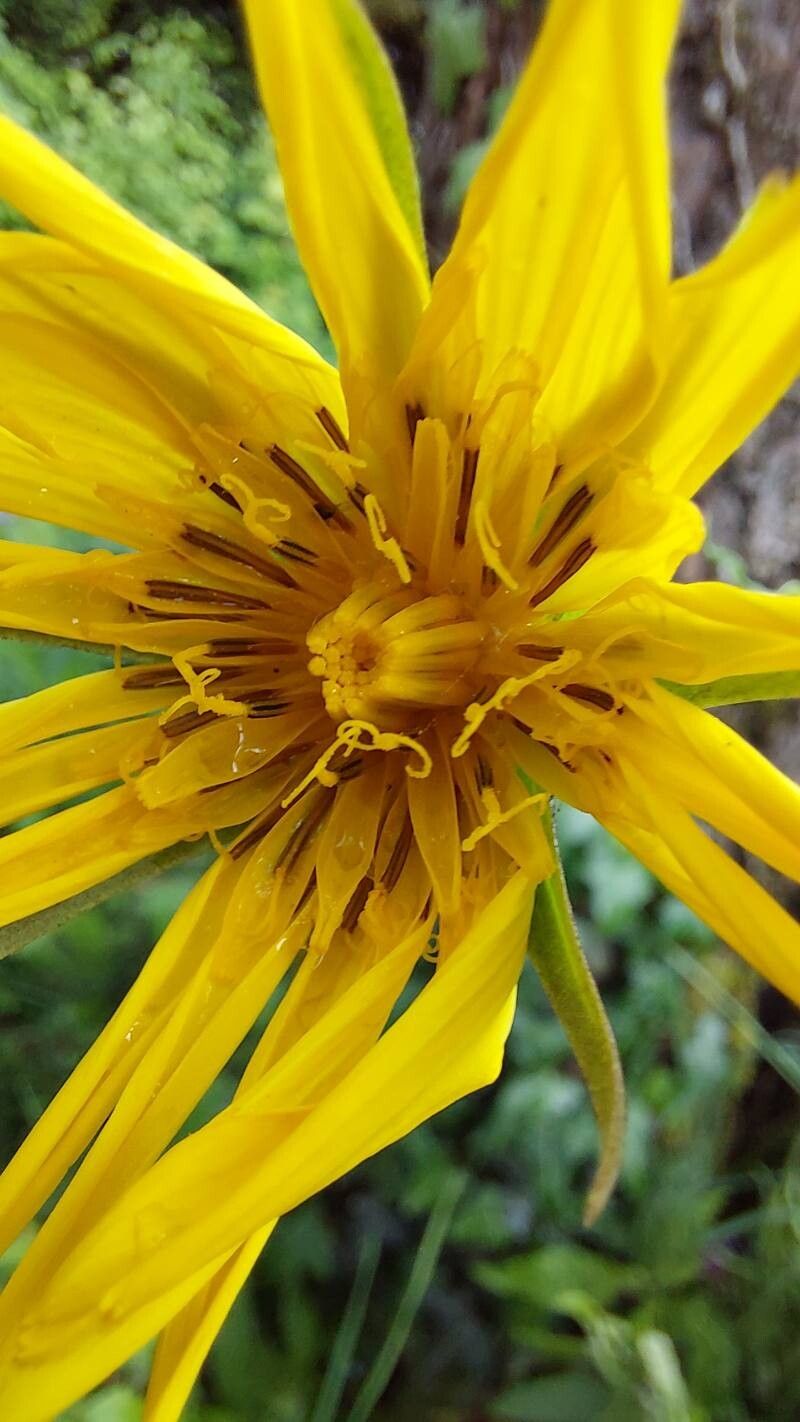
The Tragopogon orientalis, better known as Eastern Salsify, is a captivating sight in the wild with its vibrant, daisy-like yellow flowers. Though this species is naturally found in Europe and Central Asia, it has been increasingly admired by home gardeners for its unique beauty and the delicious edible roots it offers. If you’re drawn to this beautiful, versatile plant, you’re in luck! Propagating Salsify is relatively simple and rewarding, allowing you to enjoy this charming blooms and nutritious roots in your own garden.
The Power of Seeds
Salsify reproduces primarily through seed, making propagation a straightforward process. Here’s a step-by-step guide to growing Salsify from seed:
Time is of the Essence: Direct sowing is the preferred method for Salsify. It’s best to sow seeds in the early spring or late autumn, depending on your location’s climate. In warmer regions, fall sowing is ideal, while spring planting is better for colder climates.
Prime Your Soil: Salsify thrives in well-drained, sunny locations with loose, fertile soil. Before sowing, prepare the soil by tilling it to a depth of 6-8 inches and incorporating compost or manure to improve drainage and fertility.
Sow with Confidence: Sow Salsify seeds directly into the soil at a depth of ¼ inch. Space the seeds 6-12 inches apart, allowing room for the plants to develop. Rake a thin layer of soil over the seeds and gently water.
Patience is Key: Germination can take 10-14 days, and depending on the weather, you might need to keep the soil consistently moist during this period. Thin out any seedlings that are too crowded to encourage healthy growth.
- Caring for Your Salsify: Once your Salsify plants sprout, provide regular watering, especially during dry periods. You can also lightly fertilize them once a month with a balanced fertilizer.
A Second Chance with Root Division
For established Salsify plants that have developed strong root systems, you can also propagate them through root division. This technique is best performed during the early spring or fall.
Dig for Success: Carefully dig up mature Salsify plants, ensuring you don’t damage the root system.
Root Separation: Use a sharp knife or garden shears to carefully separate the roots into individual pieces, ensuring each section has a healthy bud or growth point.
- A Fresh Start: Plant these divided root sections in a prepared area, ensuring the bud faces upwards. Water them well.
A Garden Full of Salsify: Tips for Success
Pest Awareness: Salsify is generally resistant to pests, but slugs and snails can be a problem. If you see these pests, hand-pick them or use a barrier like diatomaceous earth.
Bloom and Beyond: Enjoy the vibrant yellow blooms that adorn your Salsify plants from late spring to early summer. These flowers are followed by fluffy seedheads, ideal for attracting beneficial insects.
- Harvest for Flavor: Salsify roots can be harvested throughout the year. They’re best dug up in fall and winter for a milder, sweeter flavor. Use the roots like carrots in soups, stews, or stir-fries.
Growing Salsify from seed or division is a rewarding journey that brings beauty and culinary delight to your garden. With a bit of care and patience, you can enjoy its graceful blooms and the unique flavor of its roots for years to come.