Unlocking the Secrets to Propagating the Exquisite Tricalysia Pallens
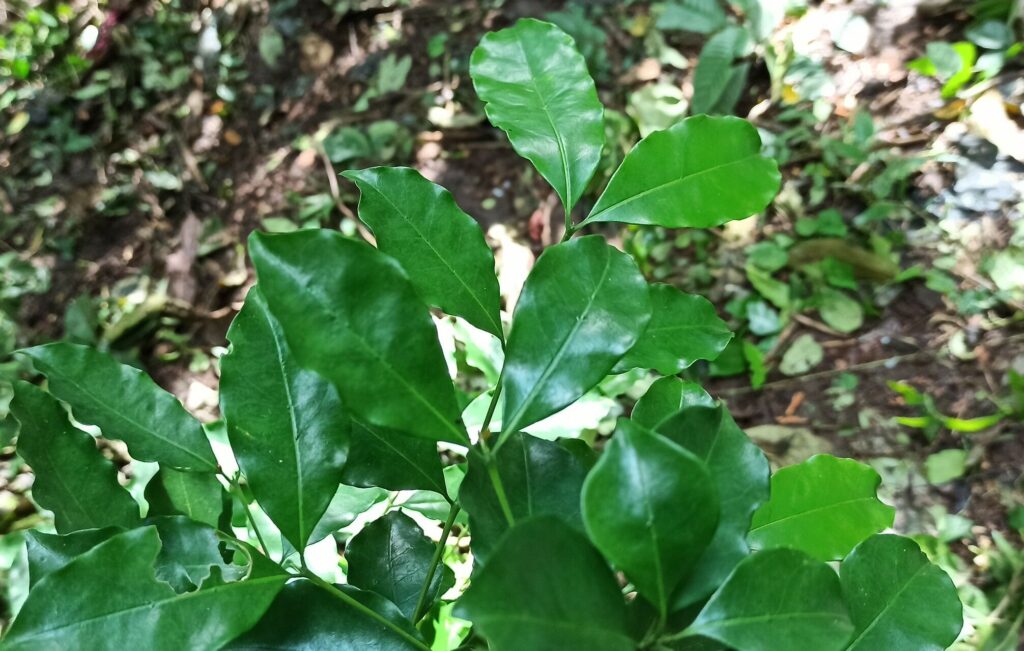
The Tricalysia pallens, with its captivating, glossy leaves and delicate, fragrant blooms, is a botanical treasure coveted by many plant enthusiasts. But acquiring this tropical gem can sometimes be a challenge. Fortunately, propagation offers a rewarding way to expand your collection and share the beauty of this plant.
While Tricalysia pallens can be propagated through both seeds and cuttings, the latter method is generally considered easier and more accessible for home gardeners. Let’s dive into the details of how to successfully propagate this captivating plant using cuttings:
1. Gather Your Supplies:
- Sharp, sterile knife or shears: Cleanliness is key to prevent infections in the cuttings.
- Growing medium: A well-draining blend like a mix of peat moss, perlite, and vermiculite works well.
- Rooting hormone: This optional step helps promote root development.
- Clear plastic dome or bag: This creates a humid environment for the cuttings.
- Pot or tray: Choose a container with drainage holes.
2. Take Your Cuttings:
- Timing is crucial: Choose a healthy, actively growing Tricalysia pallens plant. The ideal time for taking cuttings is during the spring or early summer when the plant is actively growing.
- Select a stem: Choose a non-flowering, semi-woody stem with at least 3-4 nodes (the points where leaves grow). Cut the stem just below a node, using a clean, sharp knife or shears.
- Remove leaves: Trim away the bottom 1-2 pairs of leaves to prevent them from rotting.
3. Prepare the Cuttings for Planting:
- Dip in rooting hormone: Optional but recommended, dipping the cut end of the stem in rooting hormone encourages faster root development.
- Plant the cuttings: Gently insert the cut end of each cutting into the prepared growing medium, ensuring at least one node is buried. Space them out sufficiently to allow for optimal growth.
- Water thoroughly: Make sure the growing medium is moist but not soggy.
4. Create a Greenhouse Effect:
- Humidify: Cover the pot or tray with a plastic dome or bag to create a humid environment. This helps maintain moisture and encourages root development.
- Bright, indirect light: Place the cuttings in a warm, bright location with indirect light for optimal root formation. Avoid direct sunlight, as it can cause the cuttings to dry out.
- Maintain moisture: Mist the cuttings regularly to keep the growing medium moist. Avoid overwatering, as this can lead to root rot.
5. Patience is Key:
- Root formation: It can take several weeks for the Tricalysia pallens cuttings to develop roots. During this time, maintain consistent humidity and light conditions.
- Signs of success: Look for new growth emerging from the tips of the cuttings. This is a positive indication that roots are forming and the cuttings are thriving.
6. Transplanting:
- When to transplant: Once the cuttings have developed a strong root system, usually indicated by new growth, you can transplant them into individual pots with well-draining potting mix.
- Acclimatization: Gradually acclimate the newly transplanted cuttings to their new environment by slowly reducing the humidity level over a few weeks.
Propagation Tips:
- Water propagation: You can also try propagating Tricalysia pallens in water. Simply place the cuttings in a jar of water and change the water every few days. However, this method can be slightly less successful than using a growing medium.
- Air layering: For more established Tricalysia pallens plants, air layering can be used to propagate new plants. This involves cutting a ring of bark from a stem, placing it in moist sphagnum moss, and covering it with plastic wrap. This encourages the development of roots directly on the stem.
Enjoy Your New Tricalysia Pallens Plants!
With a little patience and attention to detail, you’ll soon enjoy the satisfaction of cultivating your own beautiful Tricalysia pallens plants. These plants add elegance and fragrance to any space, making them a rewarding endeavor for plant enthusiasts of all levels.