The Secret to Growing More Trichoscypha acuminata: A Guide to Propagation
Trichoscypha acuminata – a name that might sound intimidating, but refers to a beautiful, unique plant capable of adding a touch of tropical charm to any home. But what if you want more than just one? That’s where propagation comes in.
This article will guide you through the secrets of growing more Trichoscypha acuminata from cuttings, a method that’s surprisingly easy and allows you to share the joy of this plant with others (or just fill your home with its lush foliage!).
Understanding Trichoscypha acuminata:
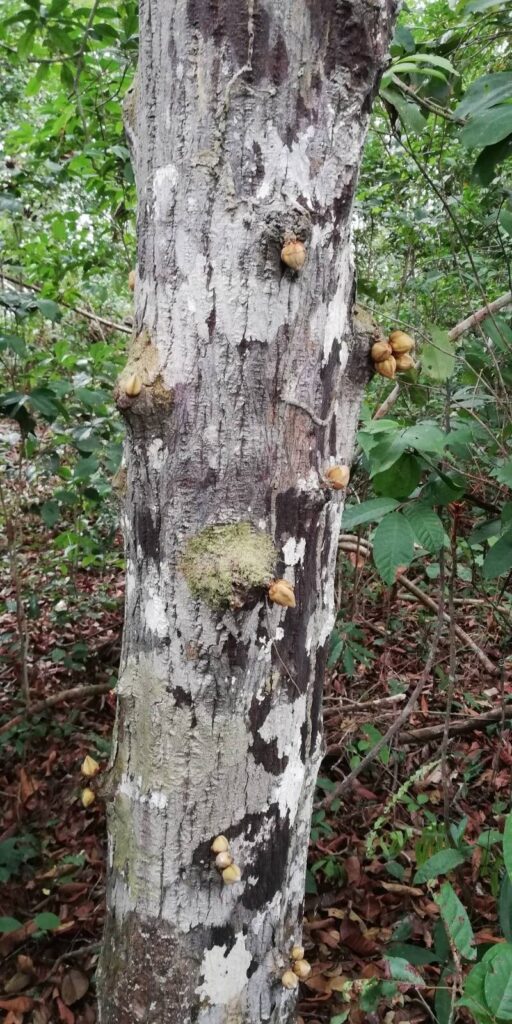
Trichoscypha acuminata, also known as the “African Umbrella Tree,” is a striking plant native to Africa. It’s admired for its large, glossy, dark green leaves that cascade downwards, creating a dramatic, umbrella-like effect. This plant is not only beautiful; it’s also relatively easy to care for and can thrive both indoors and outdoors (in warm climates).
Methods of Propagation:
While Trichoscypha acuminata can be grown from seed, the easiest and most reliable method for propagation is through cuttings. This involves taking a piece of the stem and encouraging it to develop roots.
Here’s a step-by-step guide to propagating Trichoscypha acuminata from cuttings:
1. Choosing the Right Cutting:
- Select a healthy stem with at least 3-4 nodes (the bumps along the stem where leaves grow).
- Choose a stem that’s not too soft or too woody, as they may be difficult to root.
- Ideally, use a cutting that’s about 4-6 inches long.
2. Preparing the Cutting:
- Using a sharp, clean knife or pruning shears, make a clean, angled cut just below a node.
- Remove any leaves that will be underwater when the cutting is planted.
3. Rooting Hormone (Optional):
- While not mandatory, applying a rooting hormone powder or gel can significantly increase the success of rooting.
- Carefully dip the cut end of the stem into the rooting hormone, ensuring it coats the entire surface.
4. Planting the Cutting:
- Fill a pot with a well-draining potting mix.
- Make a hole in the soil deep enough for the cutting to sit upright.
- Gently insert the cutting into the hole, ensuring the node is below the soil level.
- Firm the soil around the base of the cutting to hold it firmly in place.
5. Maintenance:
- Water the cutting thoroughly after planting and provide indirect sunlight.
- Keep the soil consistently moist but not soggy.
- Place the pot in a warm, humid environment.
- Patience is key: It can take several weeks for roots to develop, but eventually, you’ll see new growth emerging from the nodes.
Additional Tips:
- You can use a clear plastic bag or a humidity dome to create a more humid environment around the cuttings.
- Using a heat mat can help speed up the rooting process.
- Regularly monitor the cutting for signs of rot or disease.
Sharing the Joy:
Propagating Trichoscypha acuminata from cuttings allows you to create more of these captivating plants, whether for your own collection or for sharing with friends and family. It’s a rewarding experience, knowing you’ve successfully brought new life to this stunning species.
Remember, by following these steps, you’ll be well on your way to enjoying a beautiful and thriving collection of Trichoscypha acuminata, sharing its tropical elegance with everyone you know. And who knows, perhaps this will inspire you to try your hand at propagating other plants as well!