Unlocking the Secrets of Tridactyle anthomaniaca Propagation: A Guide for Beginners
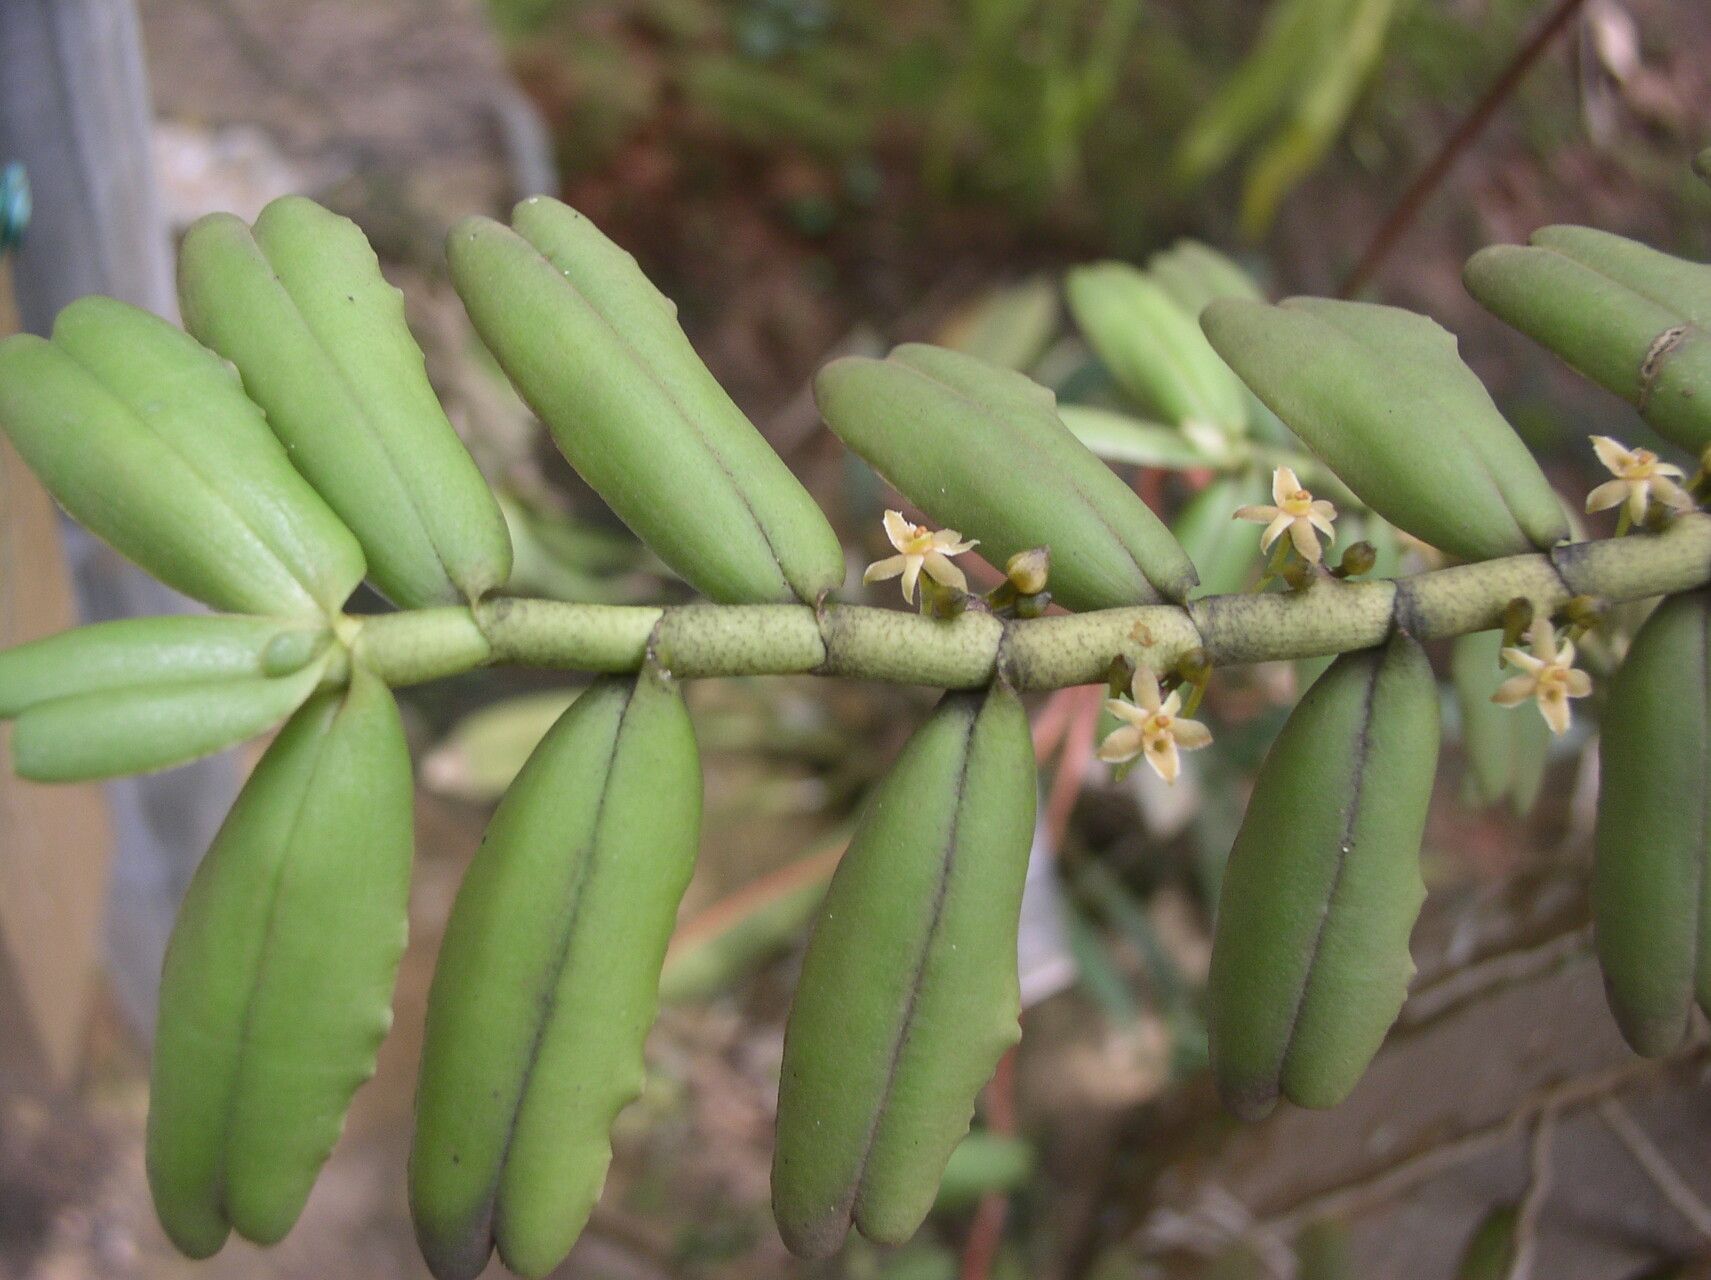
Tridactyle anthomaniaca, with its striking, fragrant blooms and unique three-lobed leaves, is a coveted orchid among plant enthusiasts. But acquiring this beauty can be challenging, often requiring specialized knowledge and specialized sources. However, did you know that you can grow your own Tridactyle anthomaniaca from cuttings? This blog post will demystify the process of propagation, providing a beginner-friendly guide to unlock the secrets of bringing this remarkable orchid to life.
Understanding Tridactyle Anthomaniaca Propagation
Tridactyle anthomaniaca can be propagated through two primary methods:
- Division: This method involves separating the plant’s rhizome (the underground stem) into smaller sections, each with its own root system and growth point. This is usually done during the repotting process.
- Cuttings: Using cuttings requires taking a section of the plant’s stem, ideally with at least two nodes (where leaves sprout), and encouraging it to root. This method allows for more plants to be generated from a single parent plant.
The Cutting Method: Step-by-Step Guide
- Choose the right time: The best time to take cuttings is during the active growth period, typically from late spring to early summer.
- Select a healthy stem: Look for a stem with at least two nodes and no signs of disease or damage. Use a sharp, sterilized blade or knife to make a clean cut just below a node.
- Prep the cuttings: Remove the lowermost leaf from the cutting, ensuring the node is exposed.
- Dipping in rooting hormone (optional): While not mandatory, using a rooting hormone can significantly improve rooting success. Dip the cut end of the cutting into the powder or liquid hormone.
- Prepare the growing medium: Use a well-draining mix like sphagnum moss or a mix of bark and perlite. Moisten the medium thoroughly but avoid overwatering.
- Plant the cuttings: Insert the cuttings into the medium, ensuring the node is buried. Place the pot in a warm, humid environment with filtered, indirect sunlight.
- Maintain moisture and humidity: Mist the cuttings regularly to keep the medium consistently moist. You can also create a mini-greenhouse using clear plastic wrap to trap humidity.
- Patience is key: Rooting can take anywhere from 4 to 8 weeks. Monitor the cuttings for signs of new growth, which indicates successful rooting.
Tips for Success
- Sterilize your tools: Use a bleach solution or rubbing alcohol to sterilize your knife or blade to prevent the spread of diseases.
- Use filtered water for misting: Tap water can contain minerals that can harm the delicate cuttings.
- Provide adequate light: While avoiding direct sunlight, ensure the cuttings receive bright, indirect light.
- Avoid overwatering: Excess moisture can lead to root rot.
- Maintain humidity: Use a humidity tray or a misting bottle to maintain a high humidity environment.
Conclusion
Propagating Tridactyle anthomaniaca from cuttings can be a rewarding and fulfilling experience. With careful attention to detail and patience, you can successfully grow these beautiful orchids from your own cuttings. Remember to study your plant and ensure you’re providing the right conditions for successful growth. This journey will not only enhance your knowledge but also provide you with the satisfaction of witnessing these captivating orchids thrive under your care.