From Tiny Seeds to Lush Patches: Propagating the Charming Trifolium lappaceum
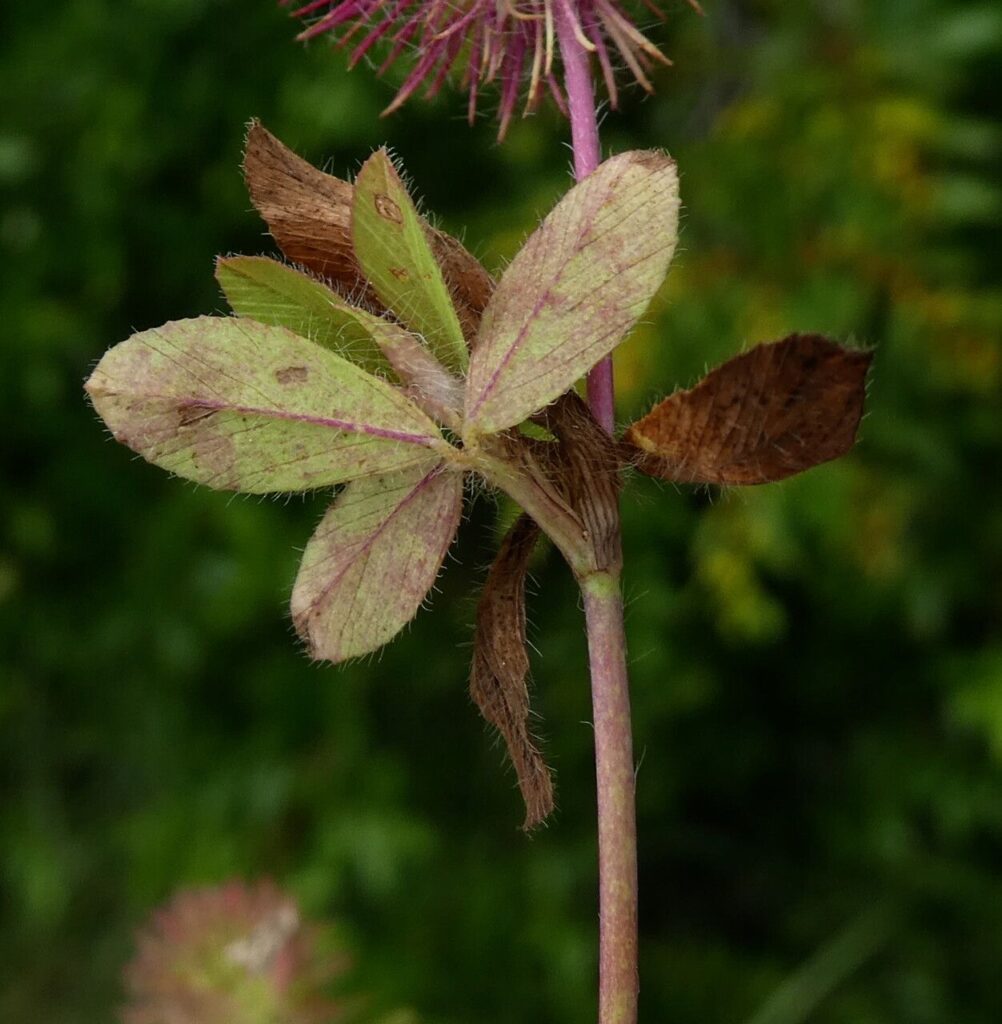
The Trifolium lappaceum, affectionately known as the Lappaceous Clover or the Sticky Clover, is a delightful sight. Its delicate, pink-purple blossoms clustered on slender stems create a charming display, especially when planted in large swaths. But did you know you can easily bring this beauty to your own garden? Propagation is surprisingly straightforward and can be achieved through both seeds and cuttings.
A Seed of Hope: Getting Started From Scratch
The most common method of propagating Trifolium lappaceum is through seeds. These tiny treasures are readily available online or at specialized nurseries. Here’s a step-by-step guide to ensure success:
- Prepare the Soil: Trifolium lappaceum thrives in well-drained soil with a neutral pH. Choose a sunny location, as it prefers full sun to partial shade. Consider amending the soil with compost to improve drainage and add nutrients.
- Direct Sowing: Sow the seeds directly into the prepared soil during the spring or early summer. Lightly cover them with a thin layer of soil, ensuring good contact with the ground.
- Watering and Germination: Water the soil consistently, keeping it moist but not waterlogged. Germination typically takes around 10-14 days, depending on temperature and soil conditions.
- Thinning: Once seedlings emerge and develop a few true leaves, thin them to allow adequate space for each plant to develop. Leave about 6-8 inches between plants.
Cutting Edge Techniques for Instant Gratification
For those looking for a faster route to a vibrant patch of Trifolium lappaceum, propagation through cuttings offers a quicker option. This method is ideal if you have an existing plant to work with. Here’s what you’ll need:
- Prepare the Cuttings: Select healthy stems with new growth from your existing Trifolium lappaceum plant. Cut them just below a node (where leaves join the stem), ensuring each cutting is about 3-4 inches long.
- Remove Lower Leaves: Strip the lower leaves from the cuttings to allow for proper root development.
- Rooting Medium: Choose a well-draining rooting medium, such as a mixture of peat moss and perlite. You can also use a rooting hormone solution to encourage root growth.
- Planting the Cuttings: Place the cut ends of the prepared cuttings into the rooting medium, ensuring good contact.
- Maintaining Humidity: Cover the container with a plastic dome or wrap to create a humid environment. This helps retain moisture and promotes root development.
- Light and Patience:: Place the cuttings in a bright, indirect light location. It may take a few weeks for roots to form. Avoid overwatering, as this can lead to rotting.
Tips for Success
- Consistent Watering: Whether you’re starting from seeds or cuttings, consistent watering is key to healthy growth.
- Fertilization: Provide a balanced fertilizer twice a year to encourage vigorous growth.
- Deadheading: Deadheading spent flowers will encourage the plant to produce more blossoms and prolong its blooming period.
- Winter Preparation: Trifolium lappaceum is considered a hardy plant in most climates. However, in colder regions, it’s recommended to provide winter mulching for protection.
Beyond the Garden: The Benefits of Trifolium lappaceum
Aside from its aesthetic appeal, Trifolium lappaceum offers several benefits:
- Pollinator Haven: Its flowers attract pollinators like bees, butterflies, and hummingbirds, supporting a healthy ecosystem.
- Nitrogen Fixation: This clover species is a legume, which means it can fix nitrogen from the air. This enriches the soil, making it healthier for other plants.
- Erosion Control: Its sprawling growth habit makes it an excellent choice for erosion control, especially on slopes and banks.
From its charming blossoms to its practical benefits, Trifolium lappaceum is an excellent addition to any garden. With proper care and simple propagation techniques, you can enjoy its beauty and its positive impact on the environment for years to come.