From Seed to Showstopper: How to Propagate Giant Clover (Trifolium macrocephalum)
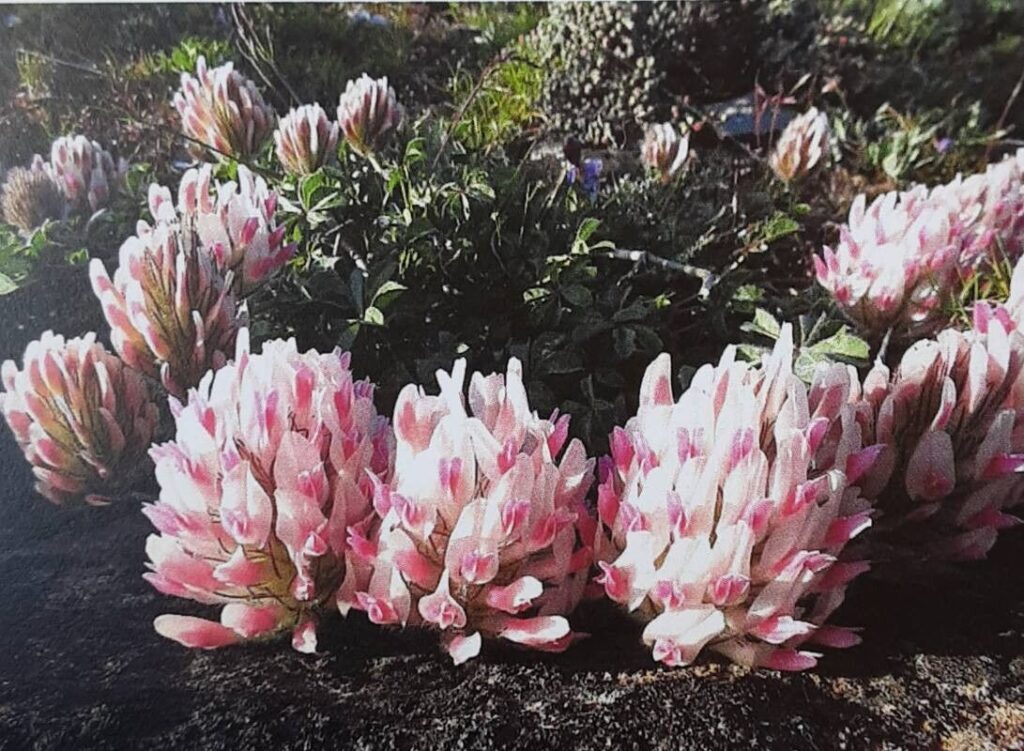
Have you ever seen a clover so large it looks like a miniature sunflower? That’s the wonder of Trifolium macrocephalum, also known as Giant Clover. This striking plant boasts huge, globe-shaped flower heads in shades of pink, purple, or white, adding a touch of whimsy to gardens and landscapes. While you can find Giant Clover readily at nurseries, the magic of growing it from seed or cuttings brings even more joy to the journey.
Starting with Seeds: A Simple Approach to Growth
Propagating Giant Clover from seed is incredibly straightforward, even for novice gardeners. Here’s a step-by-step guide:
- Sow Outdoors: Seeds are best sown directly outdoors after the last frost, as Giant Clover prefers warmer temperatures.
- Choose a Sunny Spot: This plant thrives in full sun to partial shade, so select a well-lit area in your garden.
- Prepare the Soil: Giant Clover appreciates well-drained soil enriched with compost or aged manure.
- Scatter Seeds: Sprinkle the seeds lightly on the prepared soil, keeping a spacing of about 6-12 inches between each seed for optimal growth.
- Gentle Watering: Water the seeds thoroughly but gently, as they are delicate and prone to washing away.
- Germination Time: Within a few weeks, you’ll witness the emergence of tiny clover seedlings.
A Quick Guide to Growing Giant Clover from Seed
- Timing: Spring or early summer
- Spacing: 6-12 inches apart
- Sunlight: Full sun to partial shade
- Soil: Well-drained and enriched
- Watering: Water frequently, especially during hot, dry periods.
Propagation through Cuttings: Adding Variety to Your Garden
While seeds are a reliable way to grow Giant Clover, cuttings provide a unique opportunity to showcase its diverse colors and forms. Here’s how you can propagate this plant using stem cuttings:
- Choose the Right Cuttings: Select healthy, non-flowering stems with multiple nodes (the points where leaves grow), around 4-6 inches long.
- Trim the Leaves: Remove the lower leaves and make a clean cut at a 45-degree angle just below a node.
- Dip in Rooting Hormone: Optionally dip the cut end in rooting hormone to encourage root development.
- Prepare the Growing Environment: Fill small pots with a well-draining potting mix and lightly moisten the soil.
- Insert and Cover: Insert the cuttings into the soil, making sure at least one node is buried below the surface. Cover with a clear plastic dome or bag to create a humid environment.
- Place in Light: Provide indirect sunlight and ensure the soil remains consistently moist.
Tips for Successful Propagation
- Promote Root Development: Use a gentle, well-draining mixture of potting soil and perlite or vermiculite to encourage healthy root growth.
- Maintain Humidity: Keep the cuttings consistently moist but not soggy. Avoid excessive watering that can lead to rot.
- Fertilize Regularly: Once the new plants have established, maintain their growth with a balanced fertilizer.
Whether you choose the ease of seeds or the customization of cuttings, propagating Giant Clover promises a vibrant and joyful addition to your garden. Enjoy the beauty of these magnificent blooms and embrace the rewarding experience of nurturing them from their humble beginnings.