Unlocking the Secrets of Methi: A Guide to Growing Your Own Fenugreek
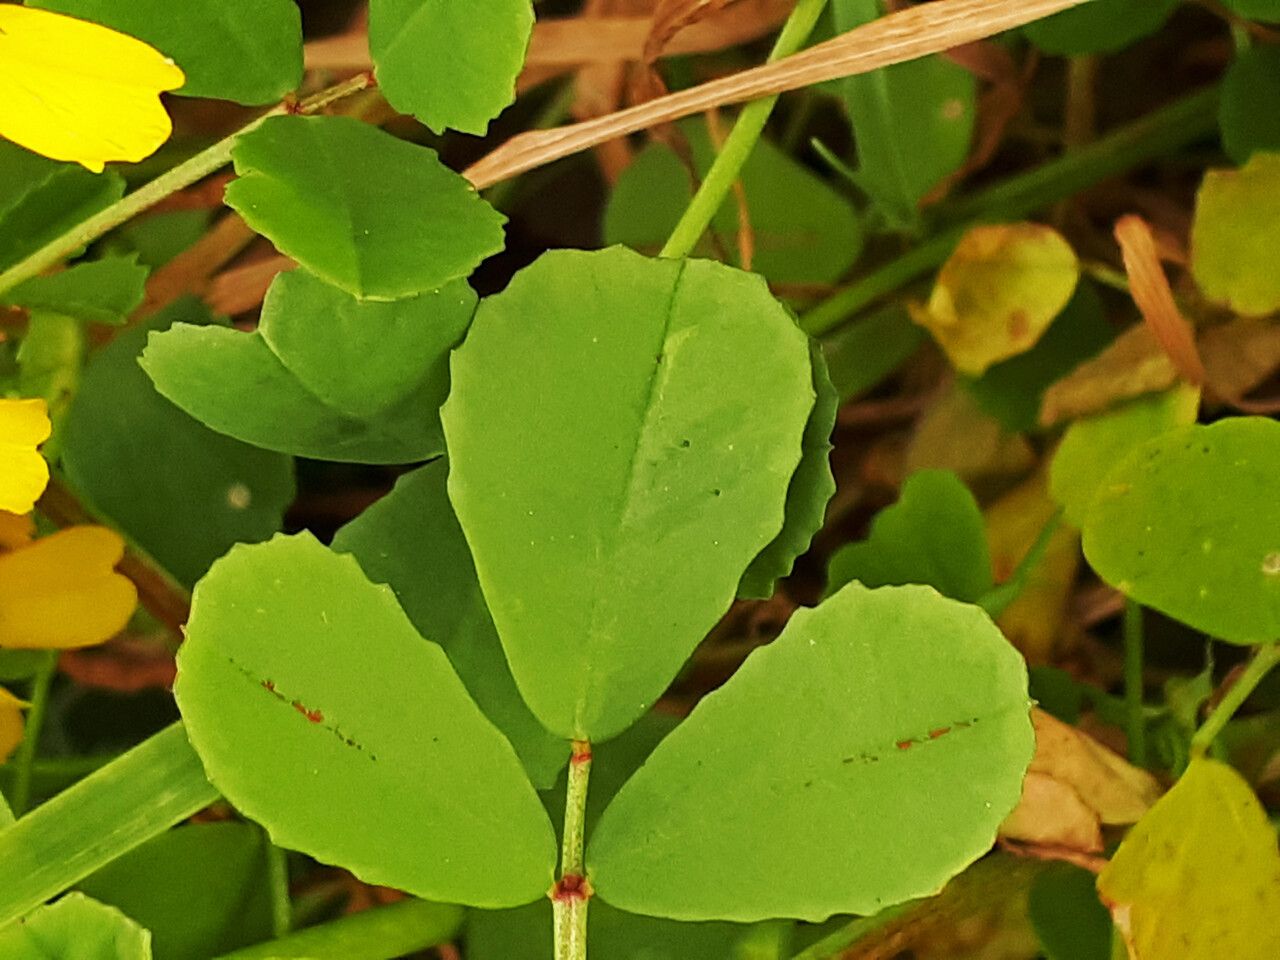
Fenugreek, known scientifically as Trigonella foenum-graecum, and more commonly as “methi” in many cultures, is a versatile herb prized for both its culinary and medicinal properties. From adding a unique aroma and flavor to dishes to its potential health benefits, methi has earned a cherished spot in kitchens and medicine cabinets worldwide. If you’re interested in experiencing the joys of cultivating this ancient herb, this guide will walk you through the simple steps of fenugreek propagation.
Two Paths to Methi Magic: Seeds vs. Cuttings
While growing methi from cuttings is possible, it’s not the most common or reliable method. Therefore, we’ll focus on the most effective way – starting from seed.
Direct Sowing: A Straightforward Approach
- Timing is Key: Methi thrives in cooler temperatures. Aim to sow seeds in early spring or late summer, depending on your climate.
- Prepare the Planting Bed: Choose a spot with well-drained soil and ample sunlight (at least 6 hours a day). Amend the soil with compost to improve drainage and fertility.
- Sow the Seeds: Sprinkle seeds evenly over the soil surface, spacing them about 1-2 inches apart. Gently press them into the soil, ensuring they are covered with about ½ inch of soil.
- Water Well: Keep the soil consistently moist but not soggy. Using a gentle watering can or hose setting will prevent the seeds from washing away.
- Thinning Out: Once seedlings reach 2-3 inches tall, thin them out to provide adequate spacing (4-6 inches apart) for optimal growth and air circulation.
Starting Indoors for a Head Start (Optional)
If you live in a region with a short growing season, starting seeds indoors 4-6 weeks before the last expected frost can give your methi a head start. Use a seed-starting mix and keep the seedlings in a sunny location or under grow lights. Transplant outdoors once the weather has stabilized.
Nurturing Your Methi Patch:
- Watering: Maintain consistent moisture, especially during dry periods. Avoid overwatering, as it can lead to root rot.
- Fertilizing: While not strictly necessary, amending the soil with compost before planting provides sufficient nutrients. You can also apply a balanced liquid fertilizer once a month for an added boost.
- Pest and Disease Control: Methi is relatively resistant to pests and diseases. However, keep an eye out for common garden pests like aphids and treat them promptly if they appear.
Harvesting Your Methi Bounty:
- Leaves: You can begin harvesting tender methi leaves once the plants are 6-8 inches tall. Simply snip off the desired amount using clean scissors, leaving the plant to continue growing.
- Seeds: Allow your methi plants to flower and produce seed pods if you want to harvest the seeds (which are commonly used as a spice). The pods will turn brown and dry out when the seeds are ready for harvesting.
Troubleshooting Tips:
- Slow growth: Insufficient sunlight or poor soil drainage can hinder methi’s growth. Ensure proper sunlight exposure and well-drained soil.
- Yellowing leaves: Overwatering or nutrient deficiency could be the culprit. Adjust watering practices and consider adding a balanced fertilizer.
Embrace the Methi Experience!
Growing your own methi is a rewarding endeavor that allows you to enjoy the fresh, vibrant flavors and potential health benefits of this ancient herb. By following these simple guidelines, you’ll be well on your way to cultivating a thriving methi patch that will infuse your culinary creations with its unique character.